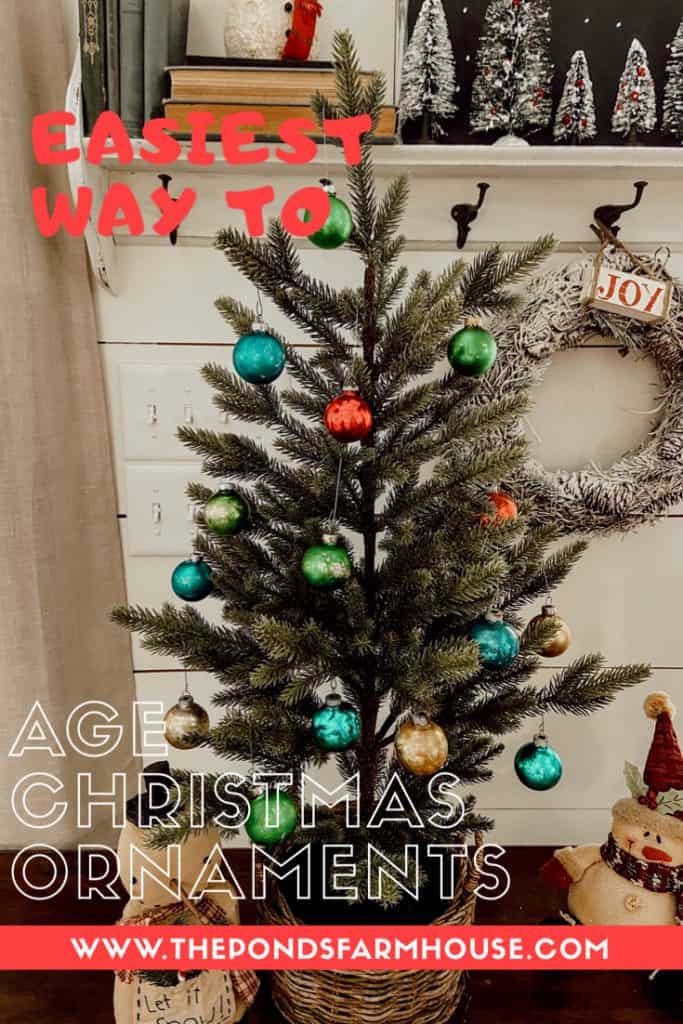
Easiest Way to Age New Christmas Ornaments
Here is the absolute easiest way to age new Christmas Ornaments to make them look like vintage shiny brites.
Y’all, I have been fortunate to find a good supply of Vintage Shiny Brite Ornaments, and I love using them at Christmas. However, I get so many questions about where I get my faded, rustic ornaments. They can be hard to find and are pretty pricey. Sooooo………
I have tried several methods I’ve seen online, and nothing worked well for me until the shiny light bulb in my brain finally went off. So here’s my ah-ha moment and how to do it!
These are my inspiration ornaments. I’ve been collecting these for several years, and they are the real deal.
(Posts on The Ponds Farmhouse may contain affiliate links. As an Amazon Associate, I earn from qualifying purchases. See the full disclosure details here.)
Why Age New Ornaments
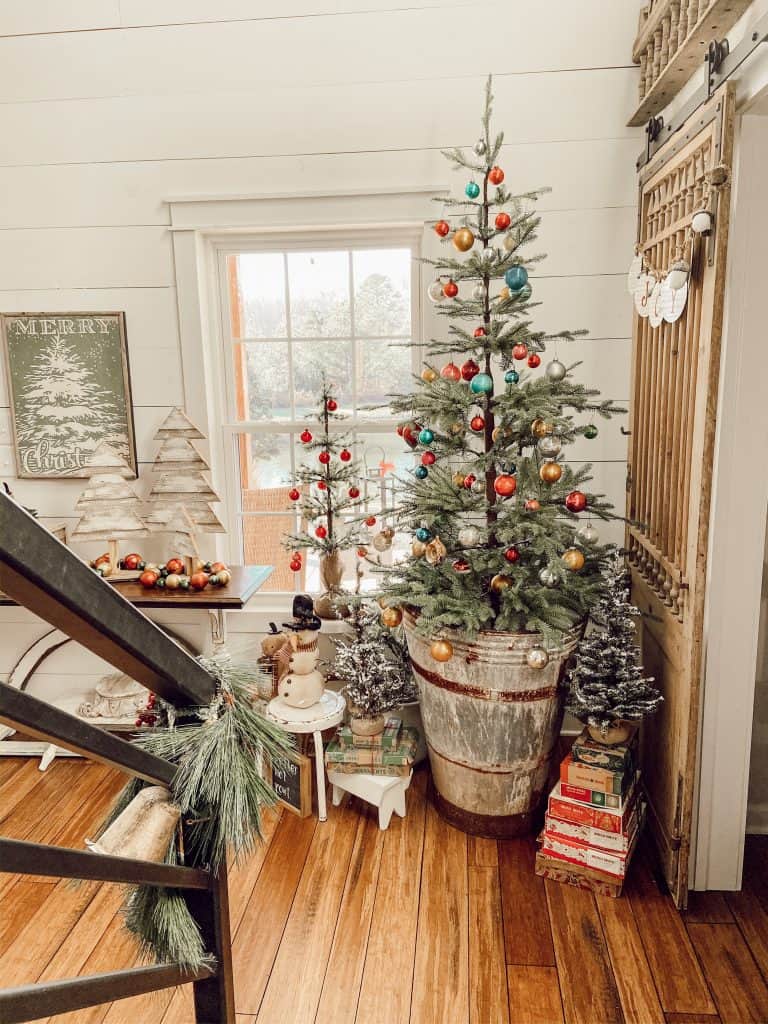
I get so many questions about the ornaments on my Christmas Tree, which are all old and faded.
I love the look but finding real vintage shiny brite ornaments had become more expensive than when I started my collection. Therefore, I decided to see if I could make new ornaments look like the vintage version.
I love how they look and hope you do too.
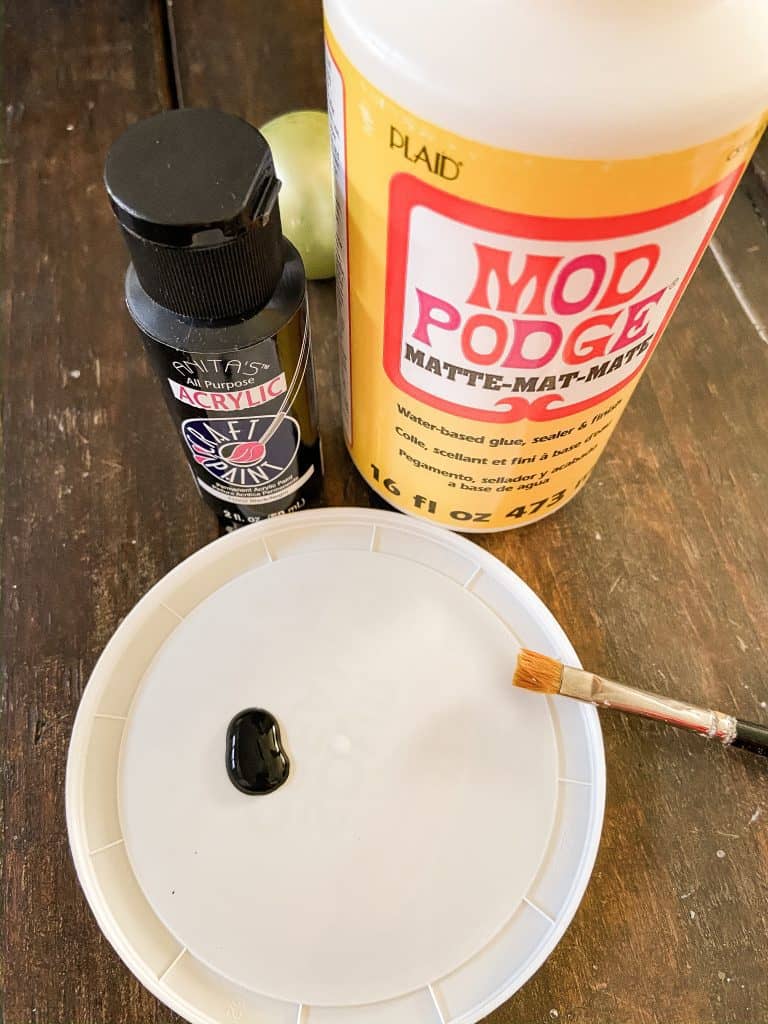
Supplies Needed To Age Ornaments
- Matt Mod Podge
- Black Craft Paint
- Small Paint Brush
- Paper Towels
- New or semi new Glass Ornaments
Prep Work
First, protect your table or work area. Then remove the hangers from the ornaments and set them aside to add back once your ornaments are aged and dried.
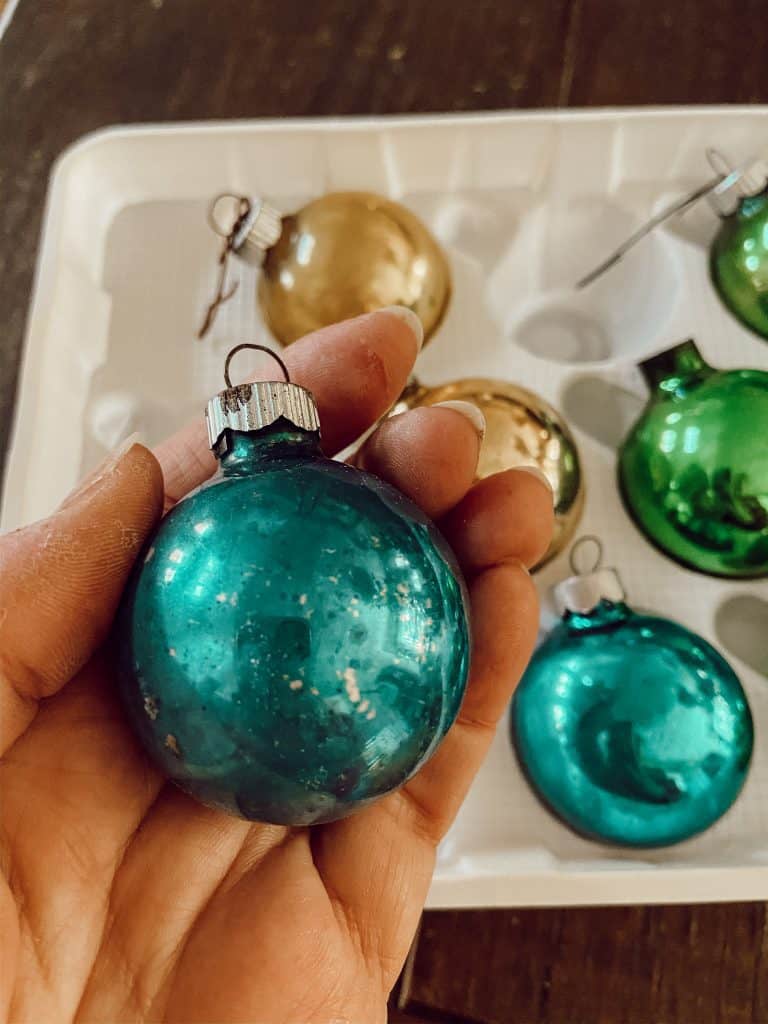
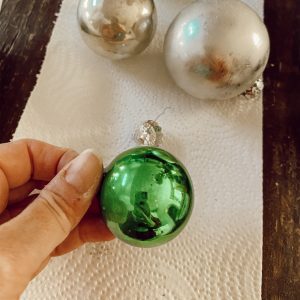
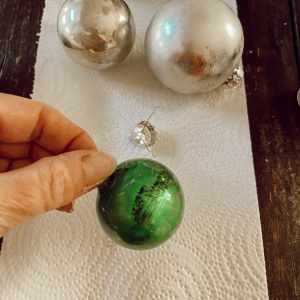
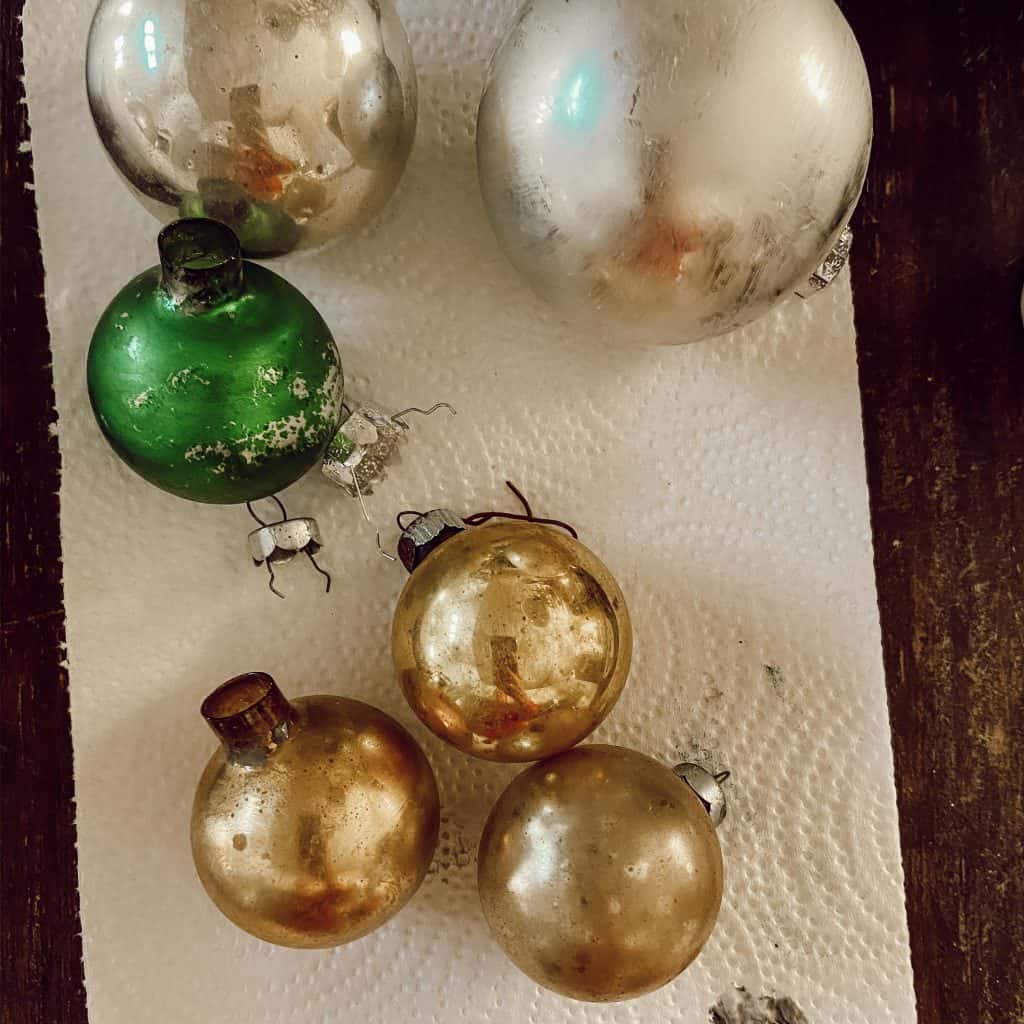
Here is a small supply of new ornaments that are going to be aged.
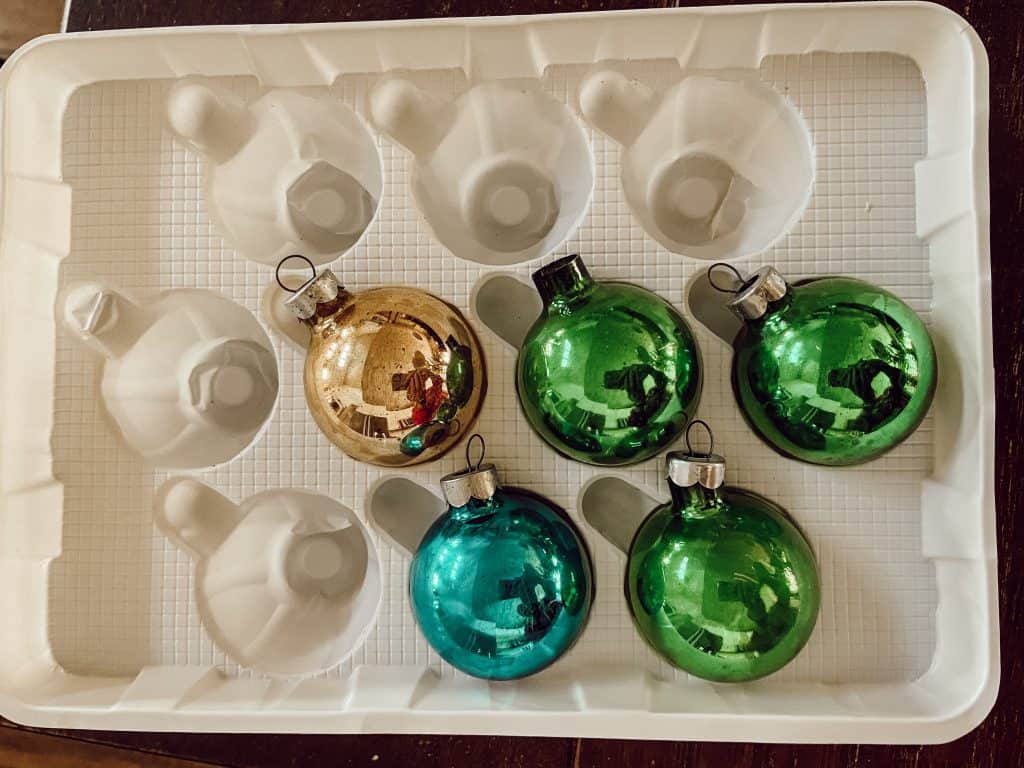
Here I’ve added a few vintage ornaments for comparison and inspiration.
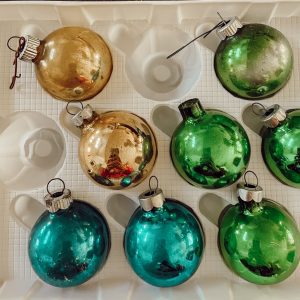

3 ornaments of each color are vintage and in second photo 2 gold vintage ornaments for inspiration
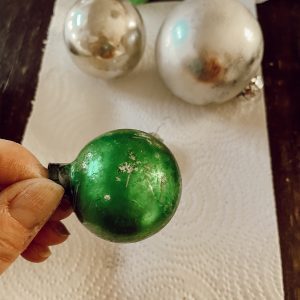
You can see the aging of this vintage ornament up close. This is the look we want to achieve by using this technique.
Due to the natural aging process, most of my vintage ornaments no longer have a smooth surface and are not as shiny as the new ones.
Paint
To age your new ornaments, you will want to add just a touch of black paint to your matt mod podge. However, you only need a touch of black to make a transparent, grayish appearance.
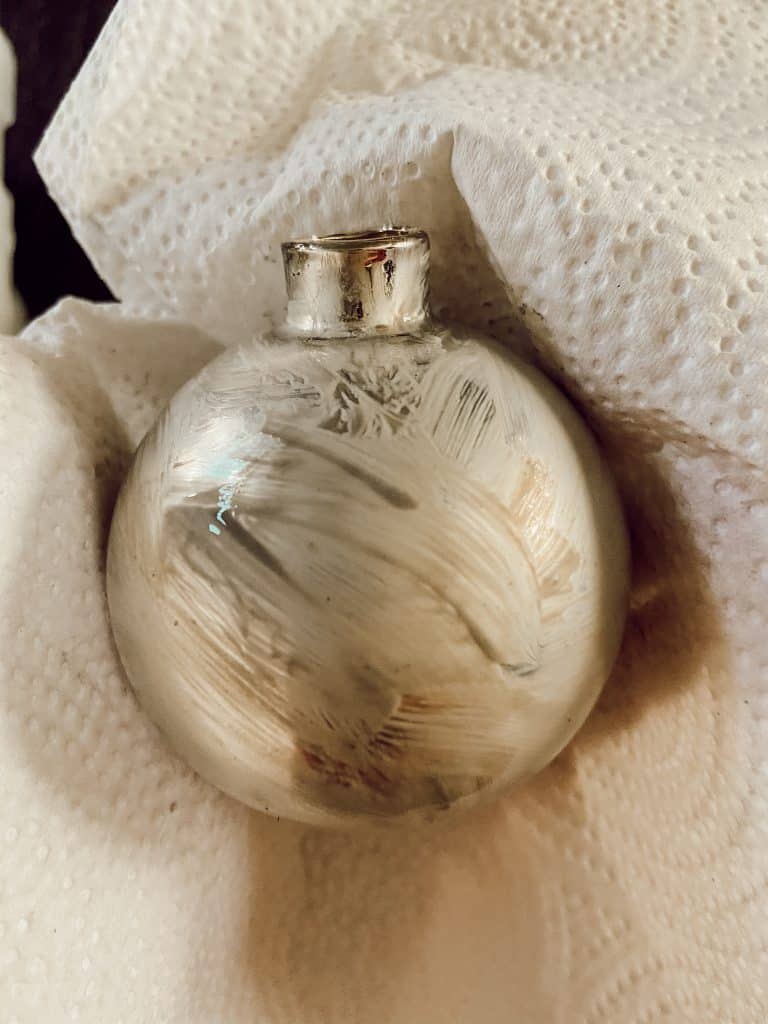
Then, brush over the entire surface of your ornament to apply an aged appearance to your new Christmas ornaments.
New Ornament Vs. Ornament covered in mod podge mixture.
Rub off any excess mod podge gently with a paper towel. The ornament will be practically dry at this point; however, place it on wax paper or another smooth surface to completely dry.
Cover the ornament completely and rub off any excess with a paper towel.
New Ornament vs. covered in the mixture and then after wiping off with a paper towel.
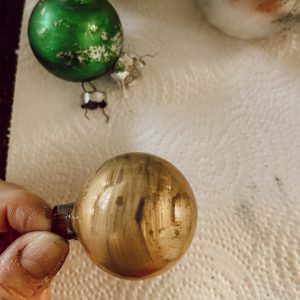
The ornament on the left, in the below photo, is the original shiny brite vintage ornament, and the one on the right is the faux aged ornament. Hard to tell the difference.
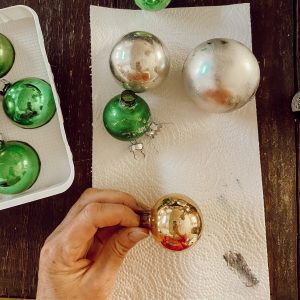
Here are three gold ornaments that I started with. Can you tell which one has been aged with this easy technique? Hint: The new ornament doesn’t have its hanger replaced yet. LOL

The Aged Ornaments
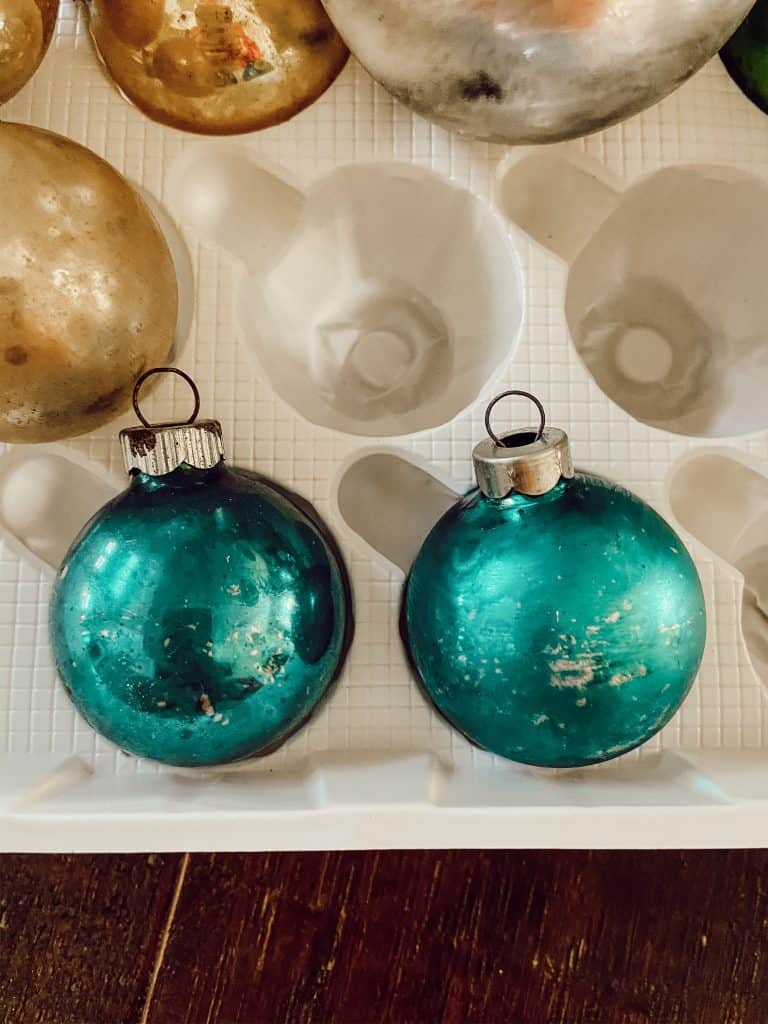
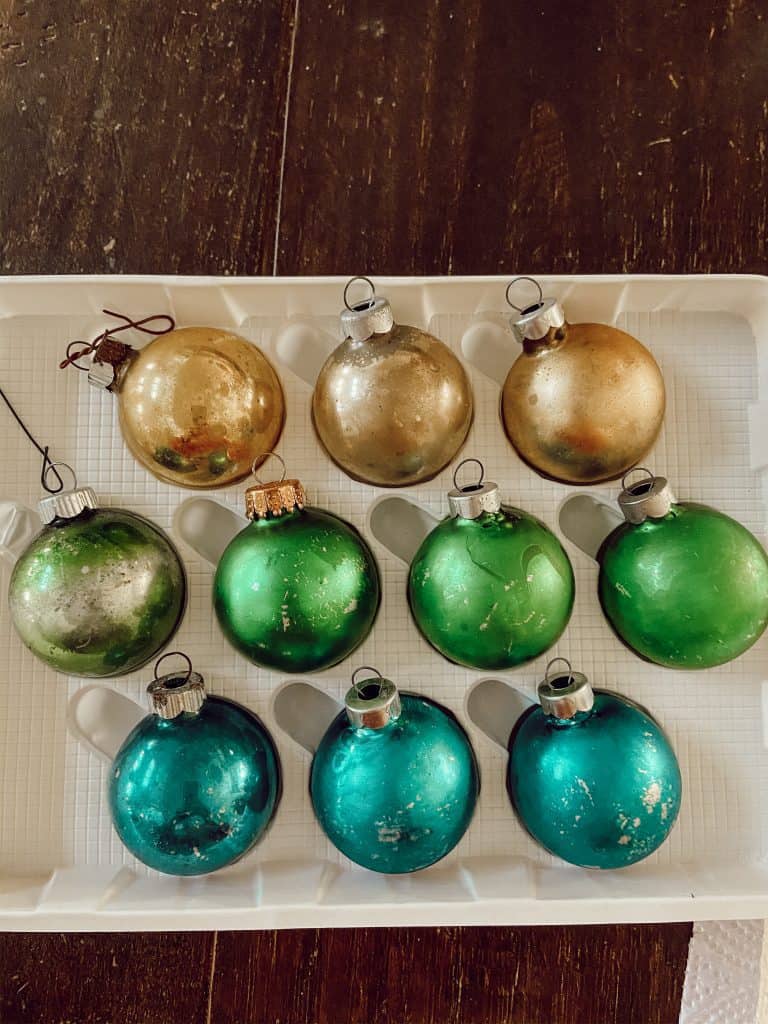
Here are the vintage ornaments and the new ornaments that have been aged to look vintage.
Note: You will notice that some ornaments age easier than others. When wiping off the excess mixture from the ornaments, be cautious to rub gently until you see how the ornament reacts to the mod podge. You can see that the green decorations lost more color than the gold and blue. I could have removed most of the color if I had rubbed it vigorously.
Vintage and Aged Together
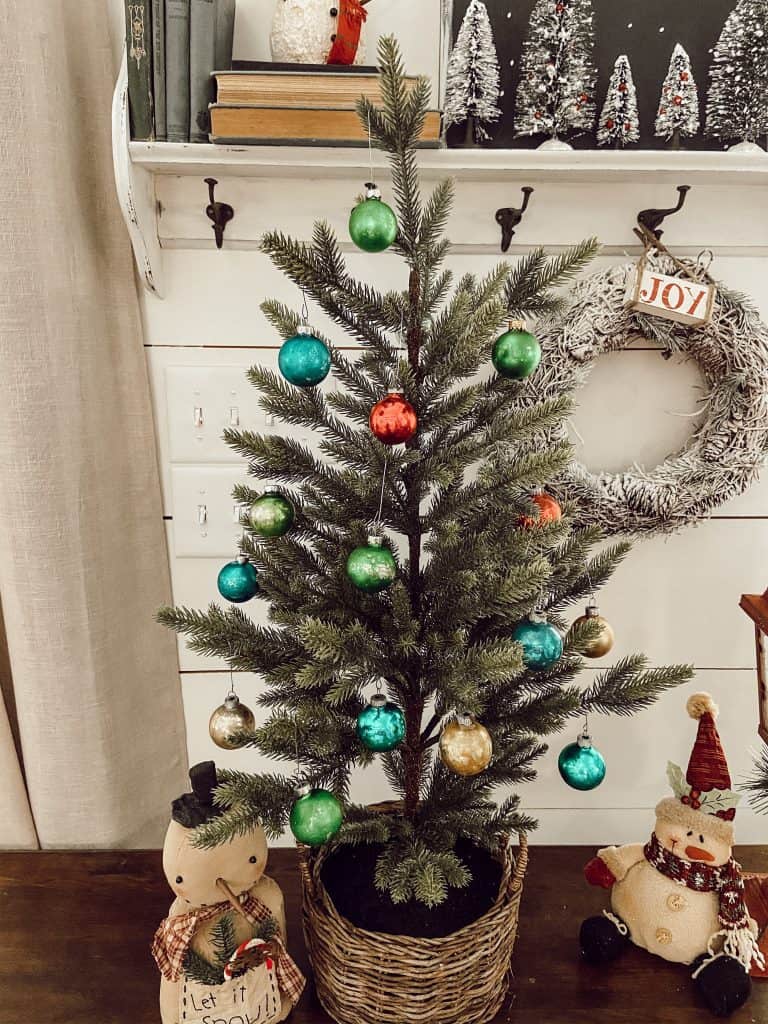
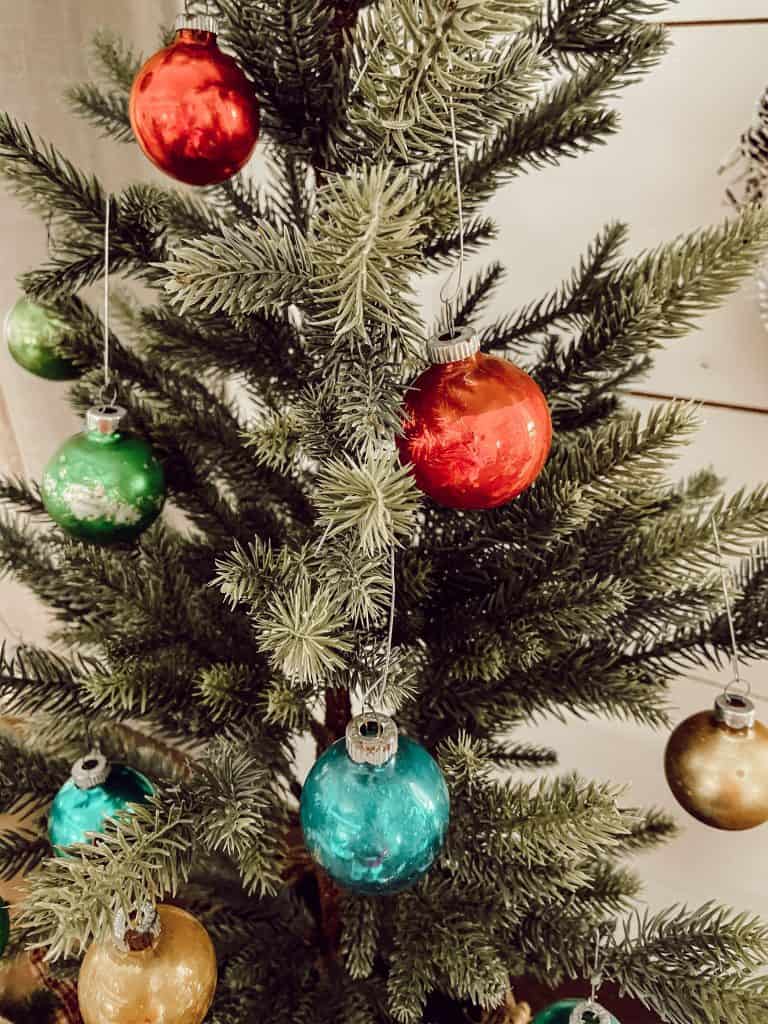
Here is a mix of vintage ornaments with faux aged ones, and it is hard to tell the difference.
Another project is to repurpose several old Christmas decorations, and you can see some of the results here.
In addition, here is an Easy 2 Step method to Flock a Christmas Tree.
This is such an easy project, and I hope you try it. Another easy project is how to make a dried fruit and herb garland and napkin decoupage ornaments.
Thanks so much for stopping by today. I look forward to sharing my next adventure with you.

PIN IT TO REMEMBER IT


Happy Thanksgiving to you! Thanks for sharing this idea and can’t wait to try it!
Always ready for any crafty ideas you have!
Margie,
You are so kind. I hope you like the results.
What a cool idea! They do look really vintage! Happy Thanksgiving!
Stacy,
Thanks for stopping by.
Rachel
Awesome and Pinned! Thank you and Happy Thanksgiving, Rachel!
Miche,
I appreciate you so much!
Your new “aged” ornaments look amazing. I would never have thought of this technique, they look like the real deal. The vintage ones are getting so hard to find! Hope you’re having a wonderful weekend!
Debra,
Thanks so much for stopping by! So glad you liked this.
Wow – what a great job Rachel! I hope you can still tell the difference when it’s time to put them away! 🙂 I love your beautiful tree!
Barbara,
I really appreciate you for stopping by.
Hi Rachel! I recently got a box of shiny brites from family that I wanted to decorate my tree with this year! I was worried I wouldn’t have enough but by trying this technique I might be able to pull it off!👏Thankyou for sharing- I can’t wait to try it!:) I’m pinning this so I don’t forget!:)
Cindy,
It worked great on mine. I hope you have good luck as well.
Just popping in to let you know I’m featuring this fabulousness on the Farmhouse Friday Link Party. This was aaahhhmazing and your are a genius! I loved learning how to do this! Thank you for linking up. We greatly appreciate you!
Cindy,
You are the best. Thanks so much.
I can’t wait to try this technique on some of our ornaments. It’s hard to believe how much better they are with a little aged character. Look for your post to be featured this week at the Tuesday Turn About Link Party!
Michelle,
I really appreciate this. Can’t wait to see.
Oh thank you Rachel! I am trying this out this weekend. I searched for vintage ornaments but to no avail without the steep price tag. Thank you for all your ingenuity. You’re the best😁
Pam,
I’m so glad you like this idea.
I can’t wait to try your method of aging. I have tried many others over the years and they were a fail. Your way is not only easy but loved the results! Thank you!!!
Frani,
I’m so glad you found this helpful.