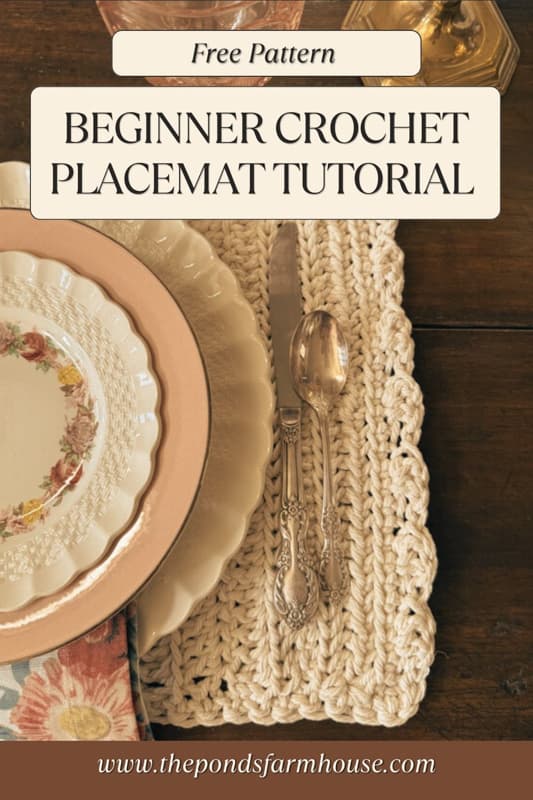
Crochet Placemats for Beginners: A Step-by-Step Stress-Free Guide
Hey friends! I’m back with another edition of my ‘old school’ craft series. I’ve been sharing easy crochet patterns and tutorials to help you master new stitches with confidence. Today, we’re making Crochet Placemats for Beginners.
This pattern uses heavy cording to create a stunning, modern look for your table decor. If you’ve followed my previous tutorials, you already know the stitches—but there’s a fun twist to this one!
I’ll walk you through the process step by step, and you’ll be crocheting like a pro by the end of this guide.
(Posts on The Ponds Farmhouse may contain affiliate links. As an Amazon Associate, I earn from qualifying purchases. See the full disclosure details here.)
Supply List
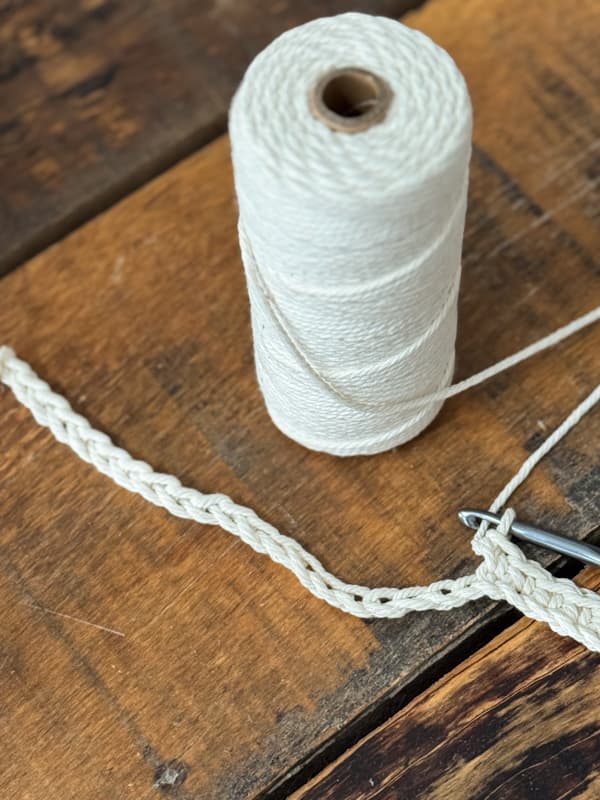
- 4 Rolls – Natural Cotton Cord 3mm – I used natural but it comes in many lovely colors. Each roll is 109 yds. I used a full roll for each placemat and I made four.
- Size K – 6.50mm
- (Optional) Warm Blush Cotton Yarn to embellish.
Crochet Stitches Guide
- Ch – Chain Stitch
- Sl-st – Slip Stitch
- Sc – single crochet
- Dc – double crochet
- Hdc – half double crochet
- Dc FLO – double crochet in front loop only.
- Hdc FLO – Half double crochet in front loop only.
Rectangle Crochet Placemat Pattern
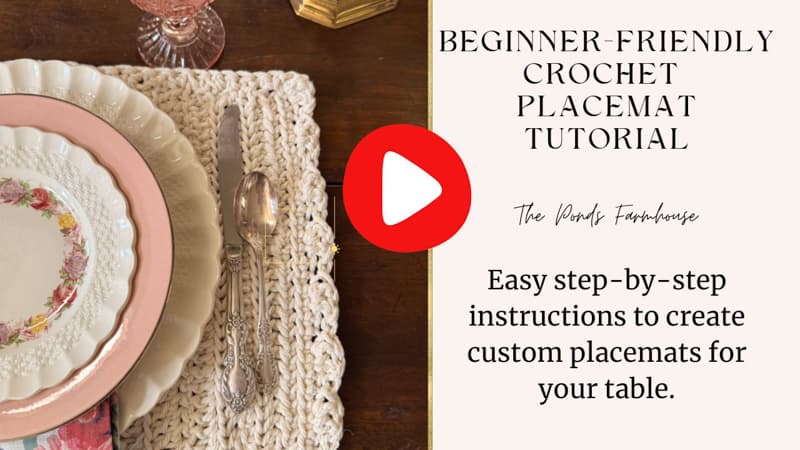
I am sharing the full illustrated instructions and a video tutorial. For those of you who are familiar with all the stitches, here is a quick step-by-step guide to make this adorable placemat.
- Ch 29 Turn
- Sc 29 Turn
- Ch 2 – Hdc FLO (29) Turn
- Repeat #3
- Repeat #3
- Repeat #3
- Chain 3 – Dc FLO – (29) turn
- Repeat # 7 until you have 12 rows of DC FLO. Turn
- Chain 2 – Hdc FLO (29) Turn
- Repeat #9 for 3 more rows. (four rows total) Turn
- chain 1 – SC across (don’t turn)
- Chain 1 – SC along the side of the placemat (don’t turn)
- Chain 2 – skip one stitch
- 1 DC in the next two stitches
- sl st in the next stitch.
- 1 DC in the next two stitches
- sl st in the next stitch.
- Repeat # 16 & 17 until you reach the end of this side.
- Ch 1, as you continue around the outside edge of the placemat
- Sc in each stitch along this side.
- You should now be at the last short side of the placement.
- Ch. 2
- DC in the next two stitches
- Sl St in next stitch
- Repeat #23 & 24 until you reach the end and use a sl st to connect at the corner.
- Note: if you are at an uneven number at the end of any row, you can SC as filler.
Illustrated Guide & Crochet Pattern For Placemat
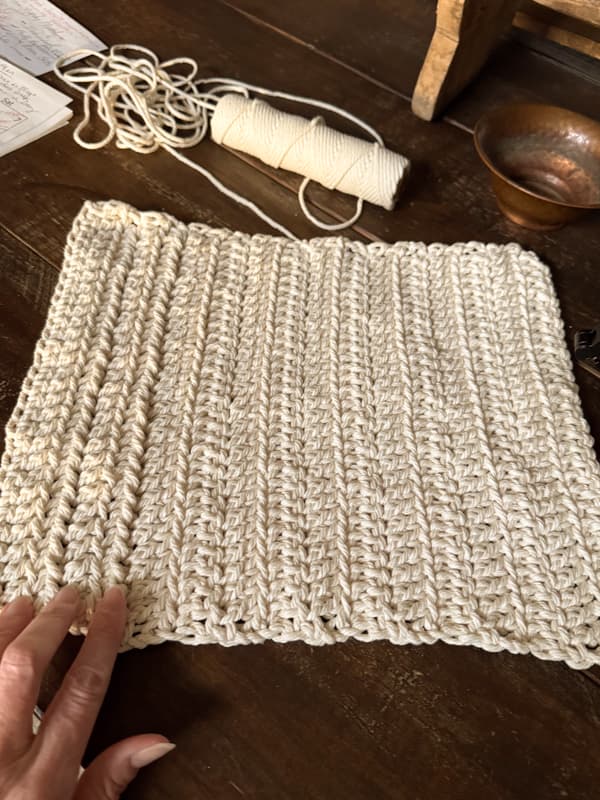
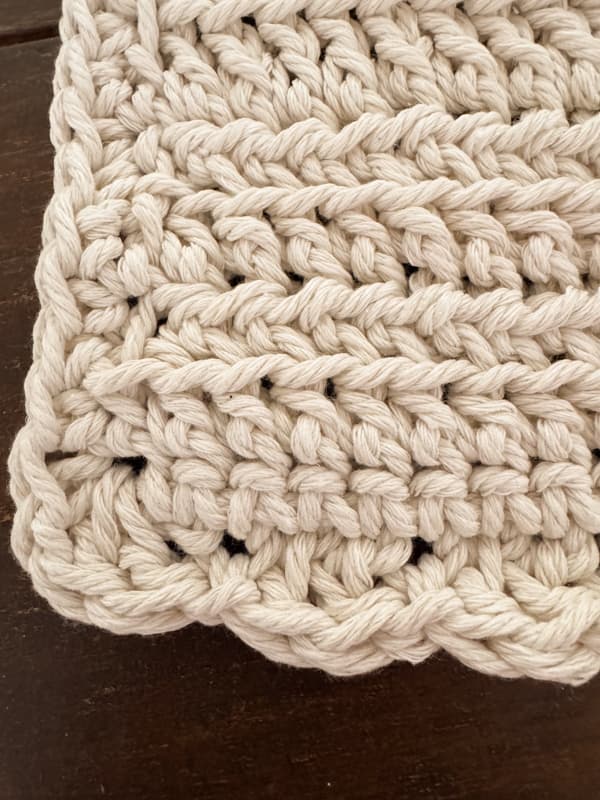
We are using heavy cording and a larger hook for this crochet pattern. I wanted a sturdy placemat, but most yarns are too soft and pliable for the look I was going for. You may find the cording harder to work with, as it’s not as soft as most yarns, but the stitches are easy, and once you get the hang of it, you will be happy with the results.
Step 1 – Begin by adding the cording to your hook. Then chain 29 and turn.
Step 2 – ch 1, then Single Crochet across for 29 stitches and turn,
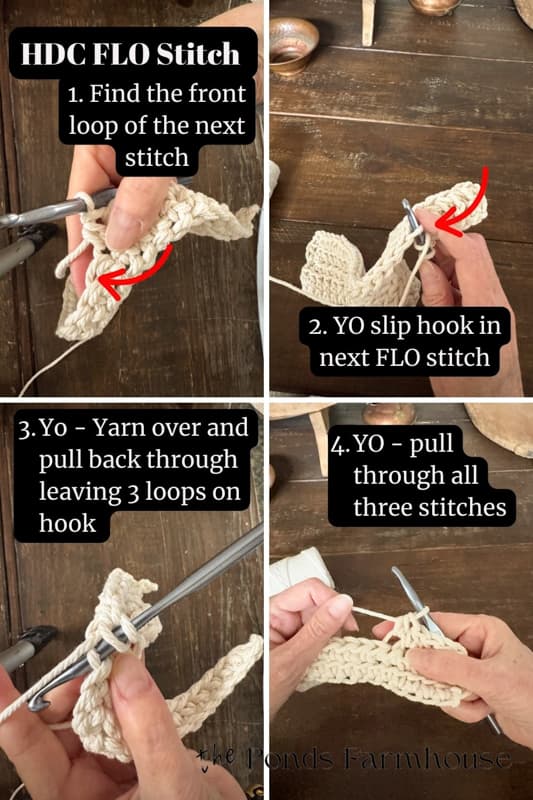
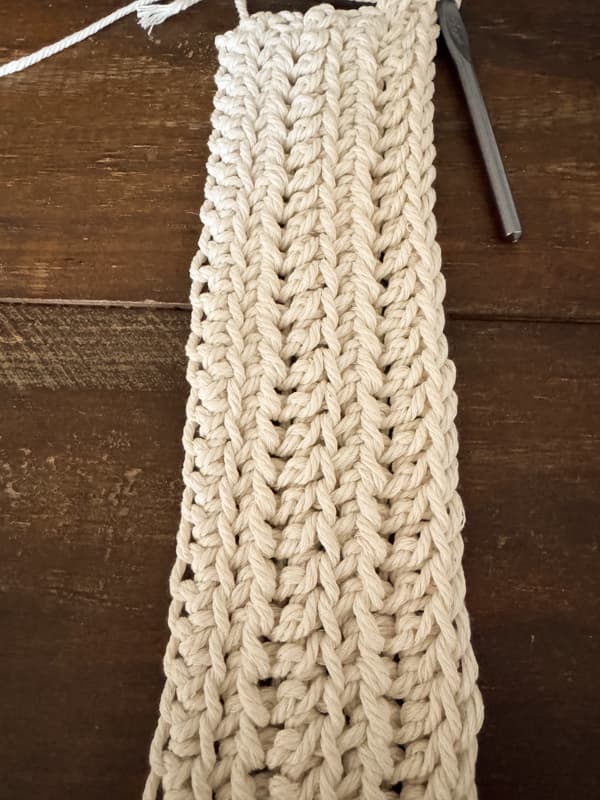
Step 3 – Chain 2 and then Hdc FLO across 29 stitches and turn – (This is a half-double crochet, as I’ve previously introduced, but with a twist. This time, we are doing a half double crochet in the front loop only. This will give the pattern a ridge that is absent when you go under both loops in the V. Below is the illustration to help guide you. There is a front loop and a back loop of every stitch that resembles the letter “V“.)
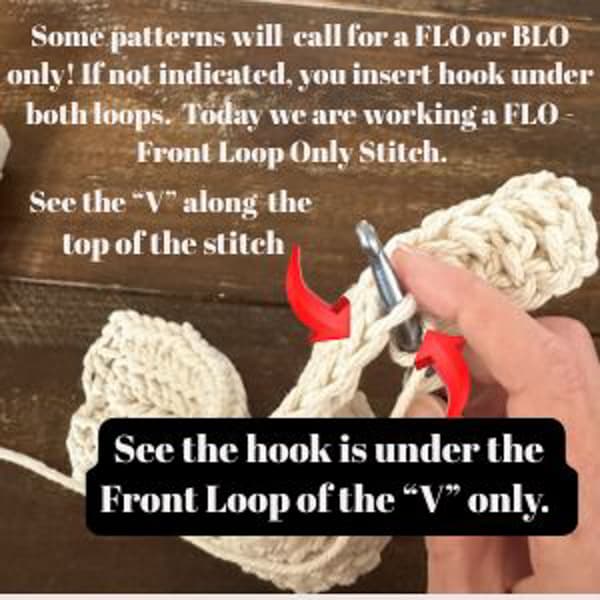
Half Double Crochet and Front Loop Stitch Refresher
Step 4 – Repeat step 3 – three more times for a total of 4 hdc FLO stitches. Turn at the end of each row.
Step 5 – Chain 3 – DC FLO across. (This is the same front loop as the hdc you just completed, but with a DC instead) Turn
Step 6: Chain 3 and repeat DC FLO across until you have 12 rows of DC FLO.
Step 7: Repeat Step 3 for four rows – Chain 2 HDC FLO, turning at the end of each row.
Step 8 – Chain 1 – SC across. DON’T Turn – You will now begin to work around the outside edge of the placement to finish.
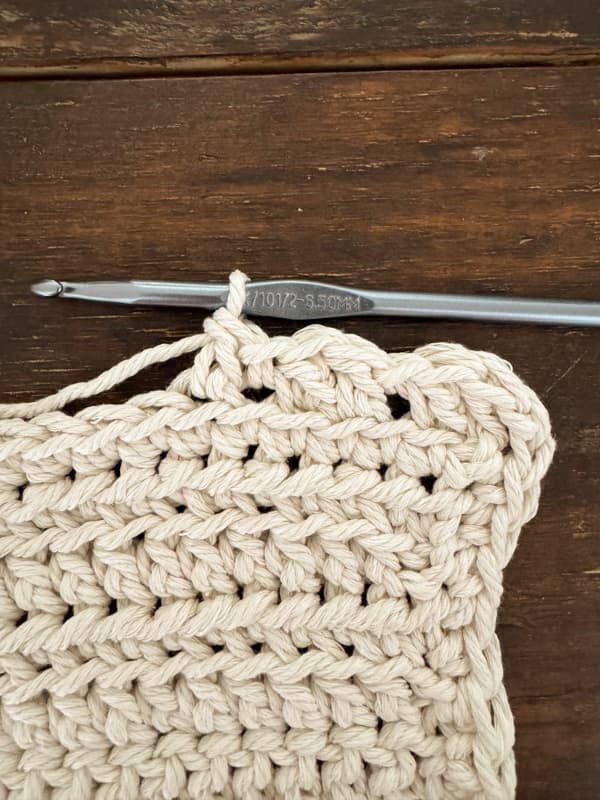
Step 9 – When you get to the end of the sc row, chain 2 and skip the first stitch on that side.
Step 10 – 1 – DC FLO in the next two stitches.
Step 11 – slip-stitch into the next stitch.
Step 12 – Repeat steps 10 & 11 on this side of the placemat, creating a scalloped edge at both short ends.
Step 12 – chain one and SC across the other long side of the placemat.
Step 13 – Chain two and repeat the scallop pattern (Steps 10 & 11) on the last side of the placemat. Sl st. to connect the corner, and you are finished.
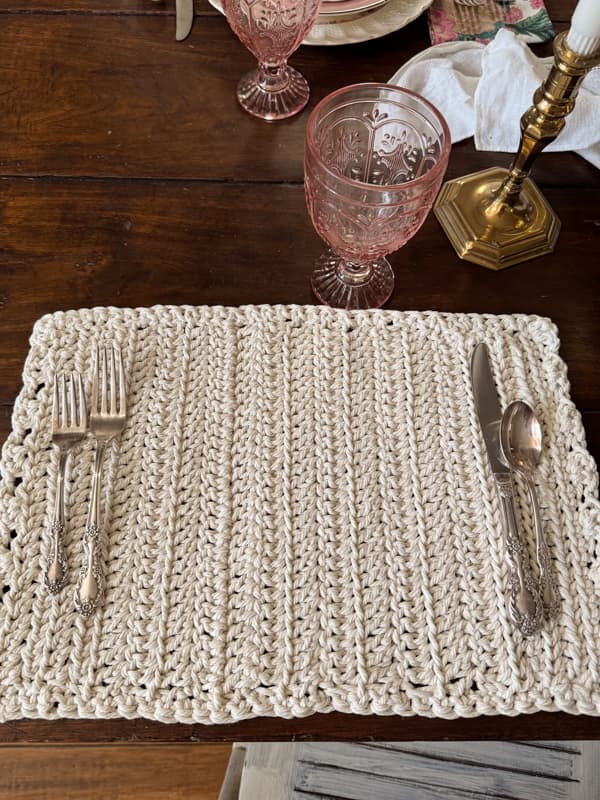
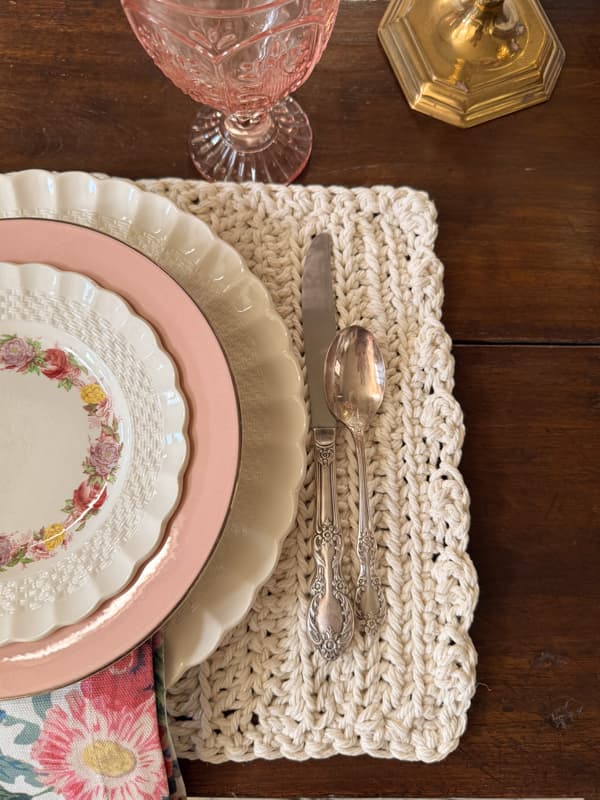
DIY Crochet Placemat
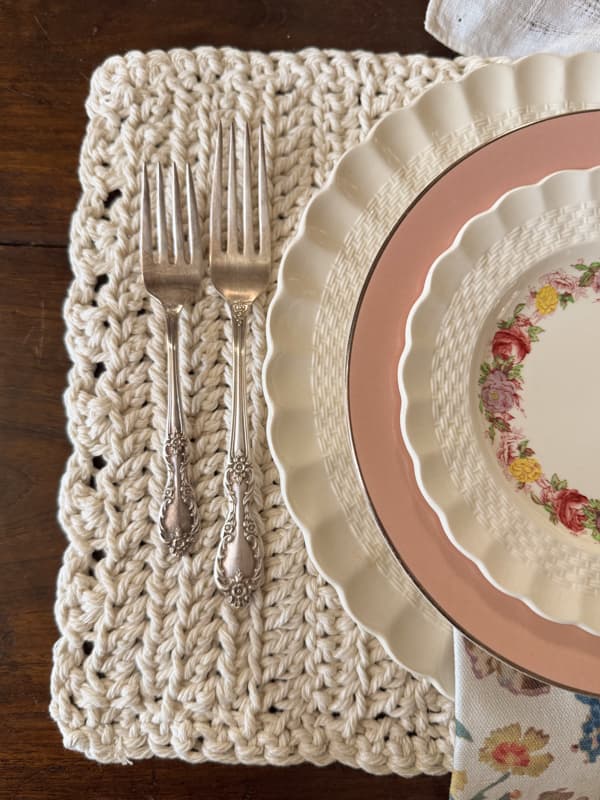
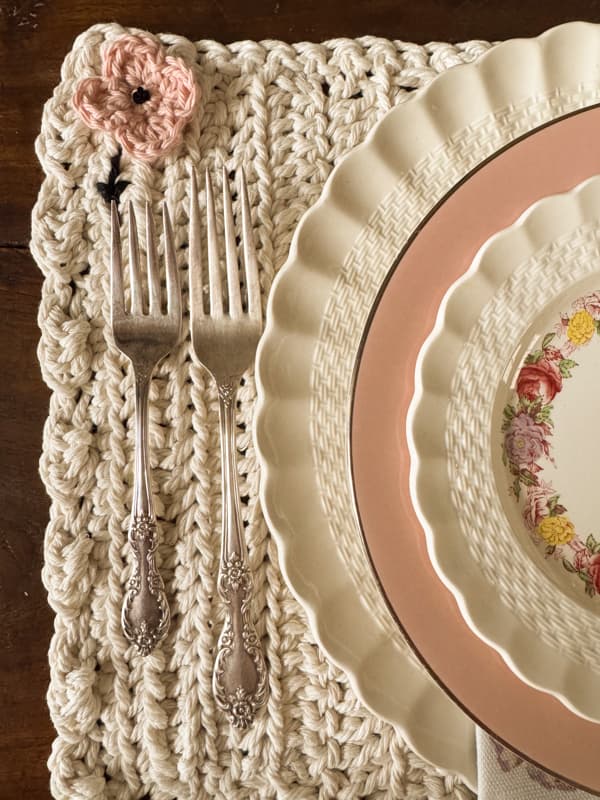
The texture of this placemat adds a warm and cozy feel to the place setting. The crochet placemat lets dishes and silverware really shine and not disappear on the table.
The more textured edges of the design are visible under the silverware, while the wider, flatter stitches are under the plates.
Optional Enhancements For Placemats
The neutral color and unadorned placemats work with almost any tablescape. However, if you’d like to embellish your placemats, here are some ideas that would customize them for different events.
- Run a colored ribbon along the inside edge of the placemat.
- Make the edges of the placemats a different color.
- Use a varigated colored yarn.
- Change the colors of yarn at each row’s end.
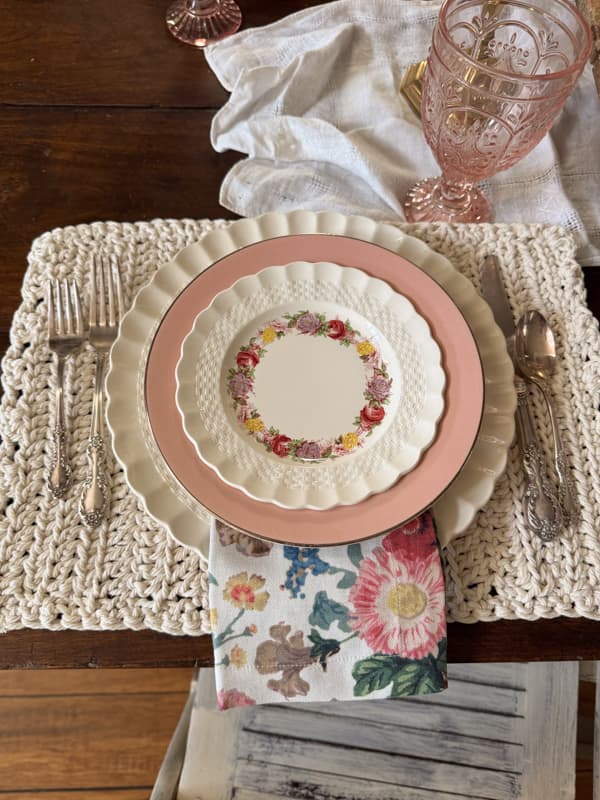
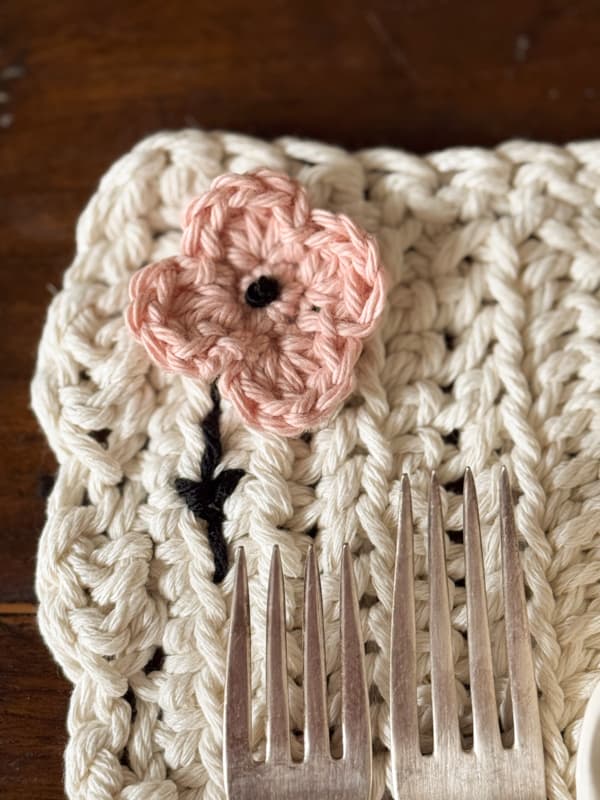
- Add a decorative flower or other adornment to the placemat. I added this blush colored crocheted rose and used a needle to stitch the stem.
The colors coordinate with the vintage dishes in this place setting. The color options are unlimited.
FAQ
Video Tutorial
Please let me know if you have any questions.


Oh my gosh, Rachel! These placemats are almost too pretty to use. I love the color you chose and how beautifully they match with your tablescape too. I’ve always wanted to learn how to crochet, so I’m excited about this new series. Thanks for the tips and the easy to follow step by step. Hugs, CoCo
CoCo
Thank you I hope you can use my tutorial to teach yourself. Let me know if you have questions.