Easy DIY Small Kitchen Storage Solutions That Are Affordable
Do you have a small kitchen? Are you looking for ways to add more kitchen storage space ideas without breaking the bank? If so, look at these easy and affordable DIY small kitchen storage ideas you can do yourself. We recently discovered a storage solution to utilize some unusable cabinet space. It was such a simple solution, and it came at a minimum cost. Let me show you these affordable solutions.

(Posts on The Ponds Farmhouse may contain affiliate links. As an Amazon Associate, I earn from qualifying purchases. See the full disclosure details here.)
Affordable Kitchen Storage Solutions
We are currently renovating our guest cottage, and in doing so, we discovered an item that we assumed had been sold or donated years ago.
Do you have those spaces in your cabinet that, once an item is placed there, it’s quickly forgotten, never to be seen again?
Today, I’ll share the ideas for small kitchen storage used in our guest cottage, which include:
- Making the small kitchen appear larger
- Creating user-friendly cabinet space
- Inexpensive storage solutions
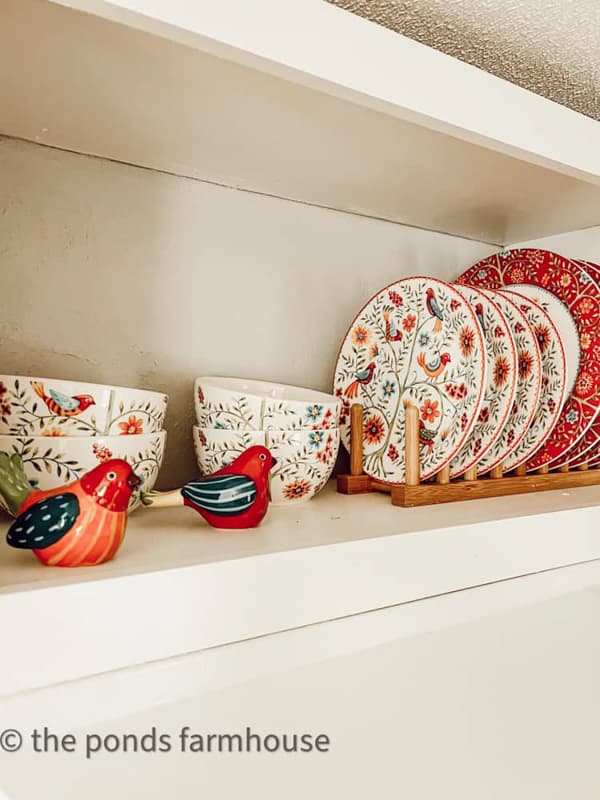
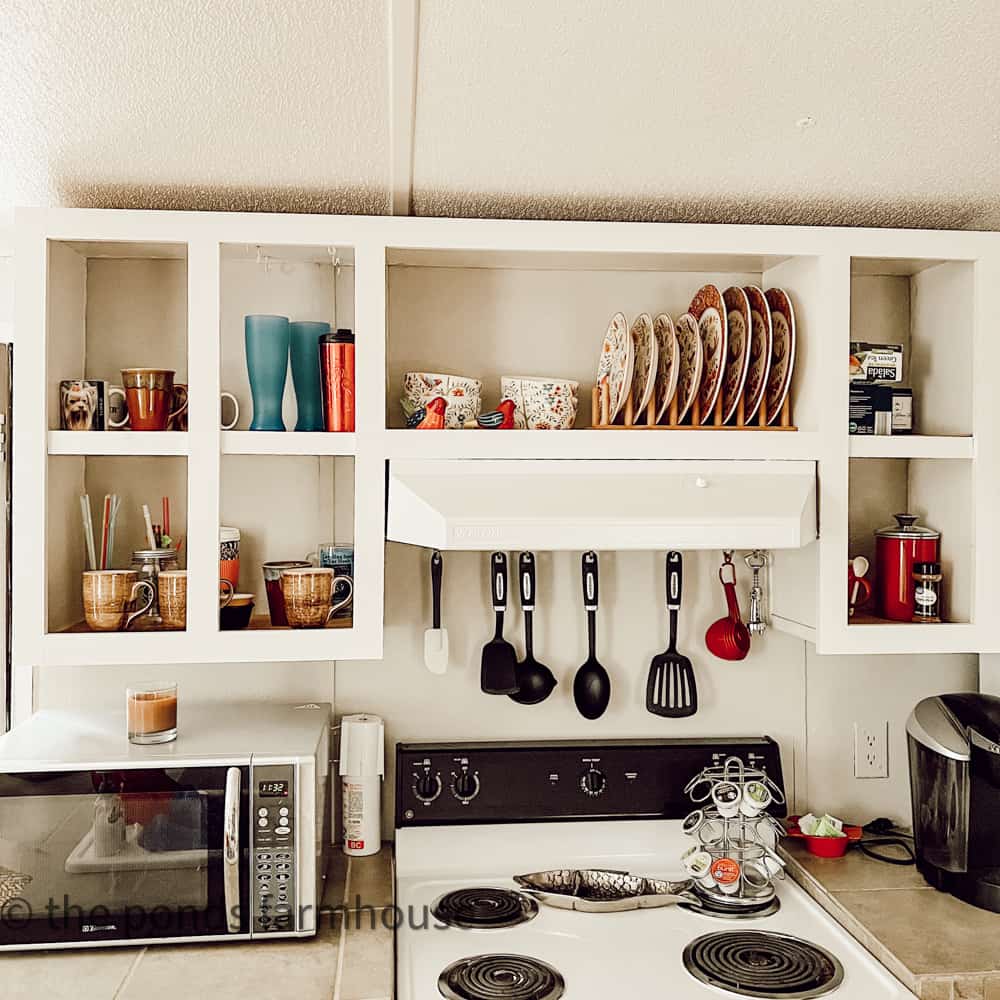
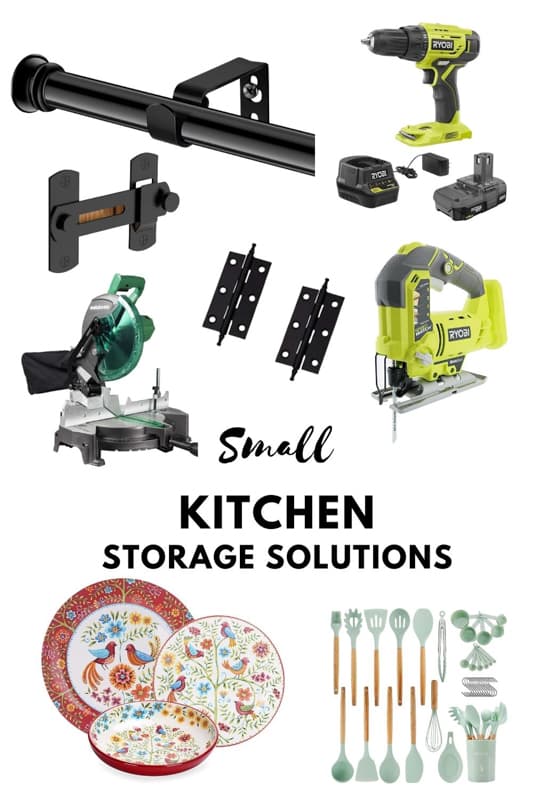
Don’t you love these fun Bico Ceramic Red Bird Dishes? They help to brighten the small kitchen and are so affordable. I have several bamboo plate racks that I use to display all my dishes. You can see them here, along with the plate rack.
How To Make a Kitchen Appear Larger with DIY Small Kitchen Storage Ideas
Installing open shelving is one of the best ways to make a small kitchen appear large.
However, a more budget-friendly DIY small kitchen storage idea is to remove the cabinet doors to create cubby-style open shelving.
It’s an easy process, especially if your cabinets are painted.
- Remove all doors and hardware
- Fill hardware holes with wood filler
- Sand until smooth
- Paint cabinets inside and out.
- If cabinets are stained, use stainable wood putty and match the colors as closely as possible.
A small kitchen may not have room for a cupboard or hutch. So, the open cubby shelving allows you to show your dishes and glasses.

Insider Tip
If you are working with stained cabinetry, do a sample board to determine what stain combination will match your current stain.
Use a piece of the exact wood you are working with and apply stain.
Allow to dry thoroughly before determining if you have a match.
DIY Small Kitchen Storage Idea – User-Friendly Space
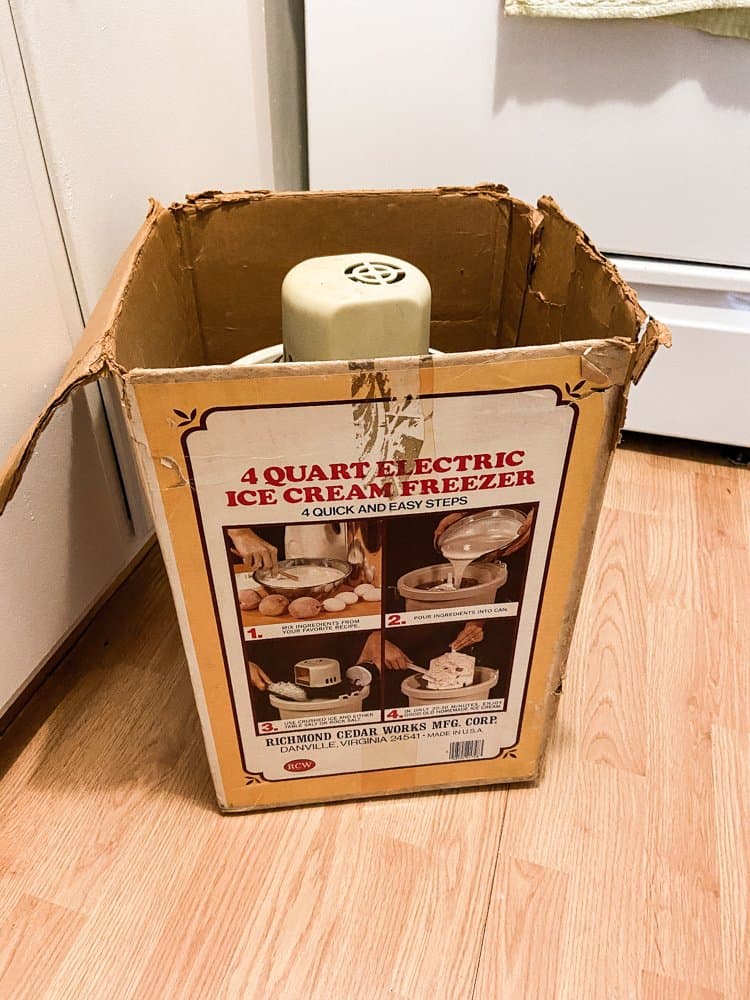
When we started renovating, we began cleaning out the cabinets and discovered our old ice cream churn hidden in the back corner, where it had not seen the light of day for at least 20 years.
We thought we had sold it at a yard sale or donated it during one of our moves. But no, it was just in that space where things disappear.
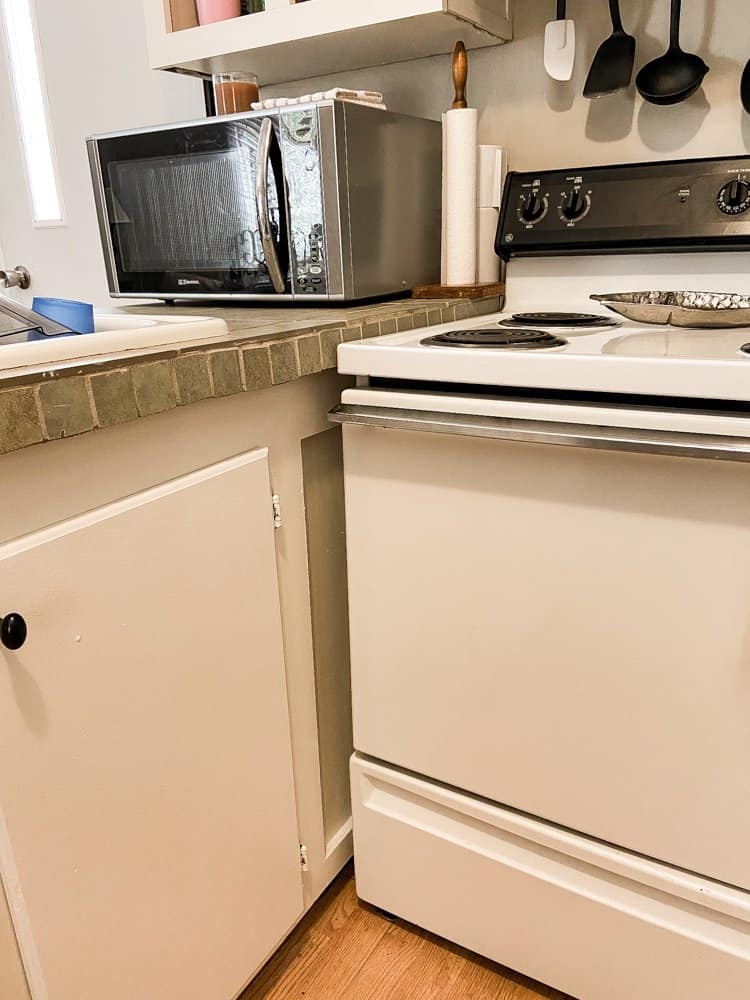
The kitchen is tiny, and the cabinet extends beside the stove. Therefore, the space beyond the stove is where things disappear.
User-Friendly Storage Solution
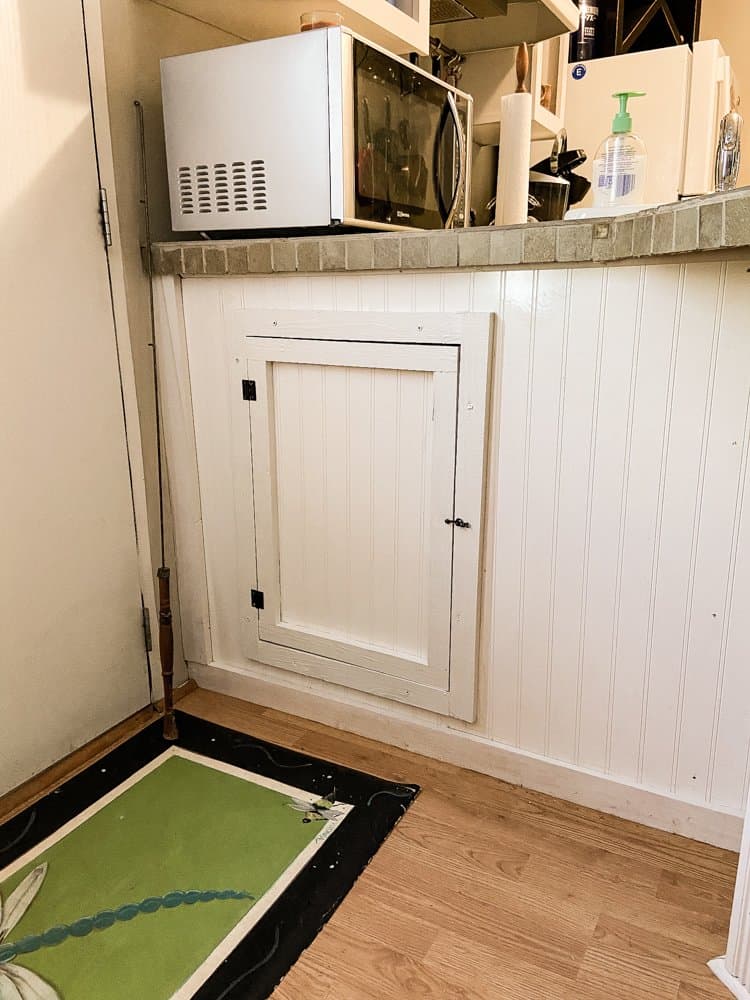
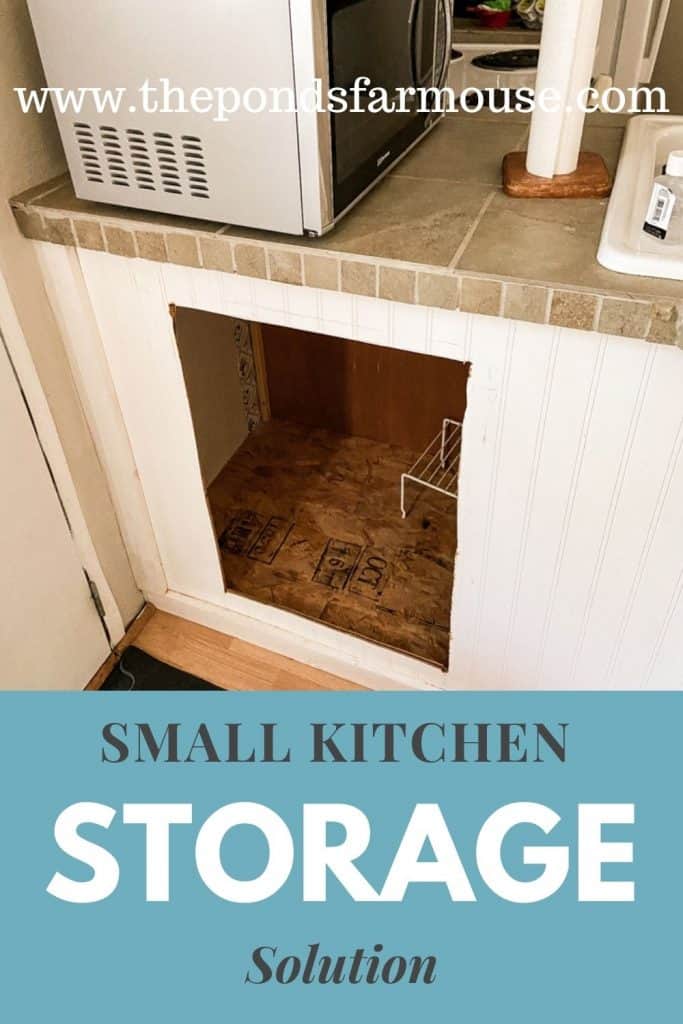
Fortunately, the back side of the cabinets is exposed to the living area. Therefore, our solution to this wasted storage space is to create a door from the backside. If you have a similar situation, here’s what you should do.
This DIY kitchen storage idea requires minimal skills.
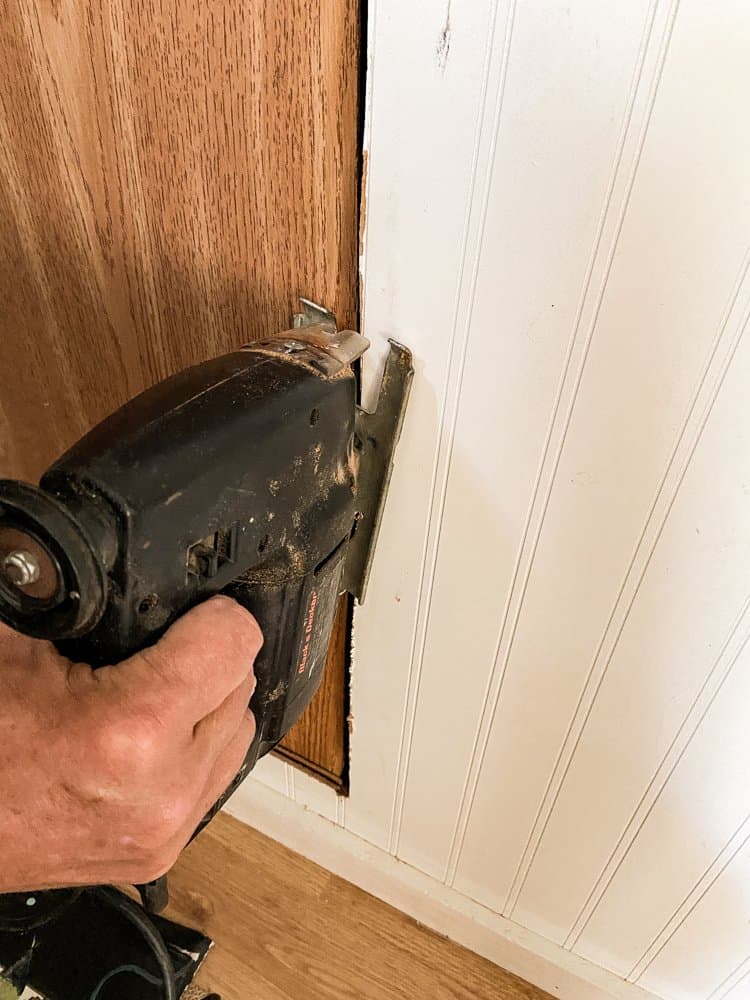
First, determine what size door is needed for easy access. Use a marker to draw the area for your opening. The opening we cut is approximately 18 by 26 inches.
Then, you can use a jigsaw to cut through the wall of the cabinet.

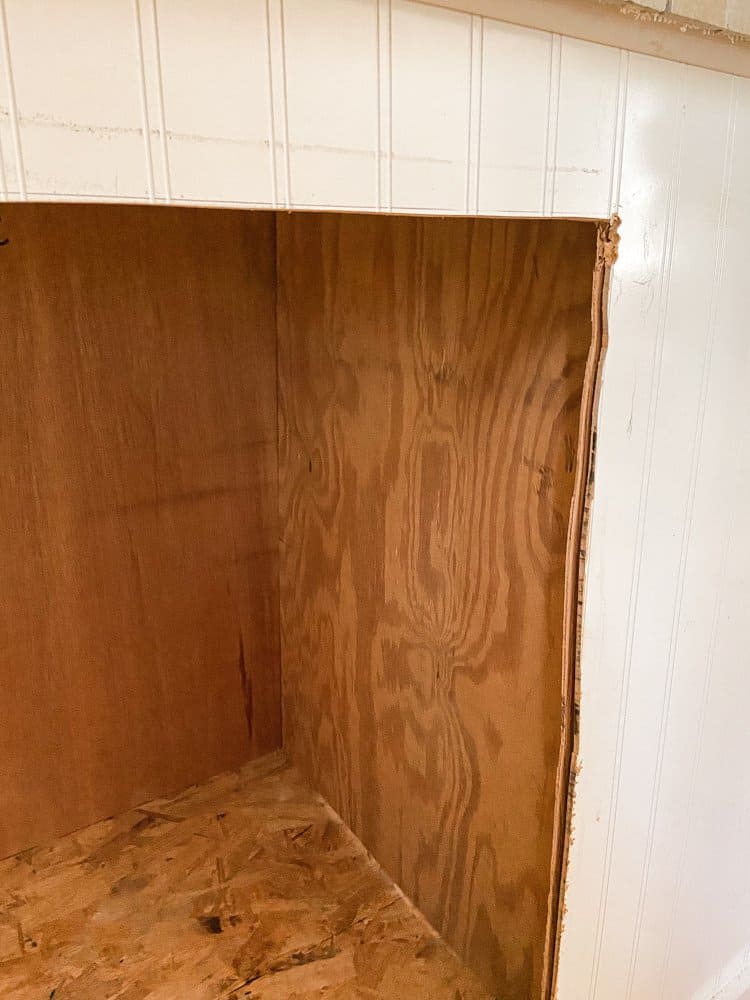
You can now see how much storage was initially hidden when the access was only from the front of the cabinet.
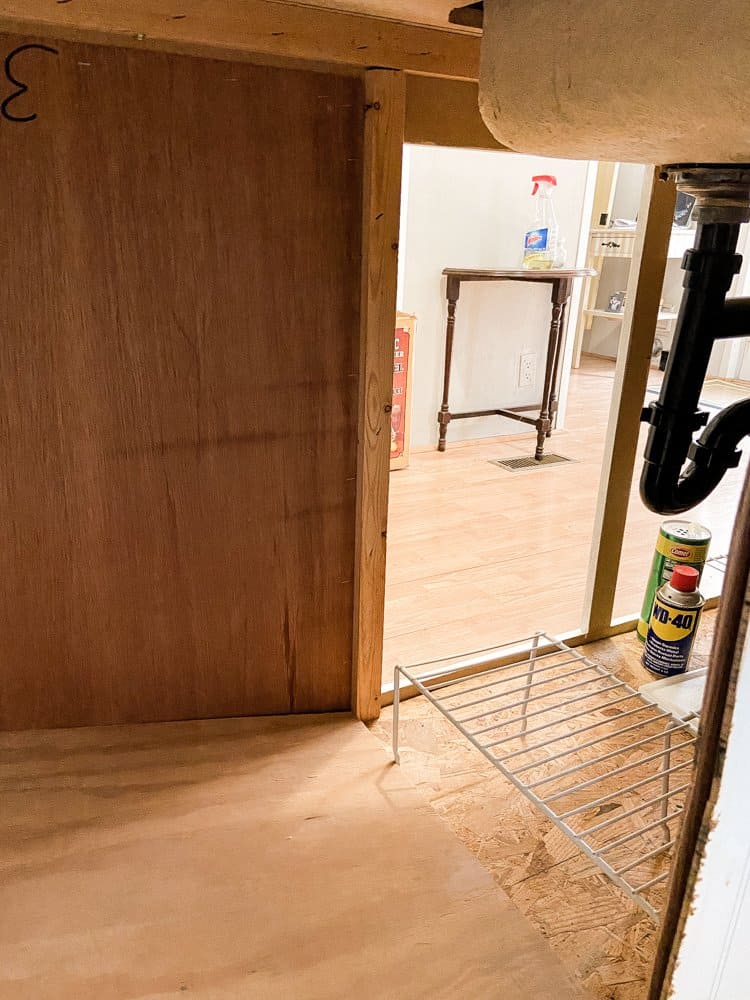
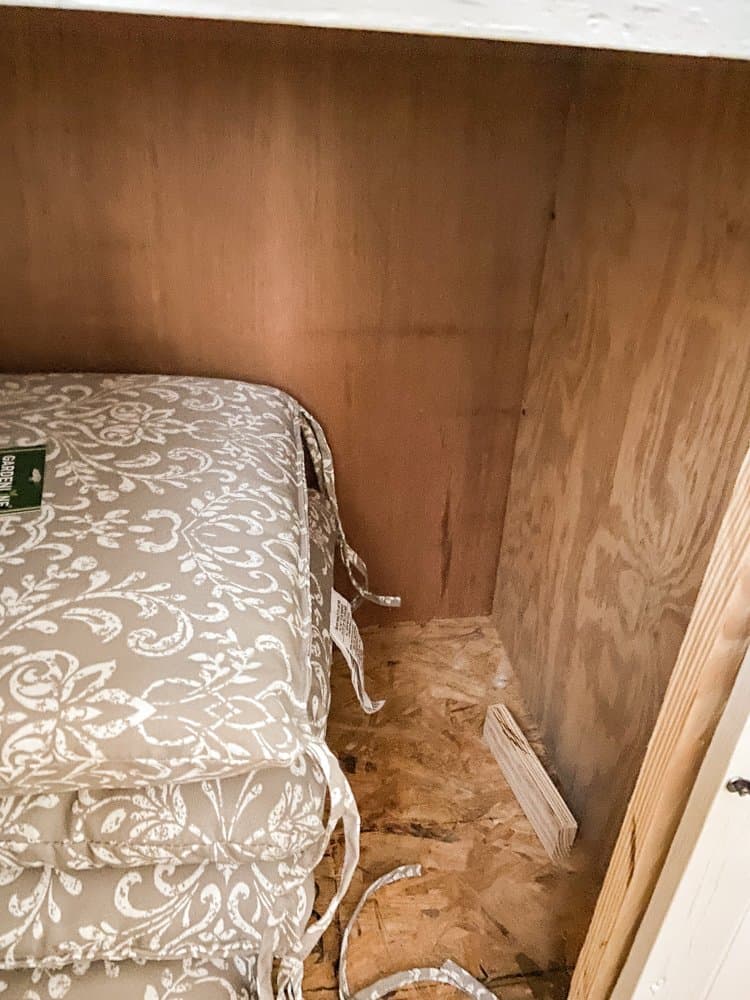
To make the space more functional and less confusing, we added a divider board between the two spaces.
This is just a simple piece of plywood that we had from another project and it was easily attached and held in place with wood strips and screws.
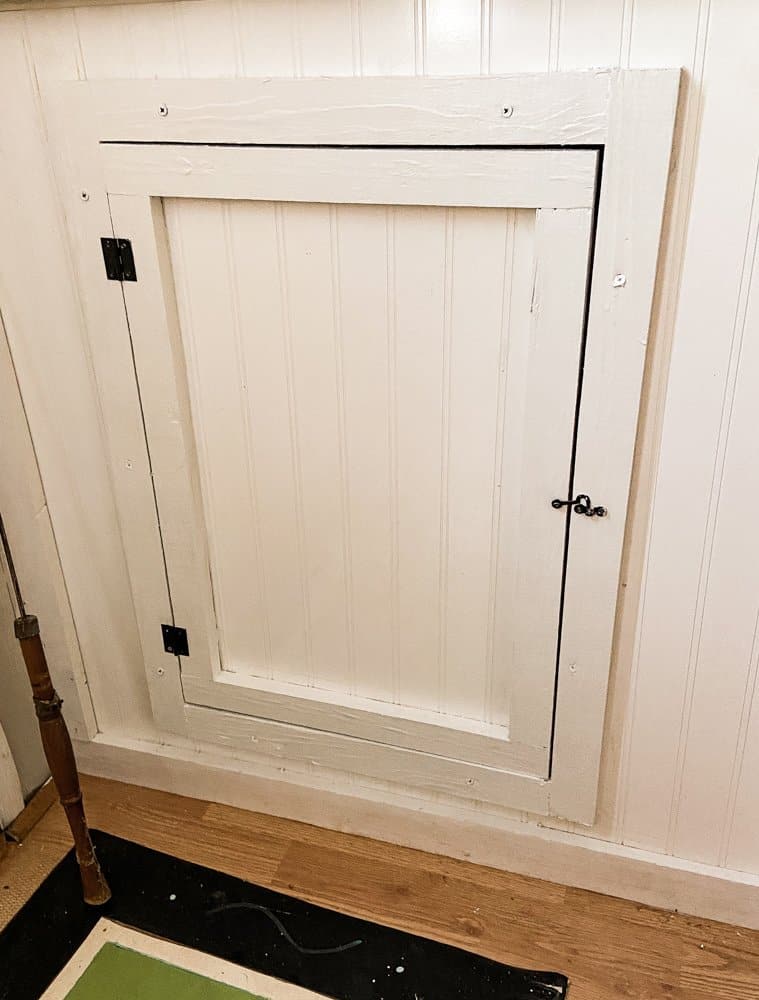
How To Build A Door For New Storage Space
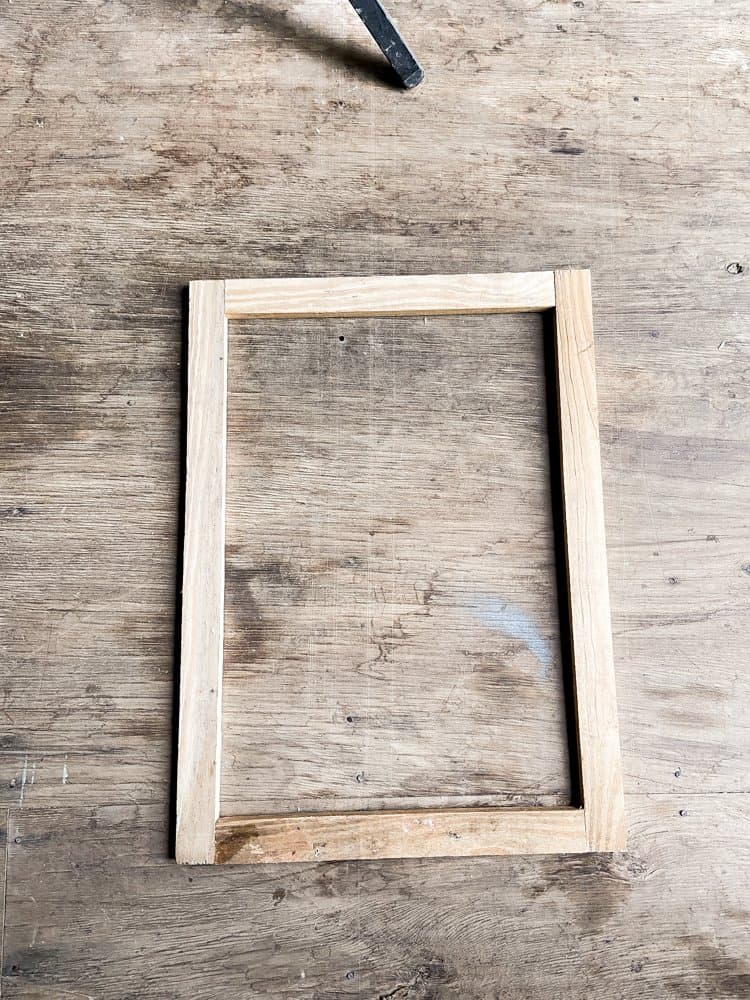
Next, we built two frames to create a door for the storage space.
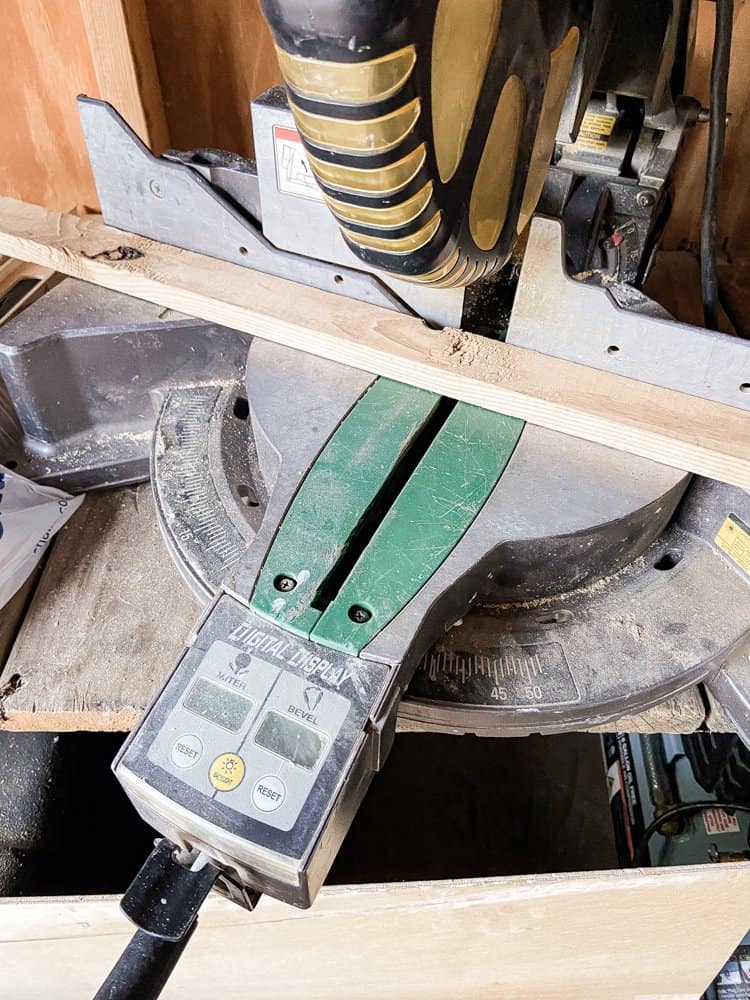
Each frame is built using wood strips that are 2 by 1 inch.
Cut the wood into the correct lengths for each frame using a miter saw.
The outside dimensions of the larger frame is approx. 20 1/2 by 28 1/2 Inches and the smaller frame is approx. 16 1/2 by 24 inches.
One frame will fit around the new opening and the second frame fits inside the first one.
The frames were built using wood glue and finishing nails.
The cabinet bead board paneling that was cut out to create the opening, is attached to the smaller frame from the back side.
Note: The bead board was trimmed to fit behind the smaller frame and attached with wood glue.
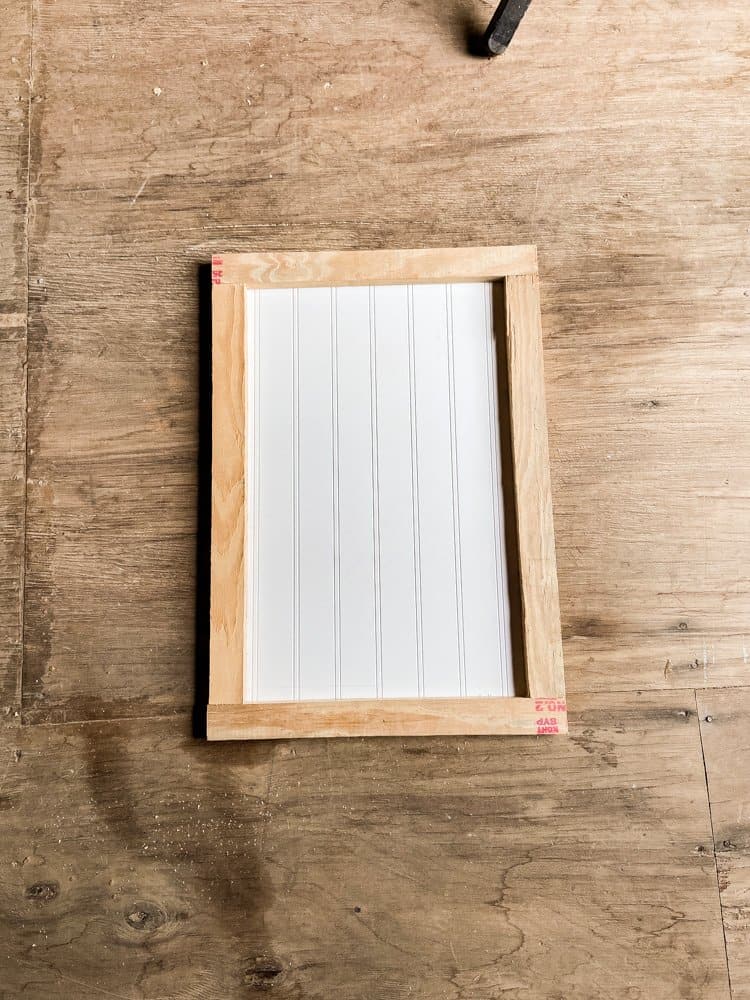
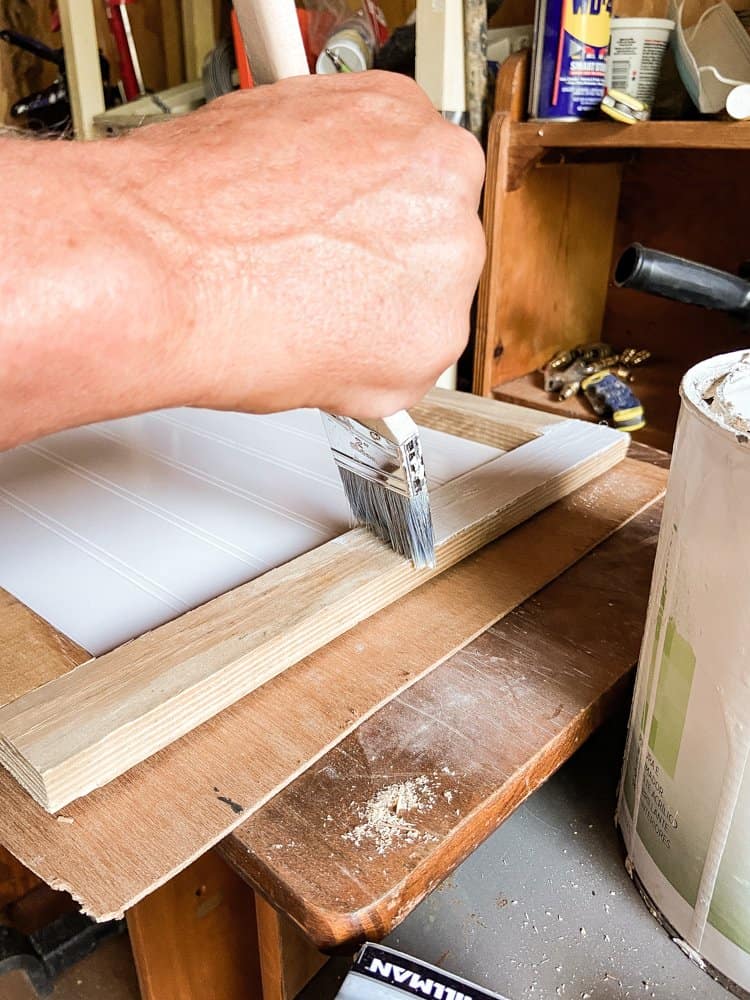
Before installing the new door frames, you will want to paint them with your choice of paint color.
How To Attach The Door
Next, lay the frames on a table with the smaller one inside the larger one. Then, using door hinges, attach the smaller frame to the larger one, ensuring they open and close freely.
Now, it’s time to install the frames to create your door.
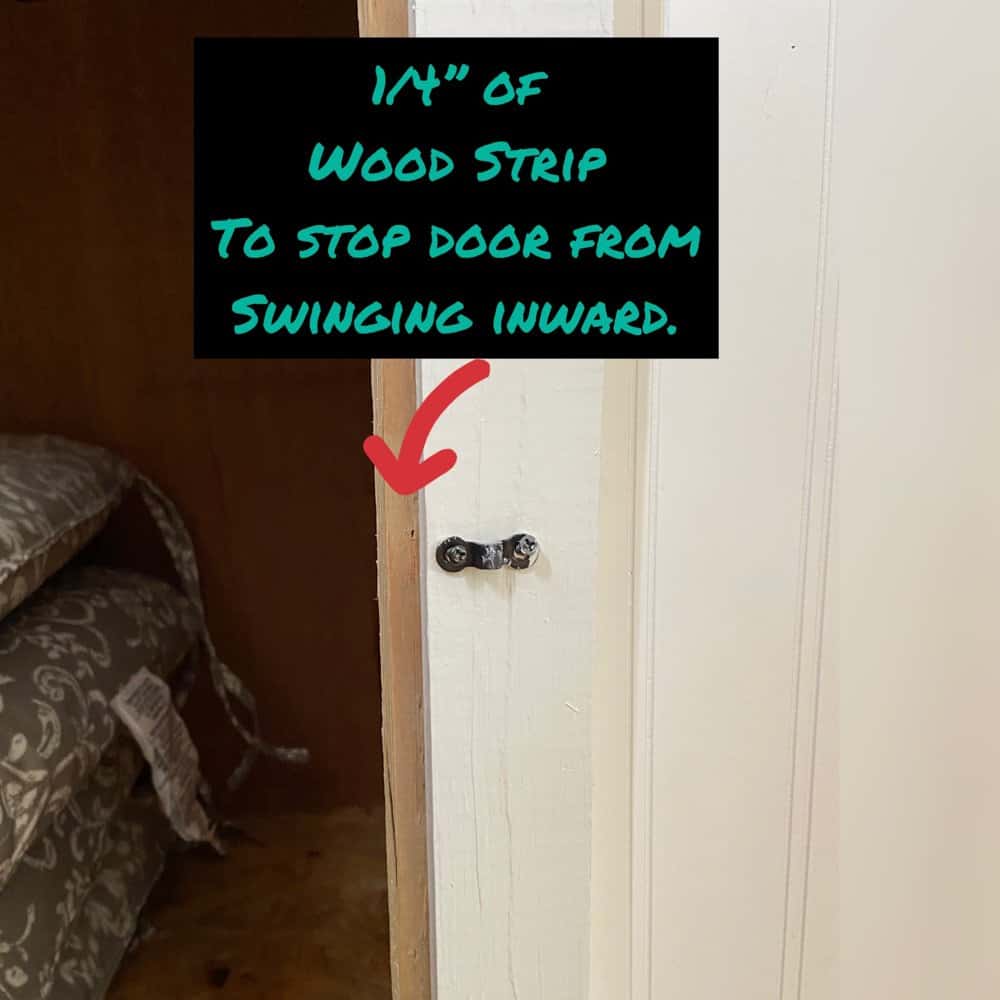
If your cabinet material is lightweight and thin, you will want to add wood strips to the inside of the cabinet. Be sure to position them in the exact location where the screws will be attached from the outside. In addition, you want the wood strips inside the cabinet to be placed so that the door cannot swing to the inside.
Position your frames over the opening and hold securely as you use wood screws to attach.
Finally, add a latch or door handle to keep the door closed.
So that you know, you may prefer a cabinet door professionally built to match your current cabinetry if you are planning this solution in your home. However, for our rustic guest cottage, this was a low-cost solution for us.
DIY Small Kitchen Storage Idea
Since the new storage space is beside the door, leading to the deck, the space is perfect for storing cushions ready to be taken out when guests are arriving.
Now, the space is functional, and items stored here can be easily seen.
More Creative Storage Ideas in a Small Kitchen
With limited drawer space, large, bulky kitchen utensils can crowd your drawers. This DIY kitchen storage Idea is a perfect solution.
You can install an inexpensive rod over the cooktop to store large items. Purchase S hooks and hang larger utensils such as spatulas, measuring cups, tongs, and corkscrews from the rod.
I used this cheap curtain rod and these S hooks for the guest cottage.
Resources
You can find my favorite craft and DIY supplies on my Amazon Storefront, where I regularly update the budget-friendly items. Plus, you’ll find other favorite categories to shop from.
You can click the images below for Resources.
I hope you enjoyed this simple, small kitchen storage solution. If you have a space similar to this in your cabinets, you will be amazed at how much more functional your kitchen cabinets can be.
Thanks so much for stopping by today. I look forward to sharing my next adventure with you.

Pin It To Remember It
Did you find some great ideas you’d like to save for future reference? Hover over the images you’d like to save and pin to your favorite Pinterest Boards when you see the PIN button.


Now, I’m waiting for some ice cream recipes.
Wonderful that you found the perfect place to store cushions.
Great creative job for storage and it looks wonderful.
Diana,
I really appreciate this. Thanks so much.
I love the storage ideas for the kitchen! That’s a great spot for the cushions! xo
Stacy,
Thanks for your encouragement.
Such a great idea! You are brilliant!
renae,
Awww, you are so sweet.
Rachel, what a great idea! I love that you used the panel for the door. You are so creative! Now I need to look around my house to see opportunities like this! So wonderful.
Mary,
You are so sweet to stop by. Thanks so much.
I actually like your DIY door it’s super cute for you new can see storage.
Marlene,
Yes, it makes a lot of difference.
Smart move! We did the same when we renovated a few years ago.
Oh, it makes such a difference.
So many great ideas Rachel. I love the little cabinet for your cushions, it also adds some charm with the cute door you made.
Wendy,
I really appreciate your comments.
Loved the storage ideas!
Thanks,
Teri
Teri,
I’m so glad you like it. Thank you.
I can always sue great small kitchen storage ideas, Rachel. Great ideas!
Kim,
I’m glad you found this helpful
Thank you for the great idea! We took down two cabinet doors to make a range hood out of wood. I stashed the old doors and I have a lot of wasted hollow space in my kitchen island. I already have the doors and the space. Going to do it.
Gina,
I’m so glad this gave you inspiration for your island. Thank you for sharing. Hope it turns out great.
Such great tips!!
Kristin,
Thank you.