A Dollar Tree Pumpkin Makeover: French Farmhouse Patisserie Style.
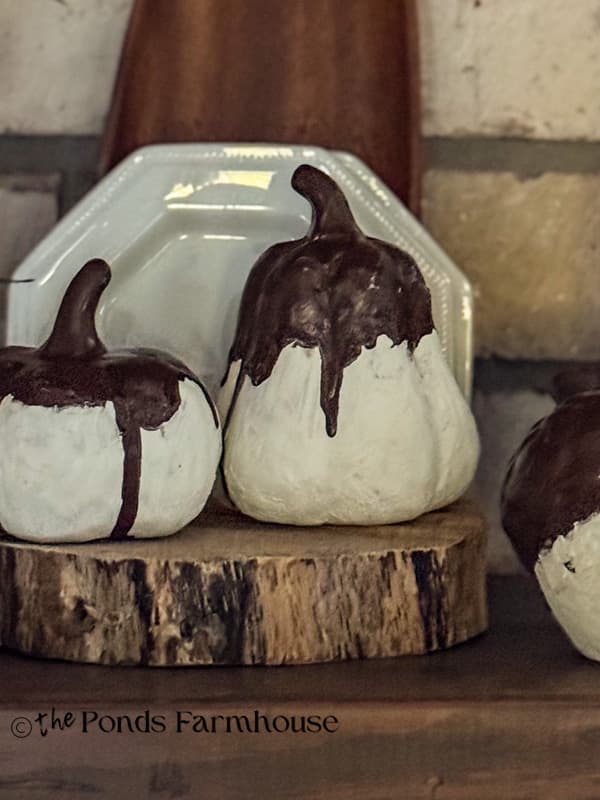
Hey Friends, I can’t wait to show you how my DIY project went wrong in the best way! I set out to create the look of old French glazed farmhouse pottery, but my little Dollar Tree pumpkins and acorns took an unexpected turn. With their creamy white bases and chocolate-brown drips, they started to look a little more like something from a French patisserie than a pottery studio. When my husband wanted to taste one, I decided that I liked them just as they were.
I’ll show you how you can turn your inexpensive Dollar Tree pumpkins and acorns into fun, chocolate-dipped, patisserie-style farmhouse decor. Let’s take a look at the supplies you’ll need and get started.
(Posts on The Ponds Farmhouse may contain affiliate links. As an Amazon Associate, I earn from qualifying purchases. See the full disclosure details here.)
Supply List
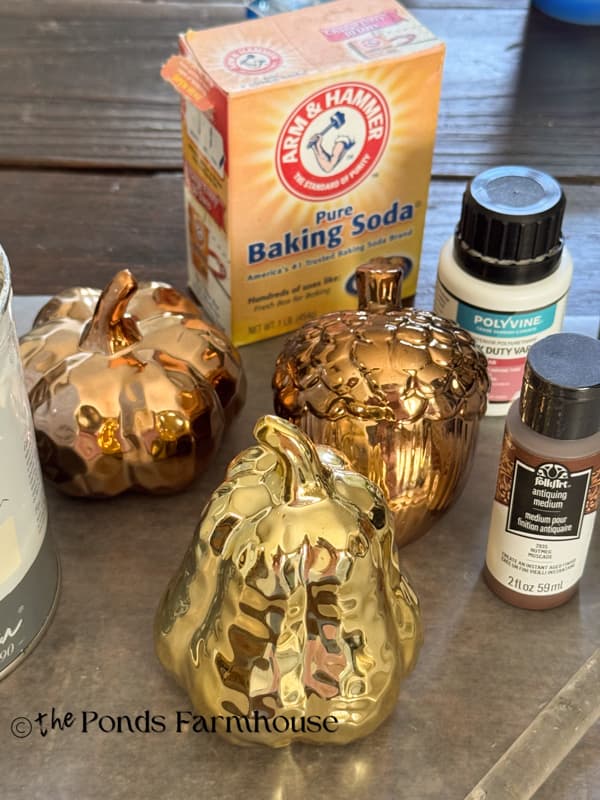
- Dollar Tree Pumpkins and Acorns – I had these with a metallic finish, but any ceramic or resin material will work.
- Chalky White Spray Paint
- Folk Art Vintage White Craft Paint
- Baking Soda
- Folk Art Antiquing Medium
- Heavy Duty Satin Varnish (PolyVine) or any quality brand
- Small Paint Brush
- Wax Paper
How To Transform Dollar Tree Pumpkins
Once you have gathered your supplies, you will want to prepare a place to paint your Dollar Tree pumpkins. I used wax paper to cover and protect my workstation. The wax paper will prevent the paint from sticking, so you can work quickly. If you plan to use spray paint as the base coat, you will need to prepare a safe, well-ventilated spot.
Step 1 – Chalky White Base Spray Paint
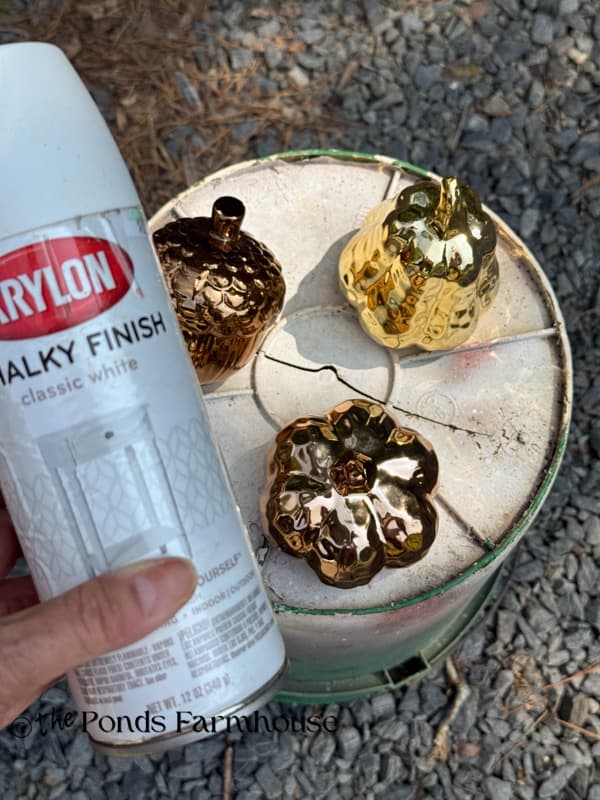
Since my Dollar Tree pumpkins have a shiny, metallic finish, I decided to use Chalky White spray paint as the base. This product seals the surface so that the craft paint will adhere and not peel off.
I used a bucket in the middle of my drive to paint the three pieces I’m working on. I gave them two light coats and allowed them to dry for 2 hours.
Step 2 – Apply a Rough, Pottery Style Finish
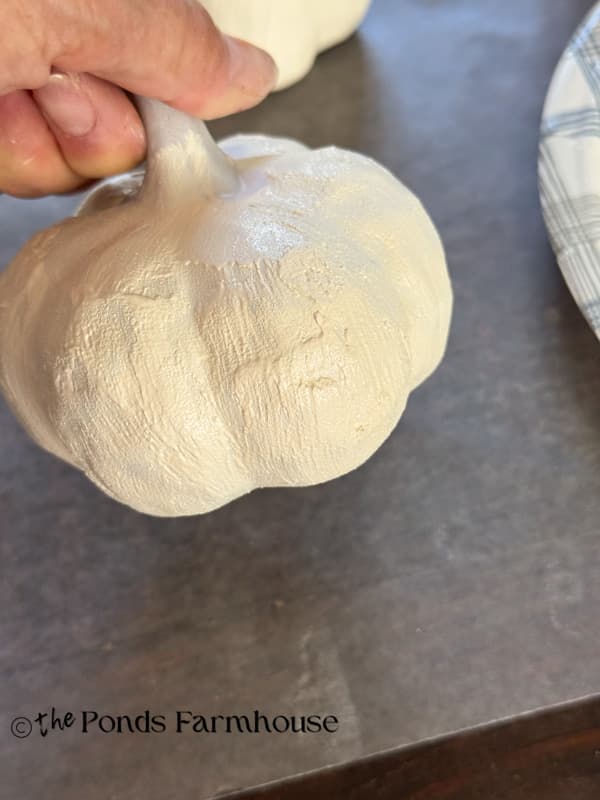
To create a rough pottery style finish, I mixed the craft paint with baking soda. I used a 50/50 mix.
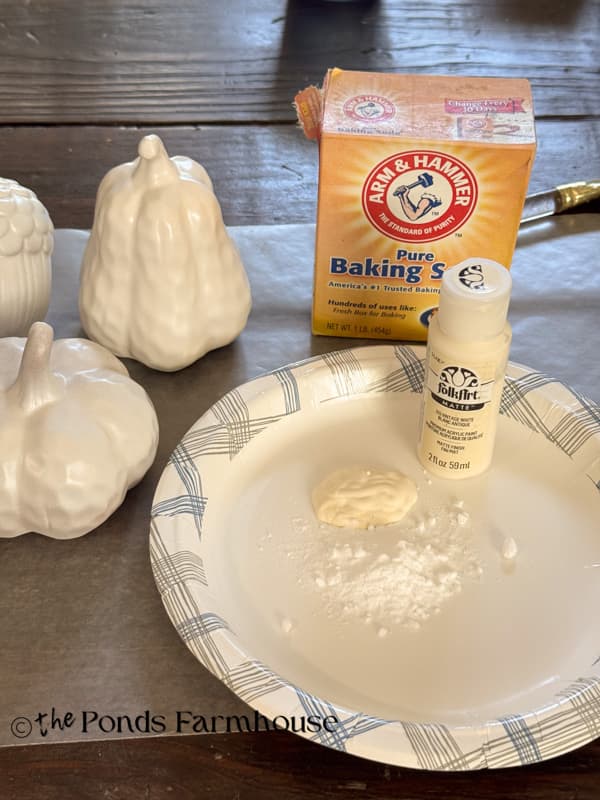
To apply, I used a small paintbrush and covered the lower parts of the pumpkins and acorn. Then allow the paint mixture to completely dry.
Step 3 – Apply Brown Glaze Finish
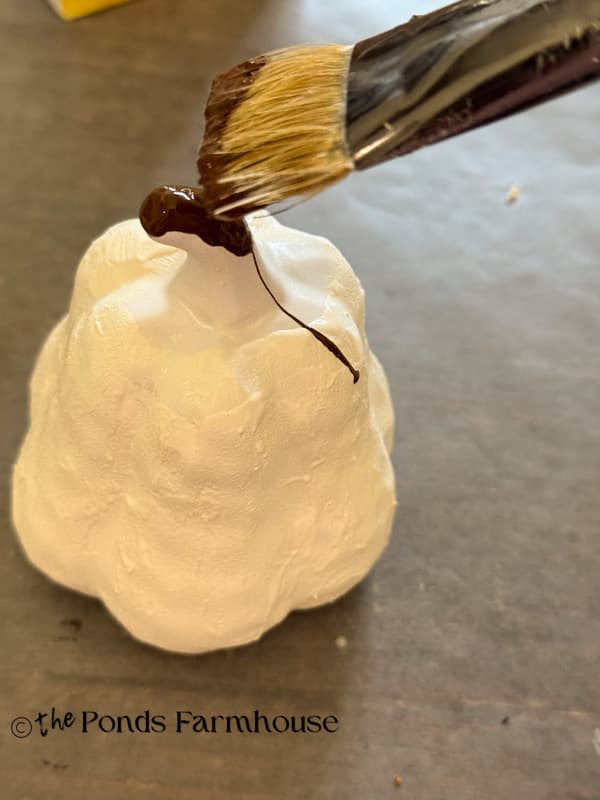
Finally, I mixed the Antiquing Medium with the satin varnish. I used 3 parts antiquing medium to 1 part varnish. The varnish was added to give the finish extra shine.
I began by brushing the stems with the mixture and kept adding more glaze until it began to run over the sides.
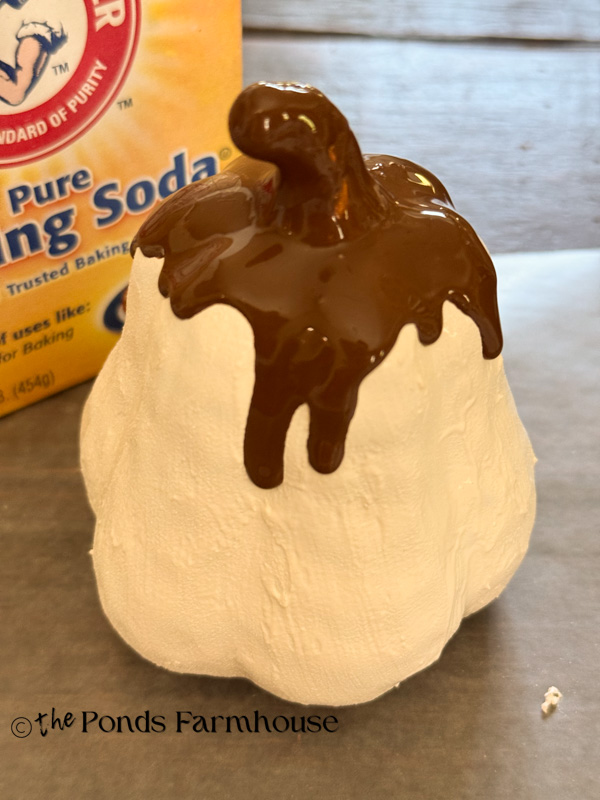
To speed up the process, I also used a spoon to drip the glaze faster and the hairdryer to help control the drips. The heavier areas of glaze ran quickly down some areas, and some areas kept running after I was satisfied with the appearance. I used the hair dryer on low speed to stop the runs.
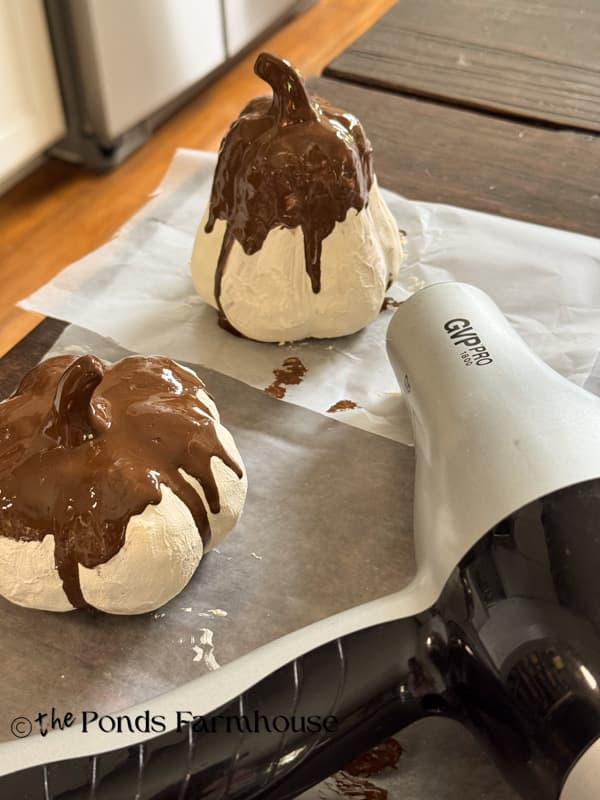
The Chocolate-Dipped Dollar Tree Pumpkins & Acorns
As the Dollar Tree pumpkins and acorns were drying on the countertop, my husband asked if they were edible. I said no; they are supposed to look like vintage French pottery decor. He said, “They look like chocolate-covered pumpkins to me.”
I realized he was right, but after I got over the shock of my creation, I decided I liked the look. They have a unique French patisserie feel and are perfect for adding a sweet touch to my farmhouse kitchen
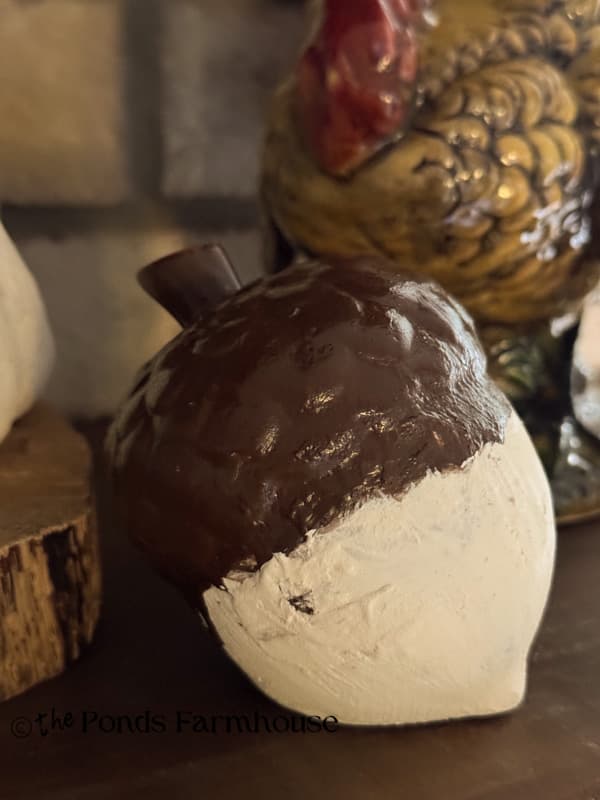
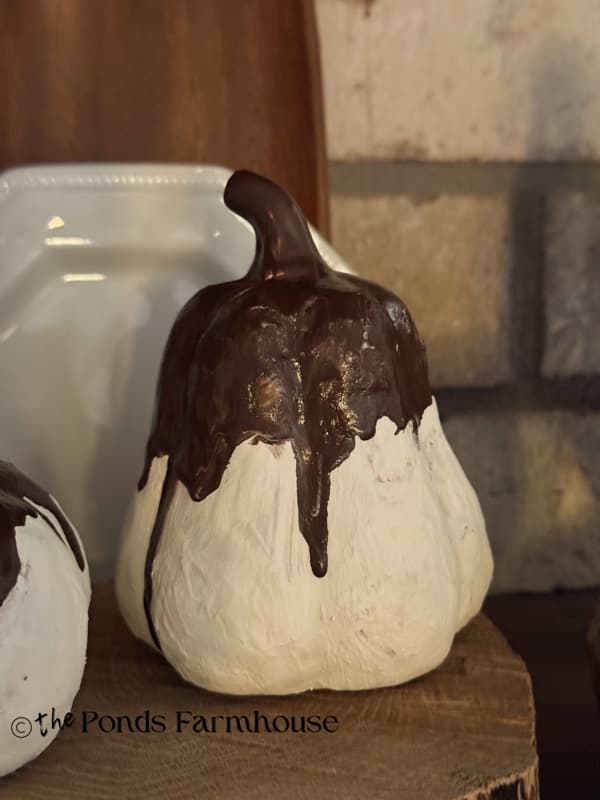
How To Decorate with French Farmhouse Patisserie Fall Decor
I added the French Farmhouse Patisserie Fall Decor to my kitchen open shelves. They look like a tasty treat ready to be plated.
They would also look sweet on a cake plate or serving dish displayed on your countertops or dining table.
Where would you display them?
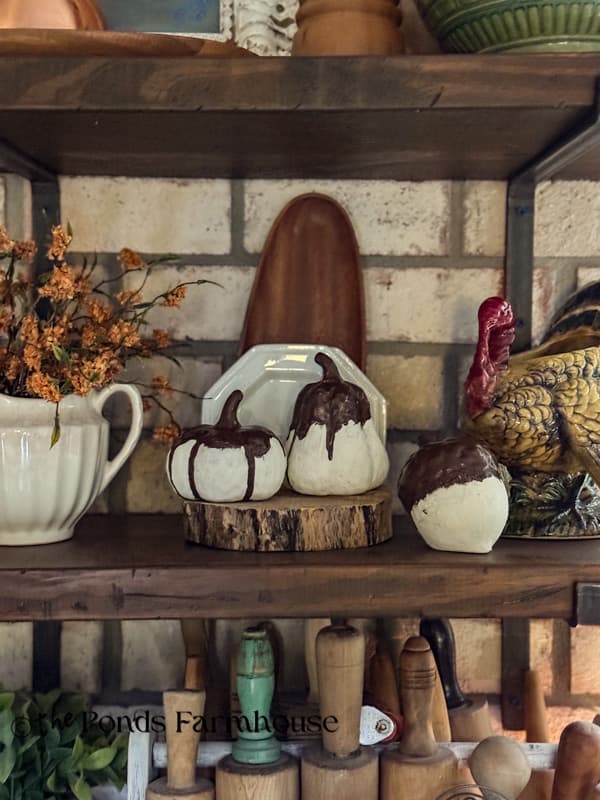
Conclusion:
In conclusion, I’m excited about my sweet error in judgment. The chocolate-dripped design is actually more unique than trying to duplicate the French Glazed Pottery look. However, I do think the technique would have worked had I used a different color of glaze. Had I used a green or blue glaze, they would have looked more like my original plan.
Other than drying time, this is a quick and easy project. So I would definitely give it another try.
In conclusion, some of the most creative ideas are born of a mistake in judgment. And I think this qualifies as one of those. Do you agree, or would you have tossed the project?
I’d love to hear about any of your failed projects that turned out to be a blessing in the end.
Have the best weekend, and I look forward to sharing my next adventure with you.