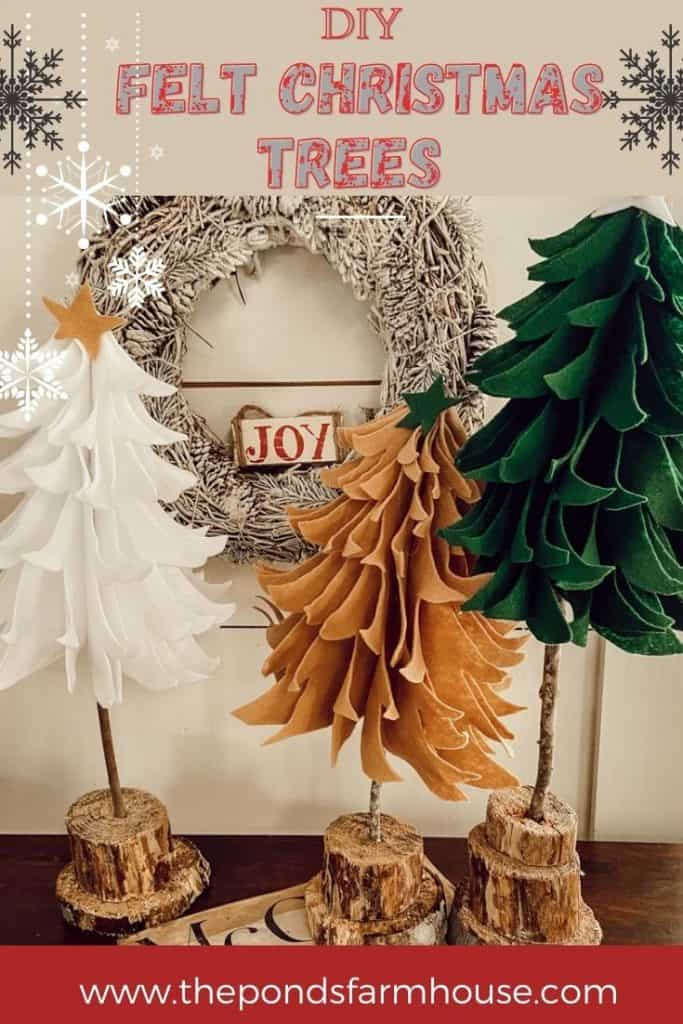
Create Whimsical DIY Felt Christmas Trees: Easy Tutorial
Want to add some whimsical holiday decor this year? See how to make easy Rustic DIY Felt Christmas Trees. They are so cute and add such a festive touch to any style of Christmas decor.
Y’all, a few months ago, I ran across the cutest tutorial from Katie at Little House of Four. She had made felt Christmas trees similar to the ones she had seen at Target. I loved how this DIY turned out and decided to see if I could do the same.
Supplies for Felt Christmas Trees
These trees are super easy to make and would also be an excellent project for kids.
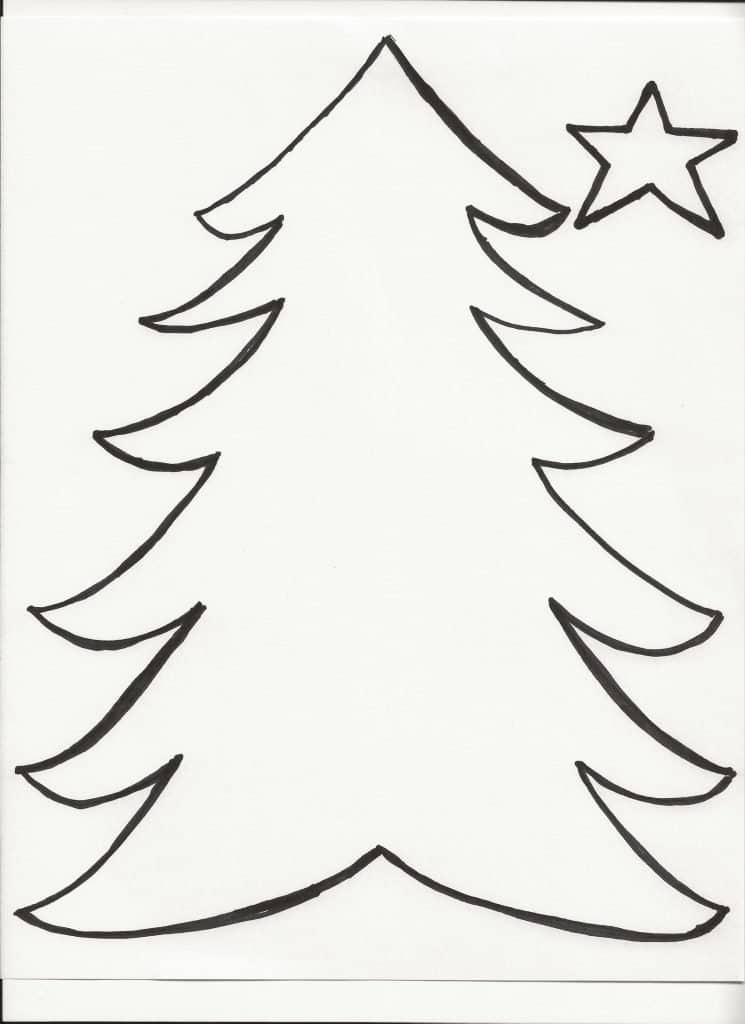
First, I created a template for the trees, and you can download and print it here.
- Felt – approx. 1/2 yard per tree
- Gather Sticks from your yard or woods – You can use dowel rods if you prefer.
- Wooden base. You can cut some fallen tree limbs, or you can purchase bases here.
- Ryobi Cordless Drill
- Ryobi Hot Glue Gun
- Christmas Tree Template
- Straight Pins
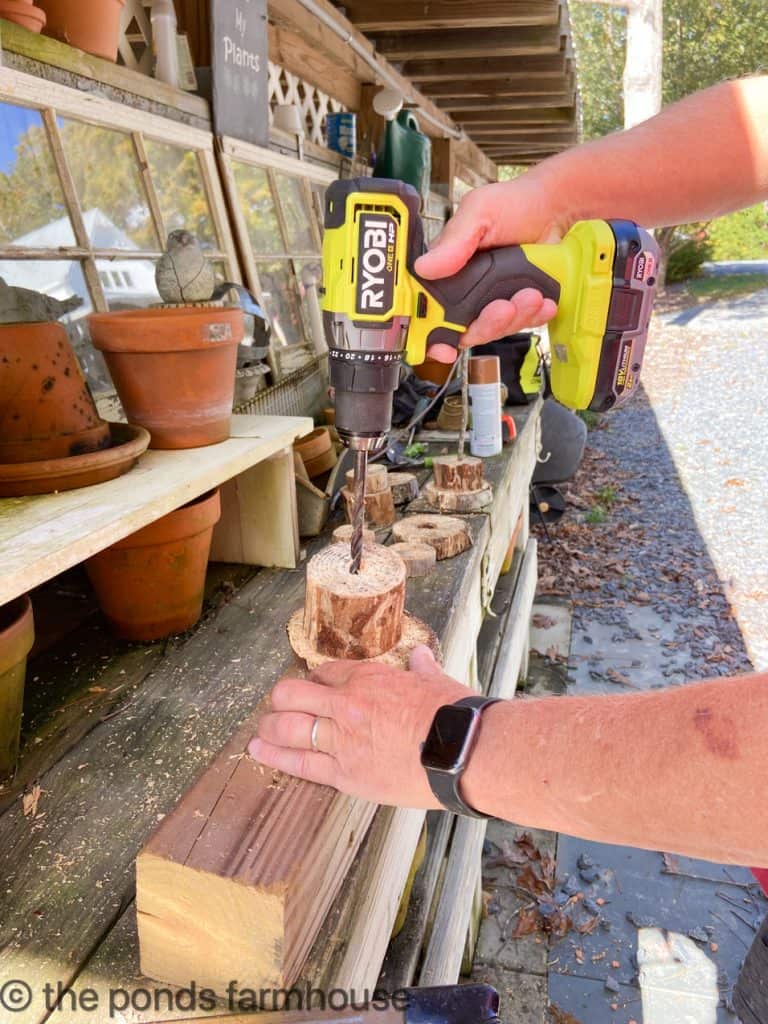
Prepare Christmas Tree Bases
To begin your project, gather your wooden sticks and cut them approximately 15 inches long.
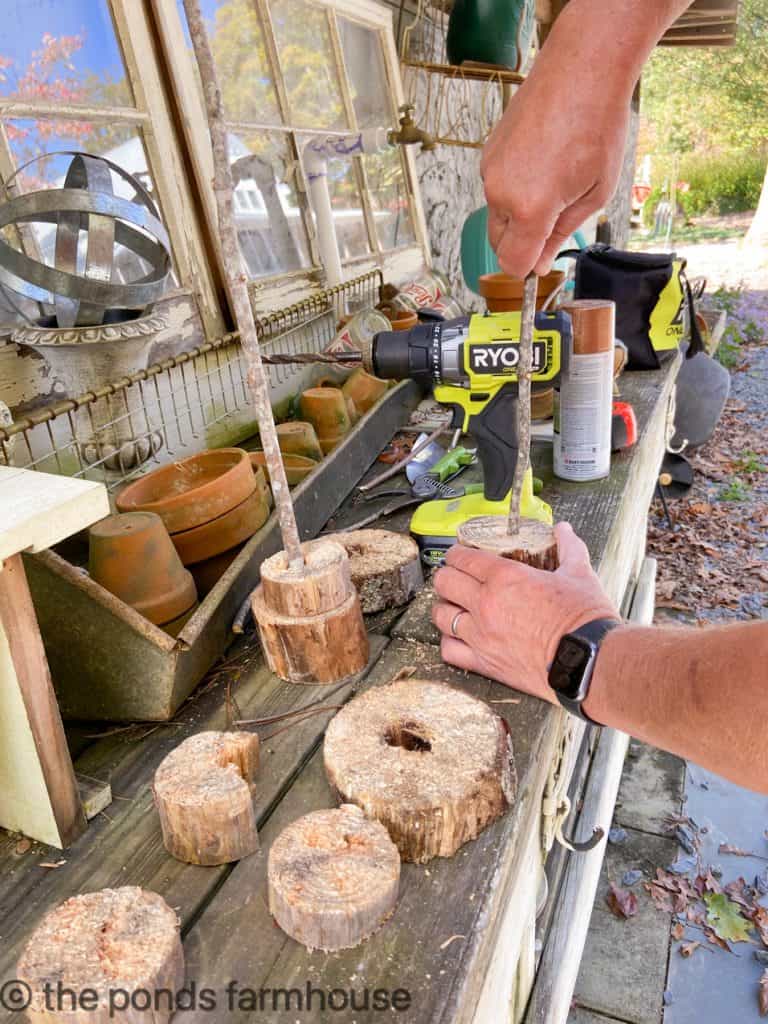
Then, drill a hole in your wooden base the same diameter as your stick. Check to make sure the stick fits in the base.
Create a Felt Christmas Tree Template
You can create your own template, or you are welcome to use the one I made.
Cut Out Felt For Trees
Begin cutting your trees from the felt by folding the template in half and pinning it to a piece of folded felt.
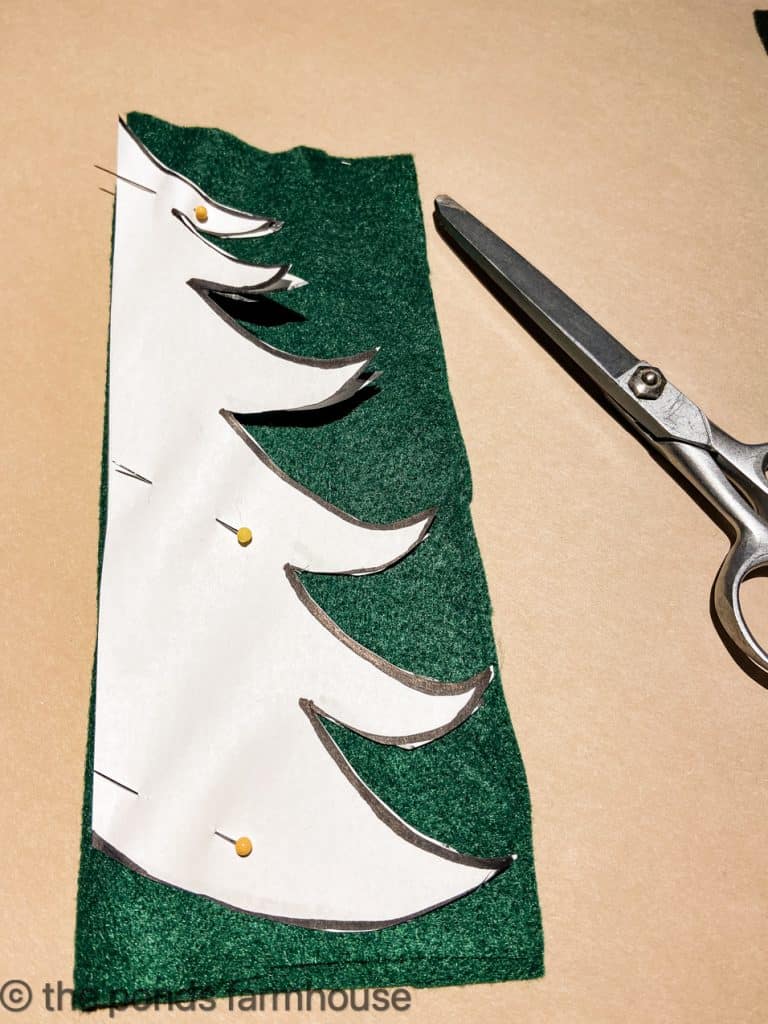
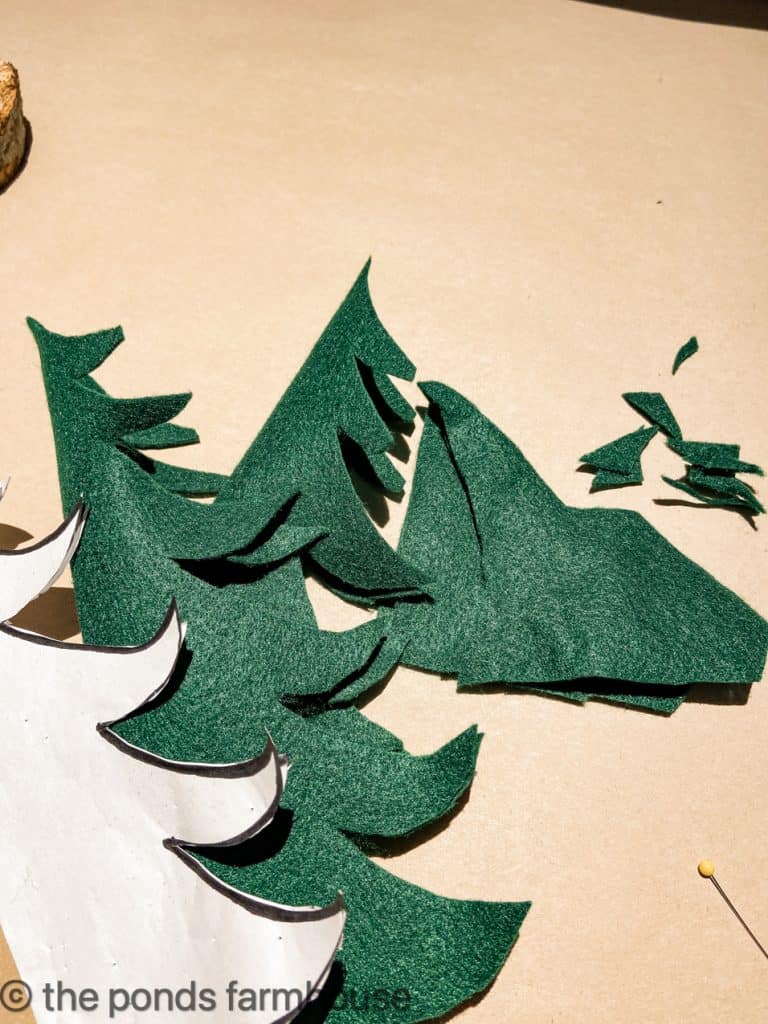
It takes approx. 10-12 trees for each felt tree; therefore, cutting two at a time is a big time saver.
With 1/2 yard of felt, you can cut two trees from the yardage if you place them close together, as you can see below.
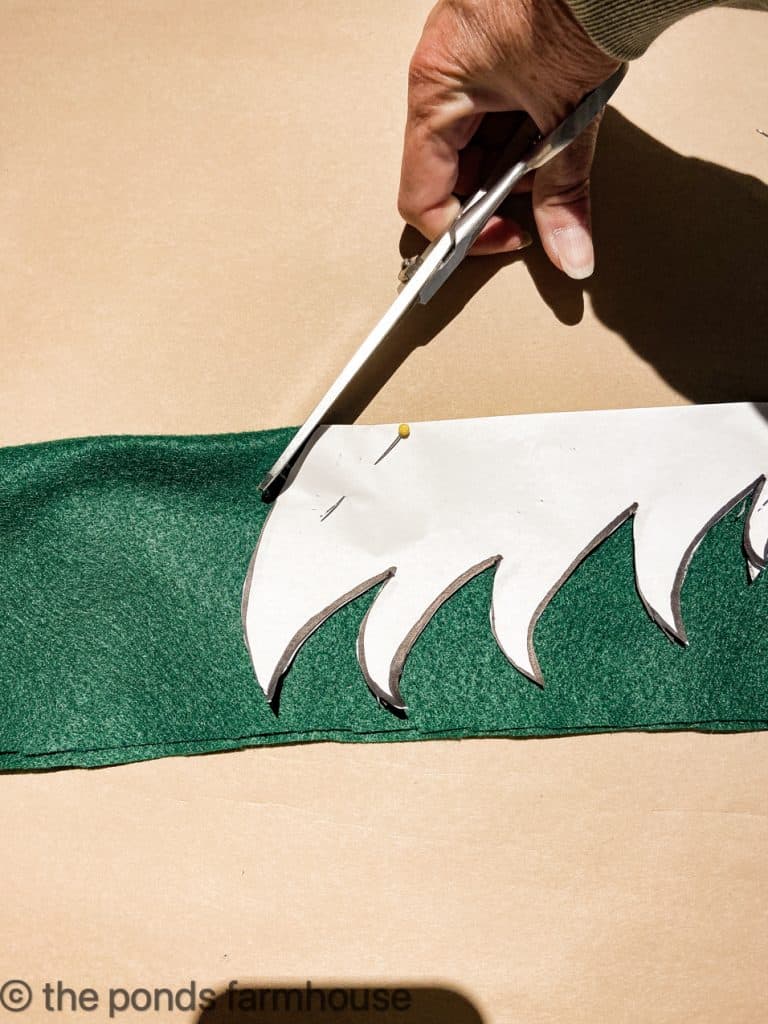
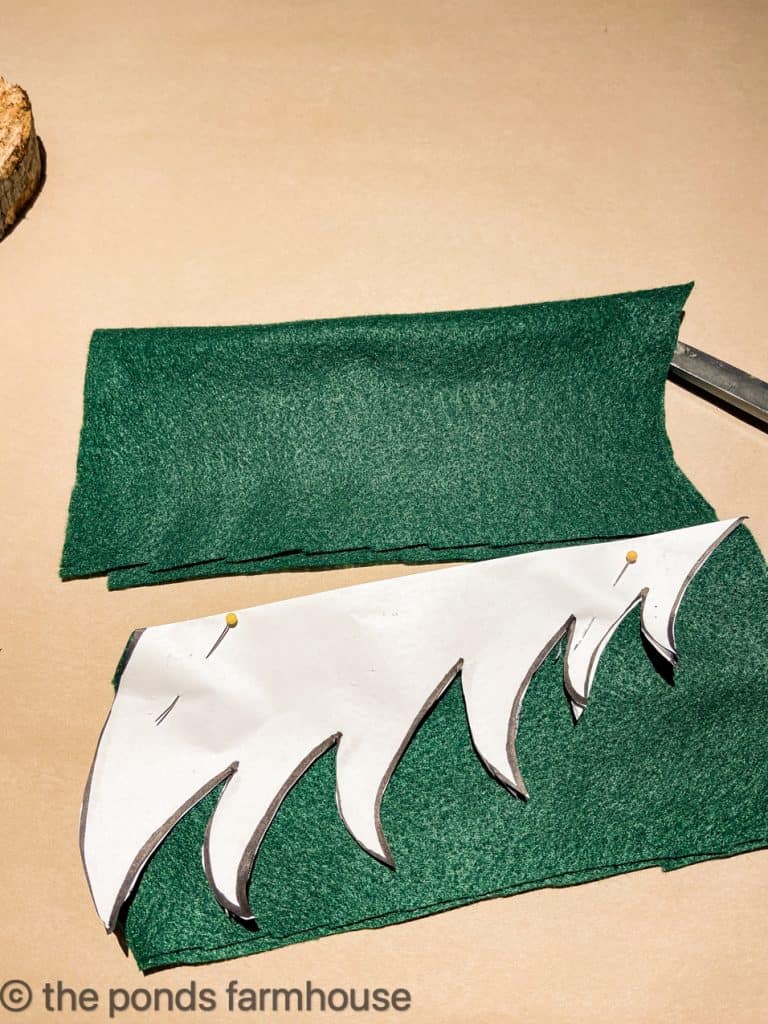
Cut the bottom from one tree and then place the two folded pieces of felt together so you can cut two simultaneously.
This allows you to save time cutting the trees and reduces the need for more felt.
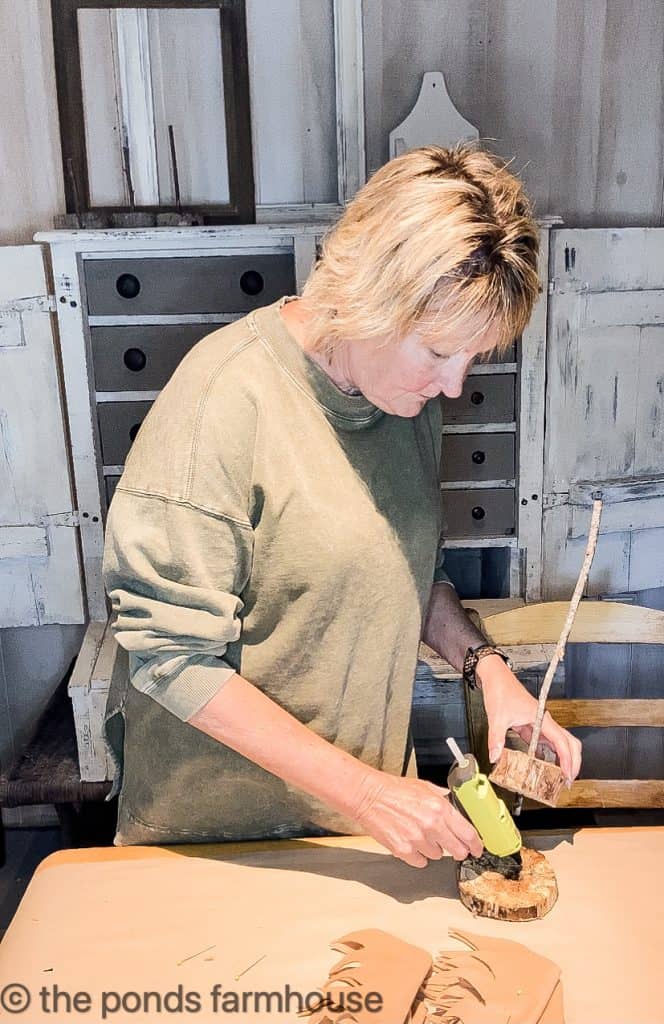
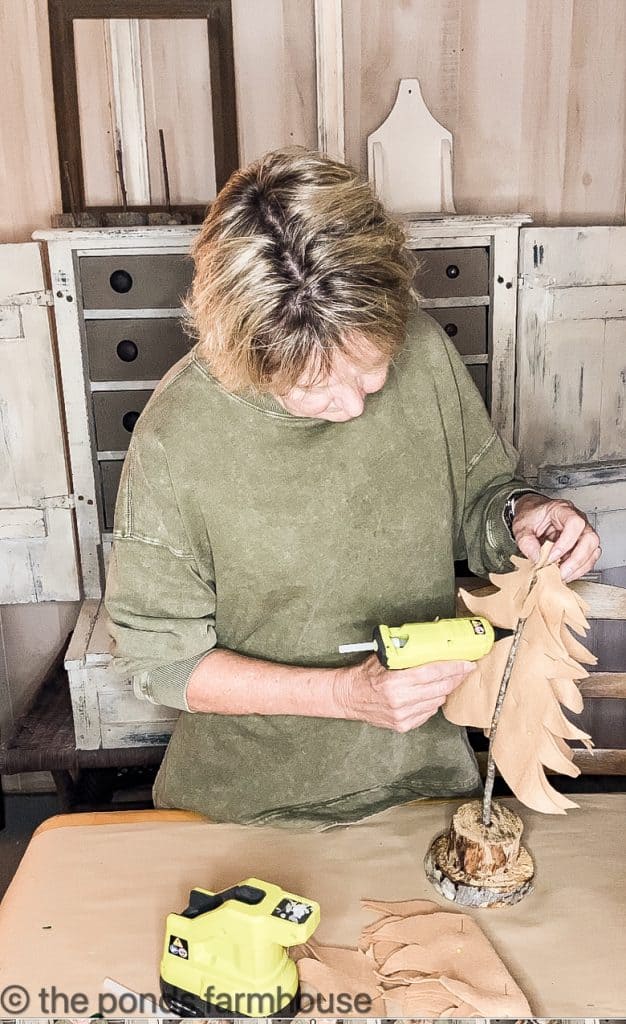
Attach Felt Christmas Trees To Stick
Now you are ready for your hot glue. I love using my Ryobi Cordless Glue Gun because I’m not attached to the cord and can move freely around the project.
Begin by securing the bases and ensuring the stick fits tight in the drilled hole. If necessary, add glue to the stick to secure it.
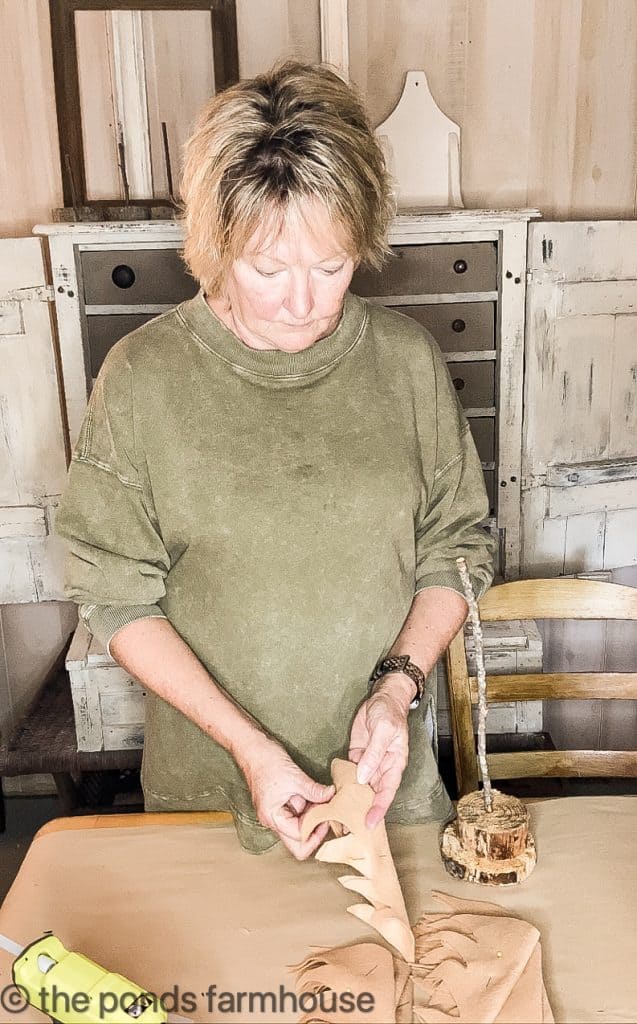
Then, fold the felt trees in half. Use straight pins to hold them in place.
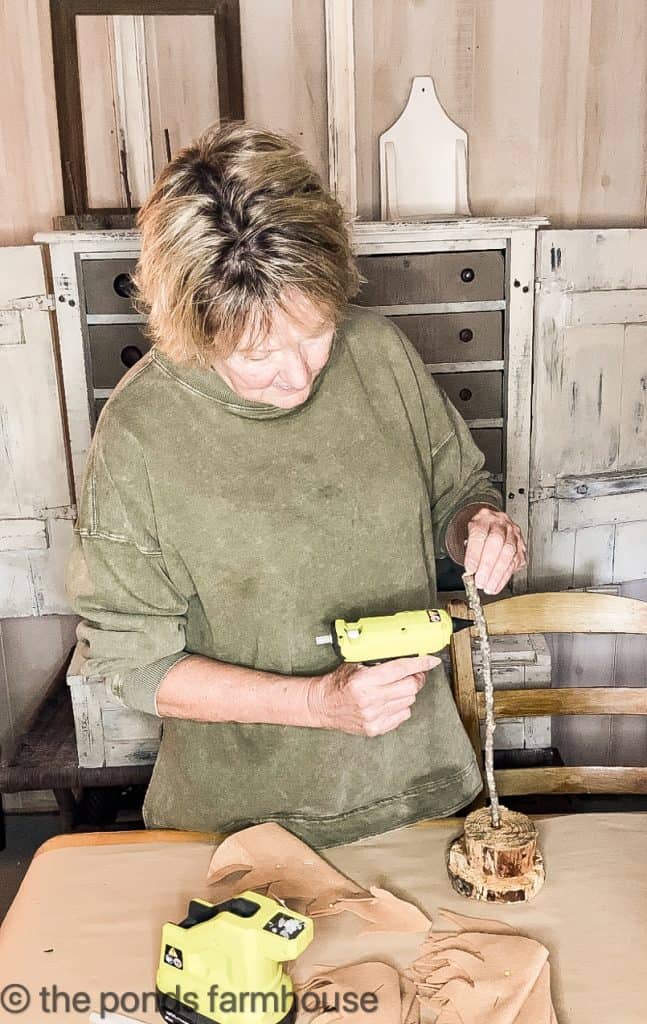
Apply a bead of hot glue straight down the stick, approximately the length of the felt trees. Then, attach the tree at the crease and allow a small amount of the tree peak to be above the stick.Make sure the tree is attached, and add more trees next to the one you just secured.
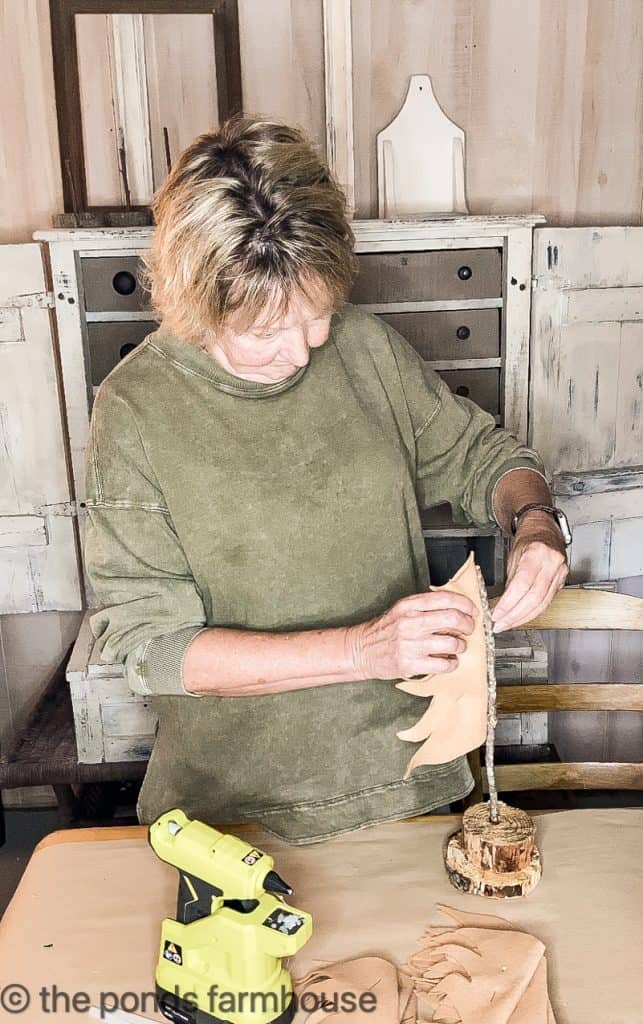
Continue adding the folded felt trees until the stick is 100% covered. Once the tree is complete, use a drop of glue to attach the tops of the trees above the stick.
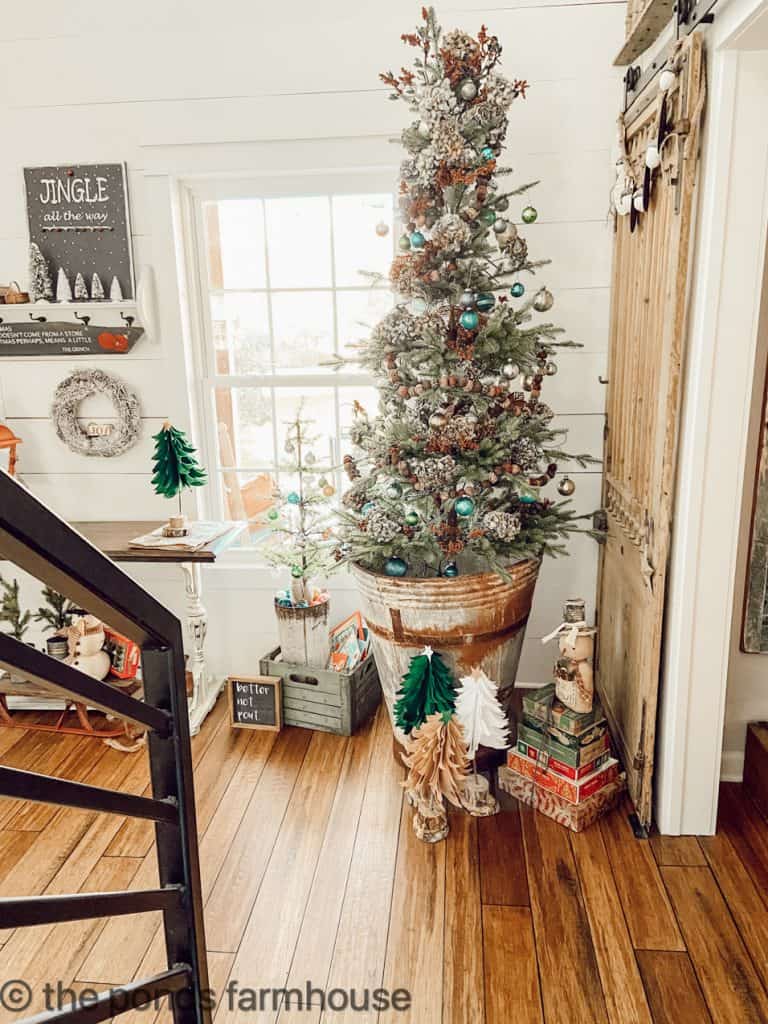
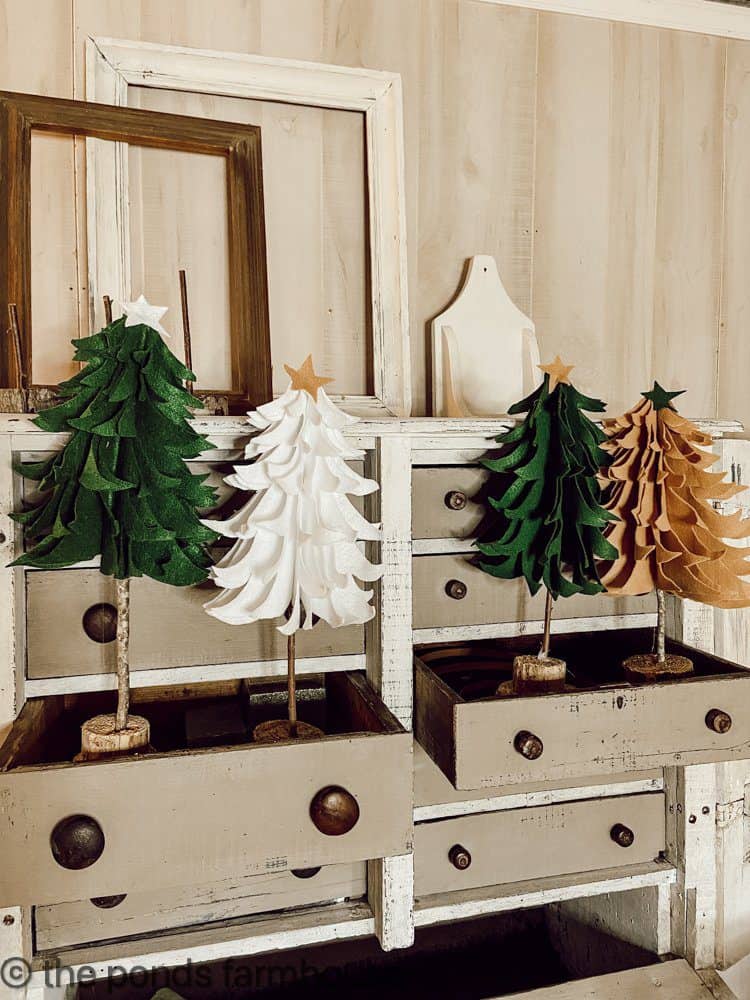
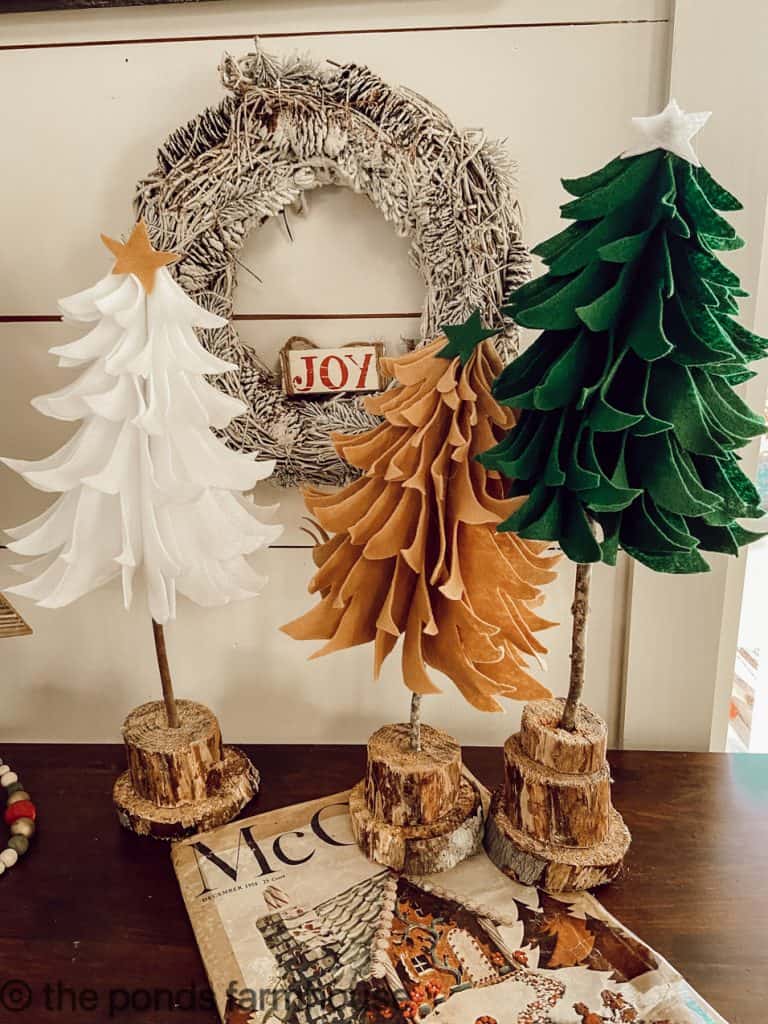
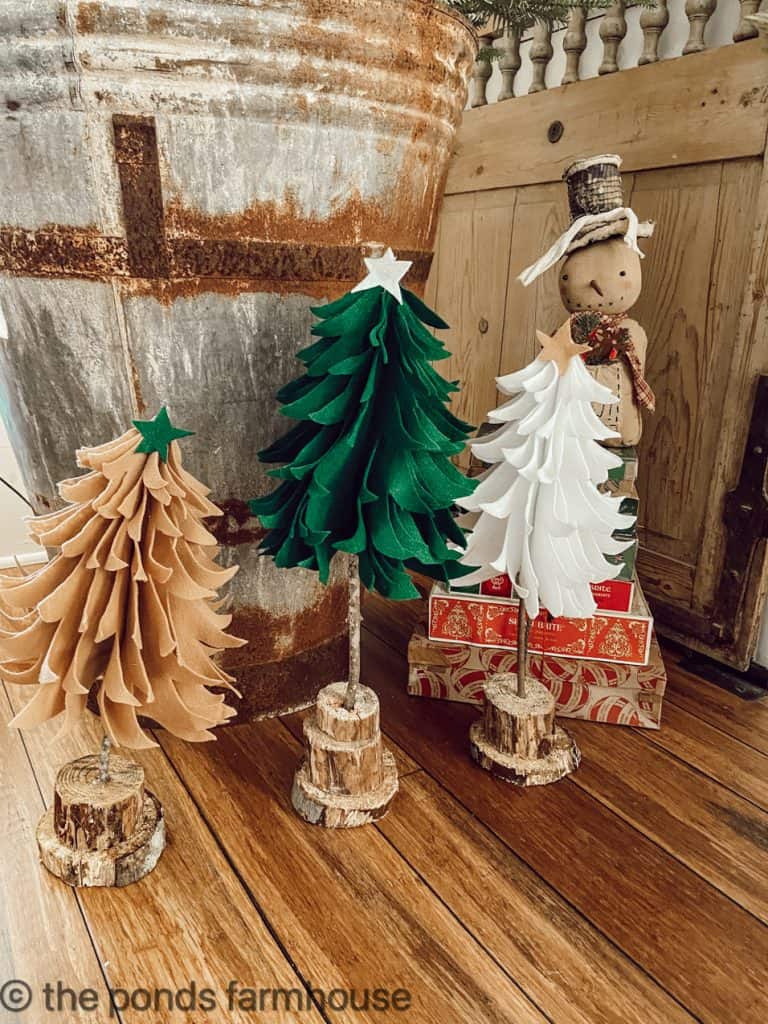
Rustic Felt Christmas Trees
In addition, I added a small felt star to the top of each tree. You can also add felt berries or ornaments to style the trees. It would be fun to include the smaller kids in the project.
Watch Video Instructions

Here are the 3 different colored trees grouped together. I love the rustic feel of these fun trees.
These cute trees will be moved all around the house this holiday season.
I hope you like this simple DIY Felt Christmas Tree project. If you have any questions, please feel free to ask.
Thanks so much for stopping by today. I look forward to sharing my next adventure with you.

Pin It To Remember It
Did you find some great ideas you’d like to save for future reference? Hover over the images you’d like to save and pin to your favorite Pinterest Boards when you see the PIN button.


Rachel those felt trees are so cute! xo
Glad you like this.
Love them! Will certainly have to try it!
Thanks for sharing 🎄
Margie,
I really appreciate this so much.
Wow! This is a really great idea! I love this.
Love your site and all of the fun things that you share!!! No reason for anyone to ever say that they are bored. We won’t live long enough to do all that we would like to do!!!
Renae,
I really appreciate this.
Love the trees! But even more, love that dried wreath! But please, may I ask if the cones and needles, etc., are lightly painted with white or just dried naturally?
Your projects are always explained well, and appeal to our budget concerns! Thanks for sharing all these “goodies!”
Kathleen,
Thank you so much for stopping by. I didn’t make the wreath but it appears to be spray painted with some type of snow effect. It’s very flakey. You could possibly get this effect with the flocking technique I shared on 2 Easy Steps to Flock a Christmas Tree and avoid the mess. If can see it flaking onto the table as I walk past. LOL
I made these today and love them!!! I plan on making more with our older grandchildren this week. Thank you so much for sharing. I could just hug your neck.
This is just the best idea Rachel!
Kim,
Thanks so much
Rachel, these are adorable! Genius idea and a great project to do with the kiddos! 🙂
Kathee,
I’m so glad you like this idea. Thanks for stopping by.
Those are adorable!
Susan,
I’m so glad you like them.
Super cute! I love this idea. Hugs to you.
Renae,
I really appreciate this.
Totally obsessed with these trees, Rachel! They are so stinking cute. I definitely need to make some pink ones for my house. Thanks for the pattern and the easy step-by-step too. It helps so much! Big hugs, CoCo
Yes you should. That would be adorable.