
Easy $20 DIY Wood Slice Pumpkin Wreath for Rustic Fall Decor
Hey friends! As fall approaches, I love taking a rustic, sustainable approach to my autumn home decor. When I found these natural wooden slices, I immediately envisioned a cozy DIY wood slice pumpkin wreath.
By upcycling a simple cardboard box and using Dollar Tree ribbon, this adorable fall wreath cost less than $20 to make. It’s an easy, beginner-friendly project that anyone with a hot glue gun can master!
Today, I’m sharing the full supply list and step-by-step tutorial so you can craft your own rustic pumpkin decor. Let’s get started!
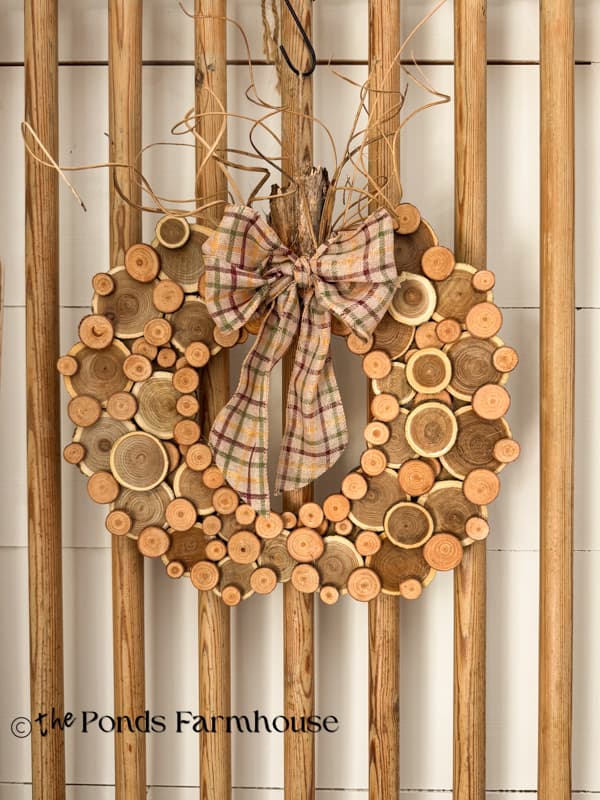
(Posts on The Ponds Farmhouse may contain affiliate links. As an Amazon Associate, I earn from qualifying purchases. See the full disclosure details here.)
Supply List
- Large Wood Slices
- Small Wood Slices
- Hot Glue Gun
- Jute Twine
- Plaid Ribbon – Dollar Tree or a similar one
- Optional – Natural Curly Ting Branches
- Large Cardboard Box – Optional Wooden Wreath Frame
- Sharpie Marker
- Scissors or Box Cutter
- A Gather Stick or Twig for the pumpkin stem
How to Make A DIY Pumpkin Frame
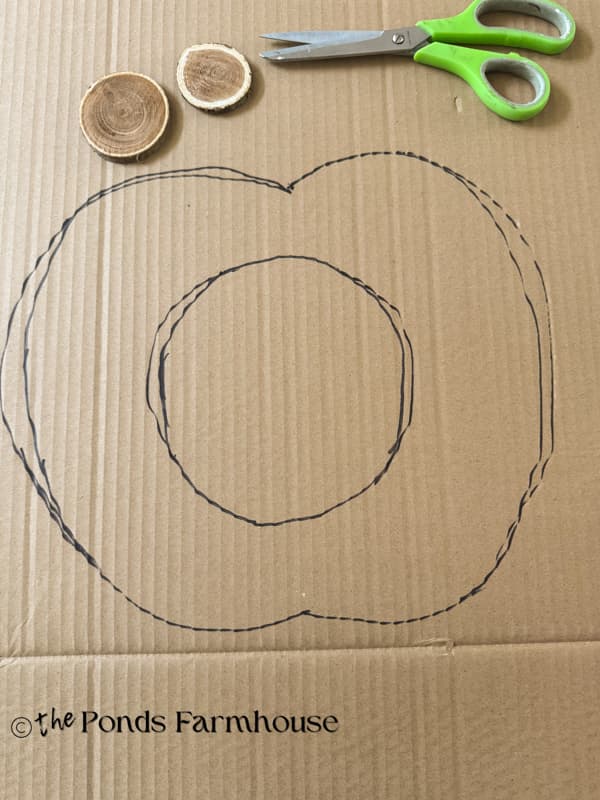
The first step in making the DIY Pumpkin Wreath is to create a frame in the shape of a pumpkin. I had a large, heavy-duty cardboard box, and I drew the pumpkin shape onto the box with a Sharpie. I used a small plate to draw the circle in the middle.
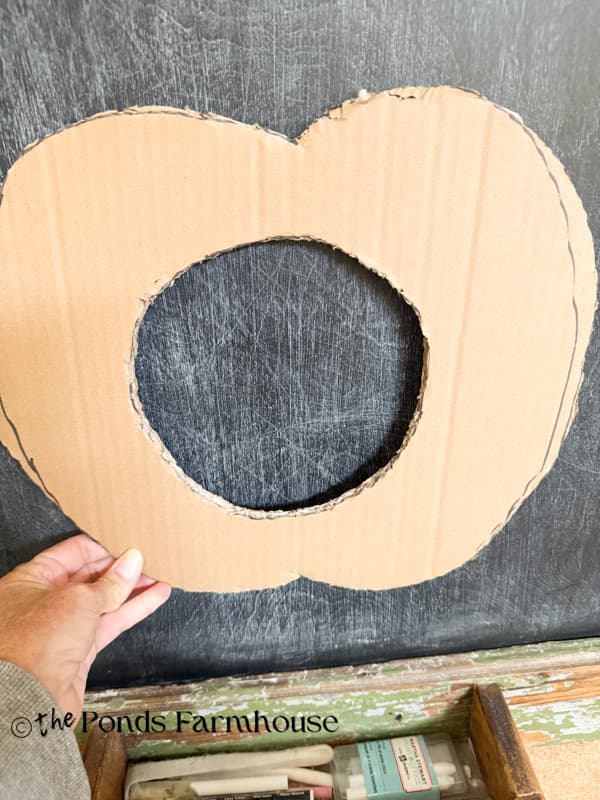
Once I had the shape and size to my satisfaction, I cut the pumpkin frame using a combination of scissors and a box cutter. Because the cardboard was so heavy, I found that making the first cut with a box cutter allowed me to use the scissors to finish cutting through the last layer.
The cardboard doesn’t have to be perfect, as you will be covering it with the wood slices.
Insider Tip
If you plan to use this wreath outdoors, I don’t recommend using cardboard as the base. The damp weather will cause the cardboard to break down. Other options for outdoor use would be foam board or plastic. You could also look for a ready-made pumpkin-shaped wreath. I was only able to find round wooden frames, but you can create the pumpkin shape with the placement of your wood slices.
How To Add The Wood Slices To The Cardboard Frame
Next, I did a practice layout of the wood slices. Beginning around the outer edges, I placed the largest slices and then the medium-sized ones. Once I saw that I had enough of each size, I began to secure them to the frame with hot glue.
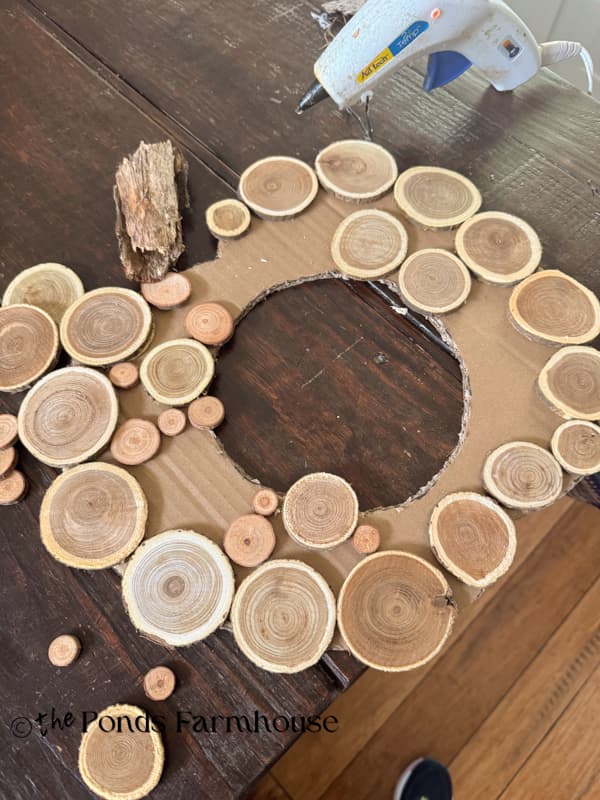
- Begin with the largest wood slices and secure them around the outside edges, allowing them to hang off the edge and completely cover the cardboard on the edge. Leave a gap for the stem.
- At the top of the pumpkin, secure the wooden stem with hot glue.
- Next, fill in with smaller wood slices until all areas are covered.
Note: You only need a small amount of hot glue to secure the wood slices.
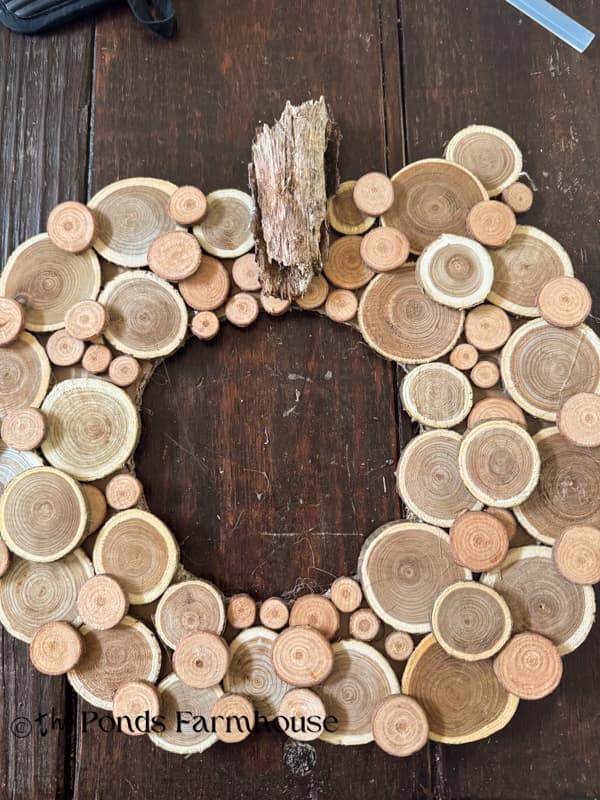
- Finally, go around the edges with smaller pieces to cover any gaps. Place these smaller pieces on top of the first round.
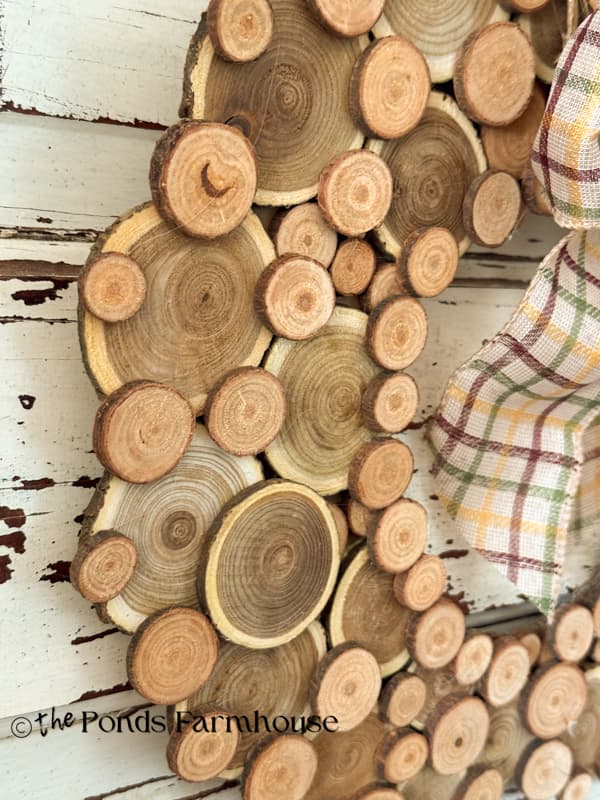
How to Make a Bow and Finishing Touches for a Fall Wreath
I decided to add a fall bow to the wreath. I found this plaid ribbon at Dollar Tree that works perfectly with the natural color of the wood slices.
Easy Bow Making
To create the bow, I used my DIY Bow Maker. You can see the details at –Bow Making Made Simple: Using a DIY Bow Maker.
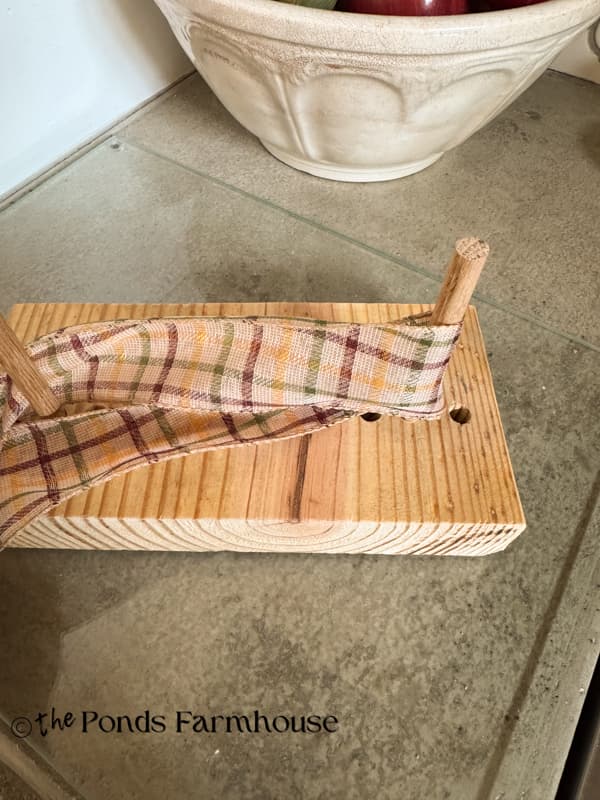
Adding Curls To Pumpkin Wreath
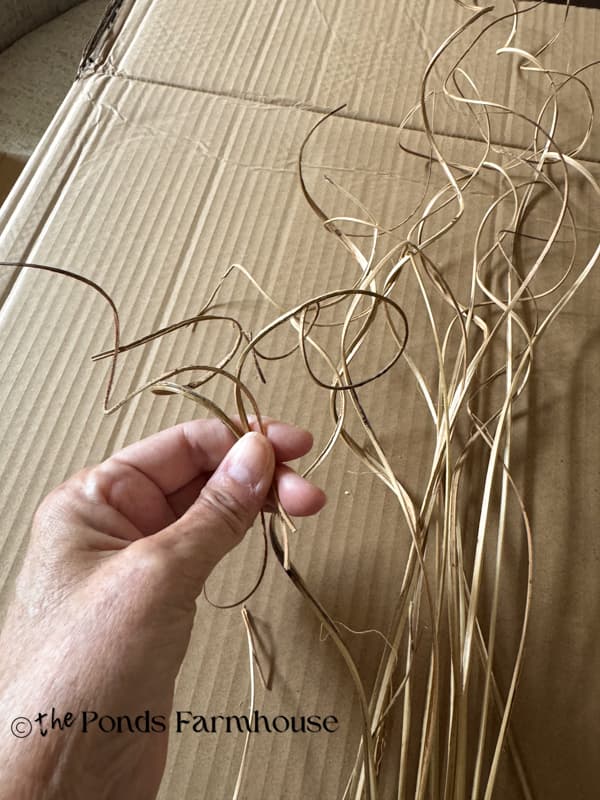
I had some natural curly tings in my stash, so I decided to use a few to make curls at the top of the pumpkin. It only takes about 12 pieces, and I broke them off so that they were approximately 6-8 inches long. Since I was securing them with hot glue, I tied two or three together so they were easier to adhere.
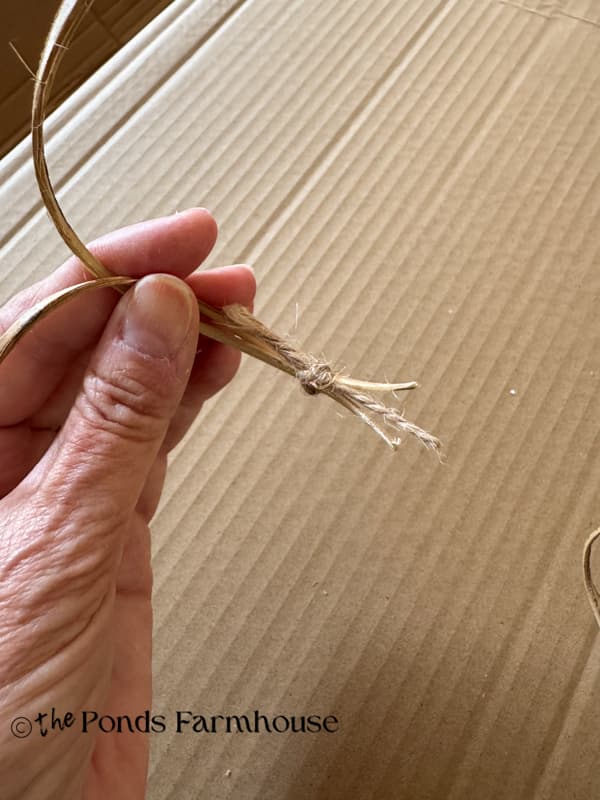
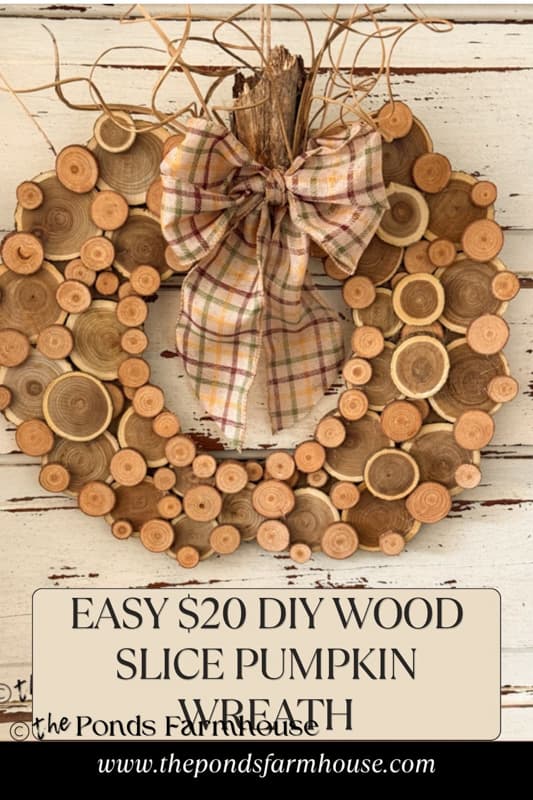
Below is how the top of the pumpkin wreath looked after the bow and curly tings were attached. So cute!
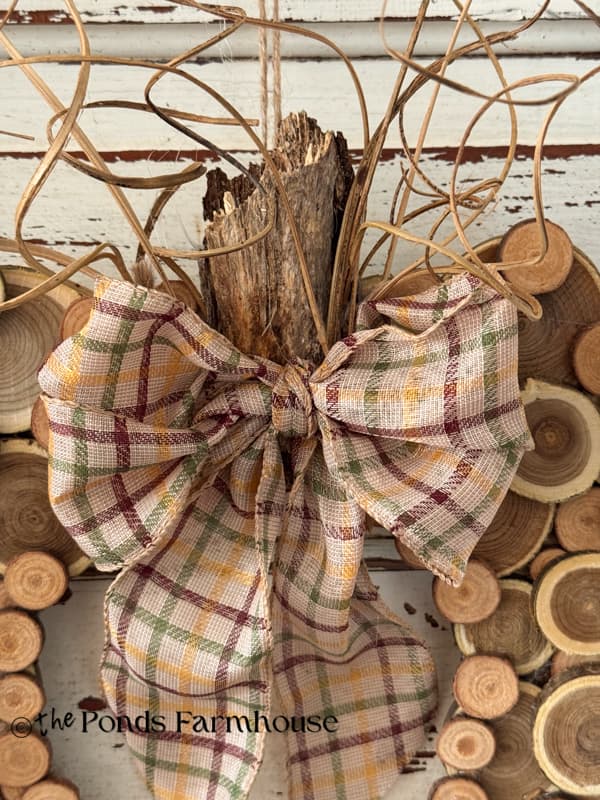
How To Decorate with the DIY Wood Slice Pumpkin Wreath
I love the hanging seasonal wreaths on my interior doors. I moved my wood slice pumpkin wreath around the house to decide where it will stay for the season.
First, I added to our powder room’s chippy white vintage door.
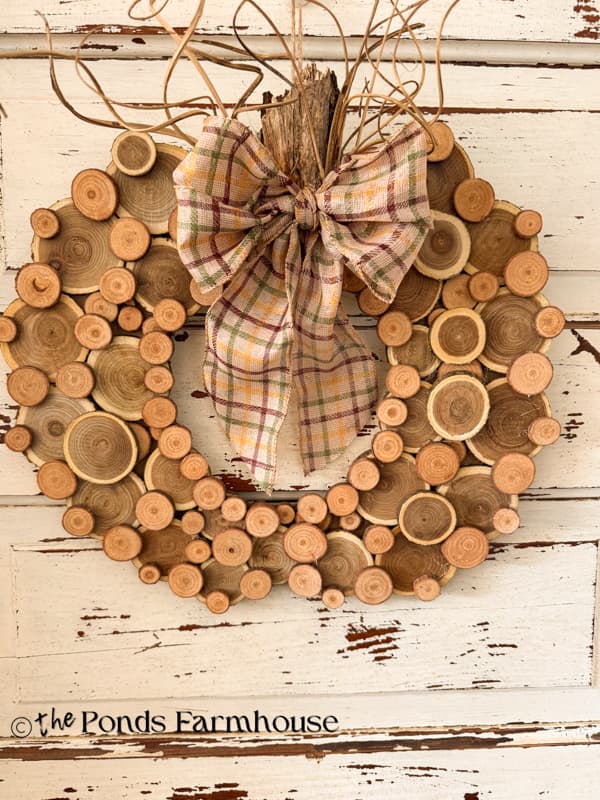
Next, I tried it on the wall basket and the old vintage window that are located on the gallery wall of our staircase.
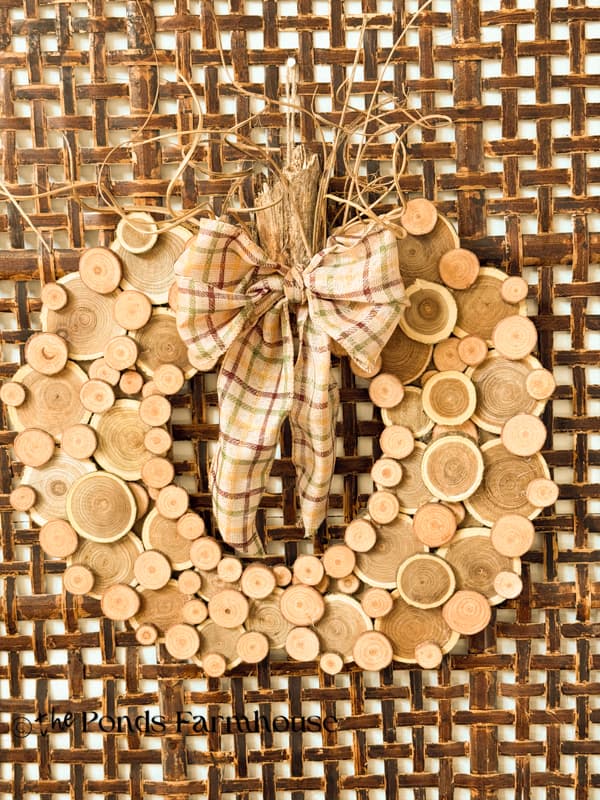
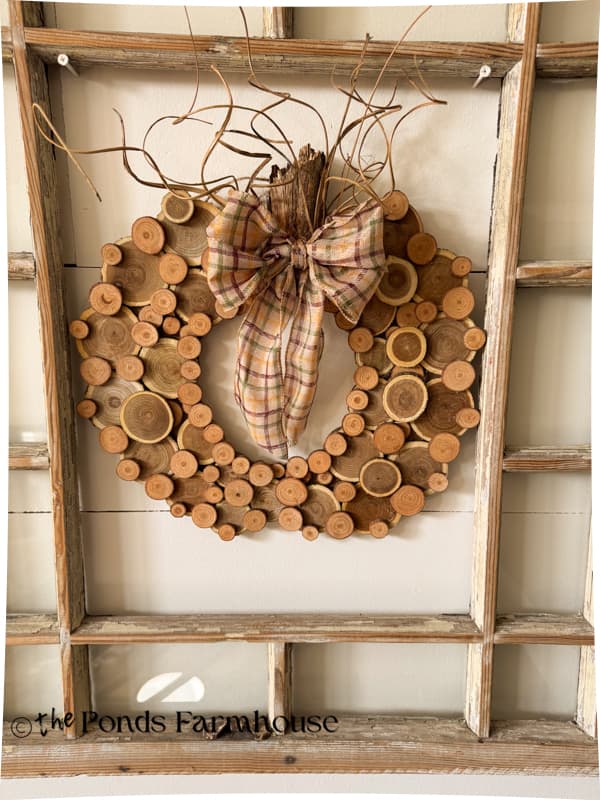
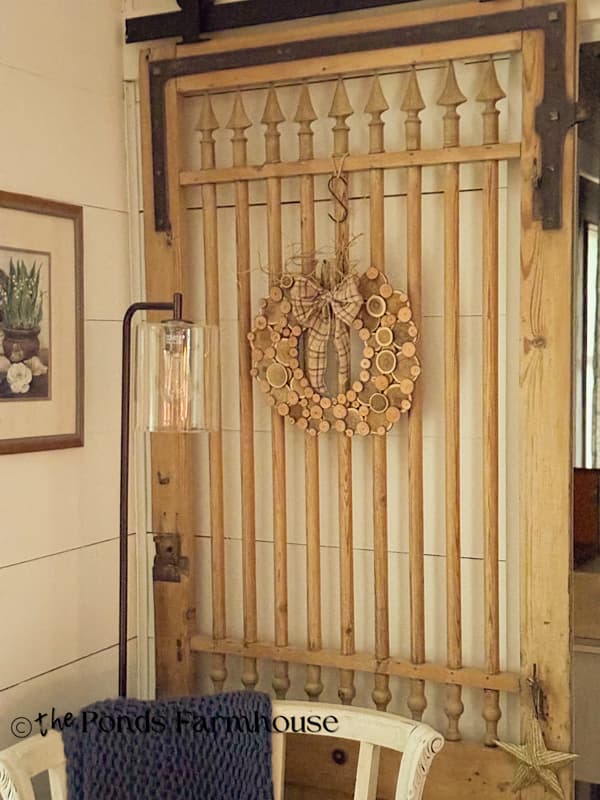
I think it looks great in all these locations, but my final decision is to add it to our barn door. I love the soft natural look against the vintage wood. As an added bonus, everyone can admire it immediately as they enter the farmhouse.

Pin It To Remember It
Did you find some great ideas you’d like to save for future reference? To save, hover over the images and pin to your favorite Pinterest Boards when you see the PIN button in the upper left-hand corner.



What a cute wreath, Rachel!
Kim,
So glad you like it.