How To Make An Easy Designer Style Pillow Slipcover For Less
Hey Friends, have you checked out the prices of those designer-style outdoor pillows lately? Wow, they can really run up the cost of your summer decorating! Fortunately, I have an easy solution that I think you will love.
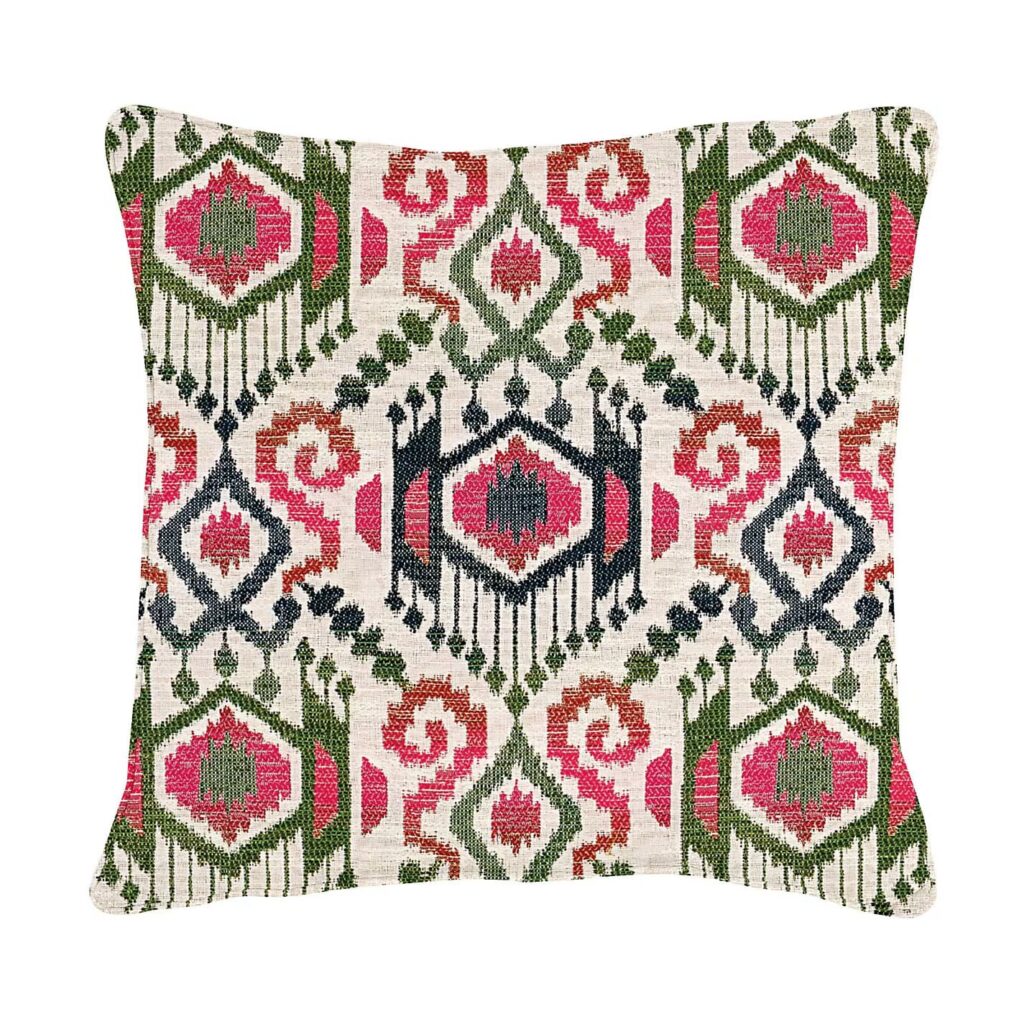
I wanted to add a splash of color to my porch seating areas and saw a gorgeous patterned pillow on Ballard Designs for over $100. So, I snapped a photo of the fabric and went on the hunt for a budget-friendly option. Once I found the perfect material, it only took a few minutes to create an easy pillow slipcover, and I got that high-end look for less.
If you are looking to add beautiful pillows to your home decor, inside or out, here is a great designer dupe you can make in minutes that will save you money. Let me show you how easy it is to make a DIY slipcover pillow!
(Posts on The Ponds Farmhouse may contain affiliate links. As an Amazon Associate, I earn from qualifying purchases. See the full disclosure details here.)
How To Find Inexpensive Decorative Fabric For DIY Pillow Covers
First, search out high-end websites that sell pillows. Snap a screenshot of the ones you’d like to duplicate and take it with you when you shop. I saw this one on Ballard Designs, but I regularly look at Pottery Barn and Serena & Lily for inspiration.
When I was looking for a decorative fabric to add a colorful pillow like the ones I saw at Ballard Designs, I didn’t want to spend much money. So I didn’t look for weather-proof or Sunbrella fabrics. Instead, I looked for an inexpensive but fun pattern.
I found a fabric pattern at Walmart that’s somewhat similar to the designer pillow. It was less than $10.00 a yard, and I only needed one yard for a 12 x 20 pillow cover. I already have several pillow fillers that I switch out seasonally, so this pillow costs only 10% as much as the Ballard Designs one. Here is a comparison of the fabrics.
NOTE: If you want fade-resistant, waterproof pillow fabric, expect to pay anywhere from $25.00 to $80.00 per yard. The pattern options may be limited, so purchasing a ready-made pillow may be the best option. See below how to protect your inexpensive fabric.
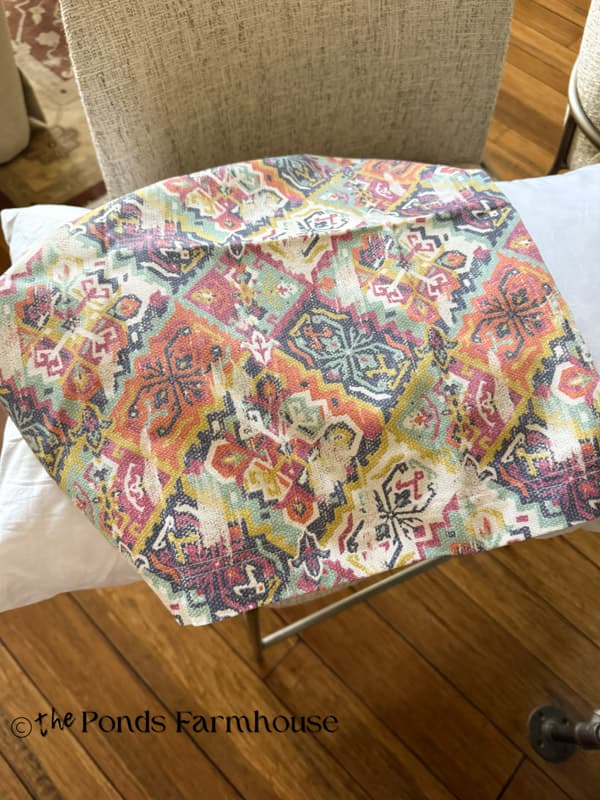
Insider Tip – How To Fabric From Damage From Mositure & Sun!
One concern using inexpensive fabrics on porches is damage for moisture exposure. I use Shield H2O Outdoor Fabric Spray on all my outdoor cushions and pillows and it works great. If they are exposed to direct sunlight, you can use ForceField® UV Sunblock Fabric Fade Protector Prevent UV Ray Damage to prevent fading. If you’d like to see more ways to keep your porches looking fresh all summer, check out – 5 Summer Porch Ideas To Keep Your Space Fresh, Clean, and Stylish
How To Make An Easy Pillow Slip Cover
If you love sewing and adding zippers to pillows, go for it. I can make the complicated pillows, but I’d rather whip something up quick and easy, and that’s what I did with this one. I made this slip cover in less than 15 minutes. If you don’t sew, I’m including a no-sew option. But first, here is how I made mine.
Step 1 – How to Cut Fabric to Fit Pillow Filler
I decided to add a flange to my pillow, so I needed to allow for extra fabric to create a flat edge around the cover.
- 12 x 20 pillow filler – cut two pieces of fabric 16 1/2 inches by 24 1/2 inches. This is allowing for the seam allowance and a two-inch flange.
Step 2 – How To Sew a Flange Pillow Cover
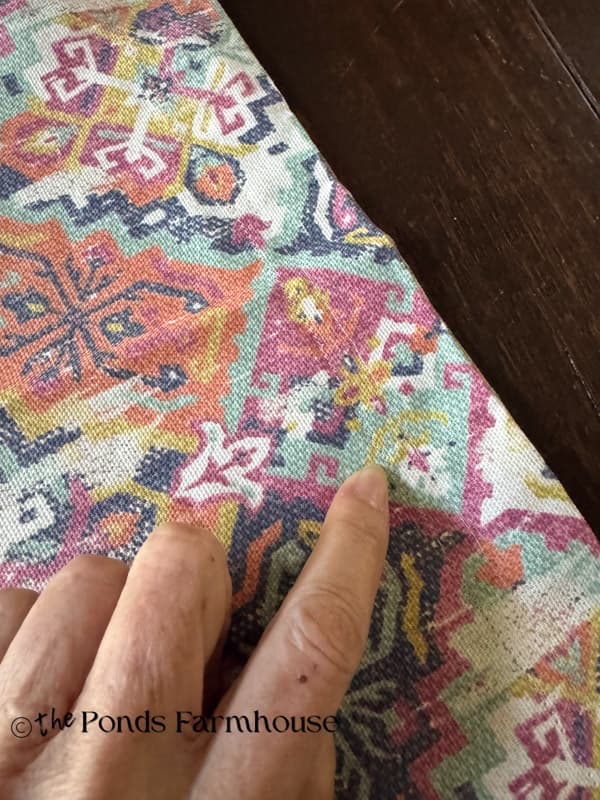
- Place the right sides of the fabric together and stitch around three sides. Leave one of the short ends open.
- Turn the pillow cover right side out and ensure that the edges are smooth. You can use pins to hold the two sides in place or use an iron to press them flat.
- With the sewing machine, sew a 2-inch stitch around the edge of the fabric, except at the open end. Once completed, the pillow filler should fit easily inside the cover, leaving a decorative flat edge flange around 3 sides.
Step 2 – No-Sew Pillow Slip Cover Tutorial Alternative
To make a no-sew pillow slip version, you will not be able to add the flange edge, but the pillow will still look lovely.
- Cut the fabric without the extra 4 inches for the flange. For a 12 x 20 pillow, cut the fabric 12 1/2 x 20 1/2 inches.
- Place the right sides together, and apply a line of permanent fabric glue 1/4 inch from the edge of the fabric on 3 sides. Keep one short side open.
- Note: It’s important to keep the glue line thin and straight so the edge of the pillow is smooth.
- Once the glue is dry, turn the right side out and press the outside seams evenly with a warm iron.
- Continue to Step 3
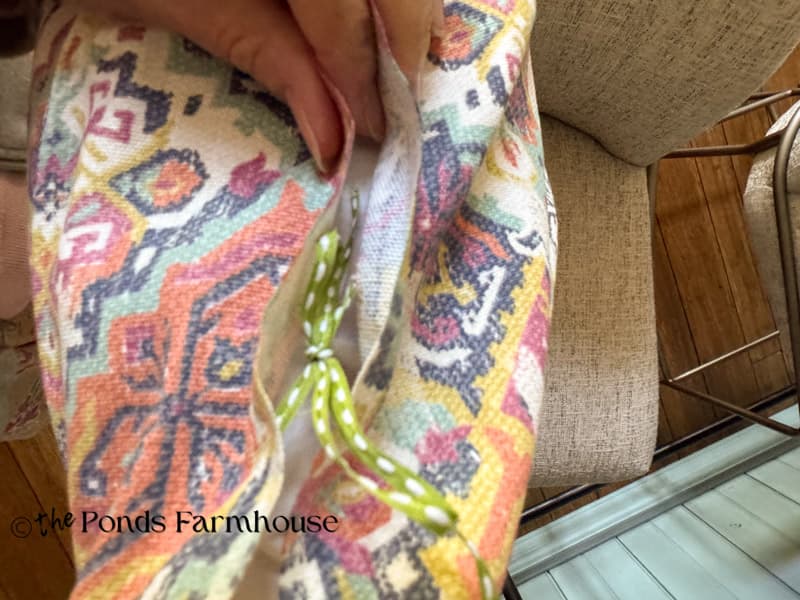
Step 3 – Add Ties to Pillow Slip Cover
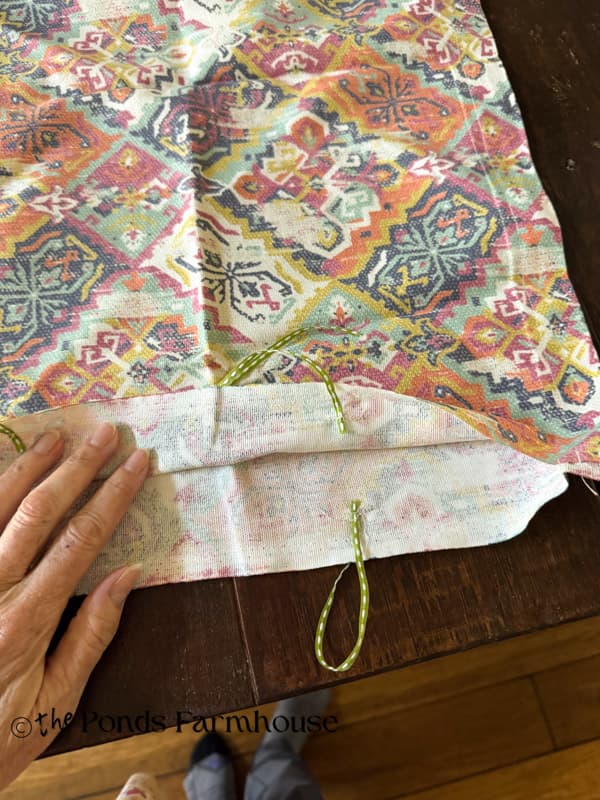
For this next step, I used some ribbon I had on hand, but you can use strips of fabric if you don’t have a ribbon.
- Cut 4 pieces of ribbon approximately 4 inches long.
- Stitch to the inside of the pillow cover at the open end. You can hand stitch, use a sewing machine, or adhere with glue.
- Be sure to align the ribbons evenly so that you can tie them together.
- Add the pillow filler and tie the ribbon to hold it in place.
Decorate With Your $10.00 Ballard Designs Inspired Pillow
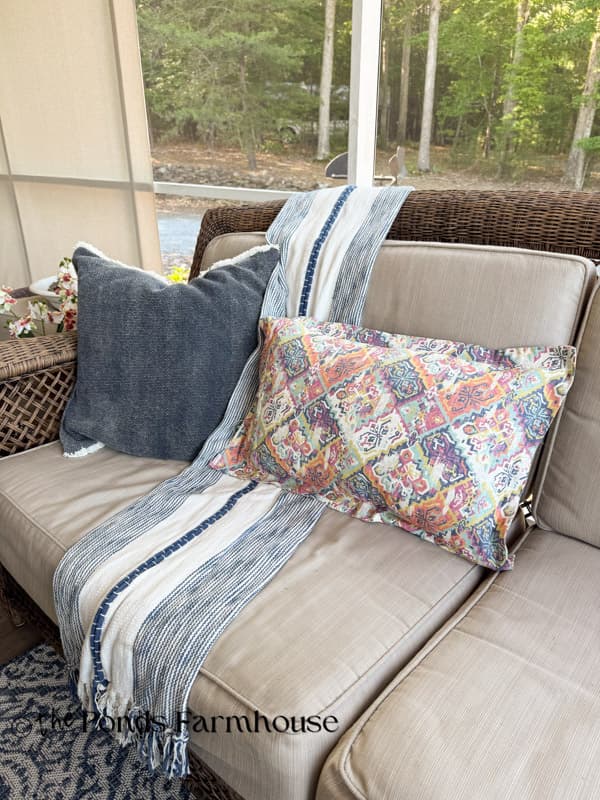
I’m loving the fabric and how fast this pillow cover came together. It adds the pop of color I was desiring. So glad I didn’t pay the Ballard Designs price for this look.
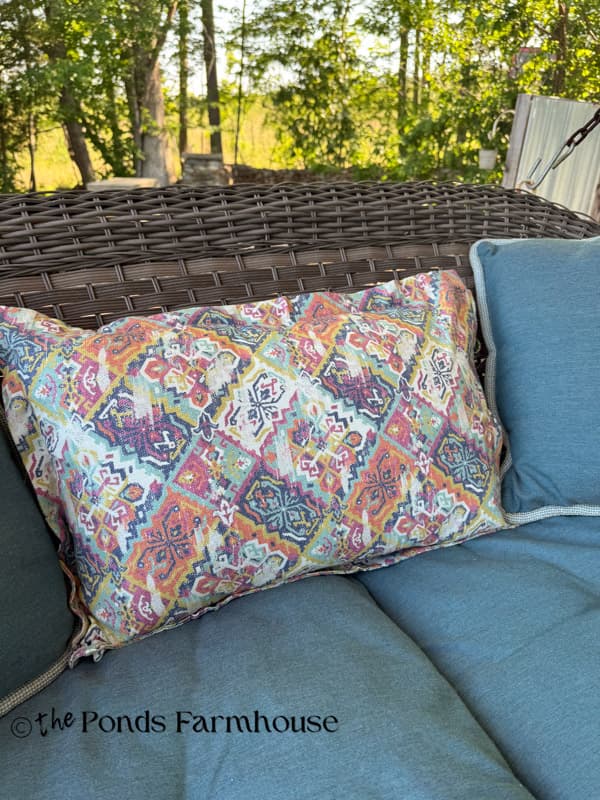
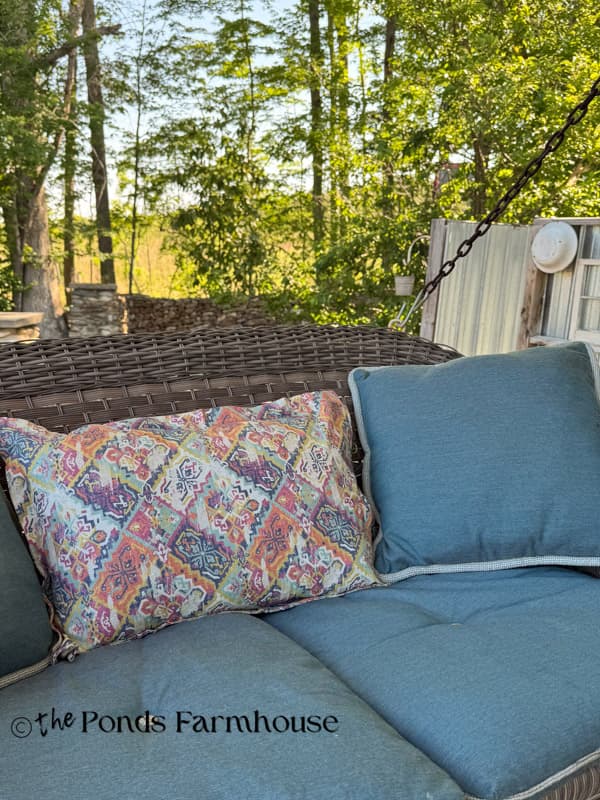
I first added it to my porch swing, but then moved it to its permanent location.
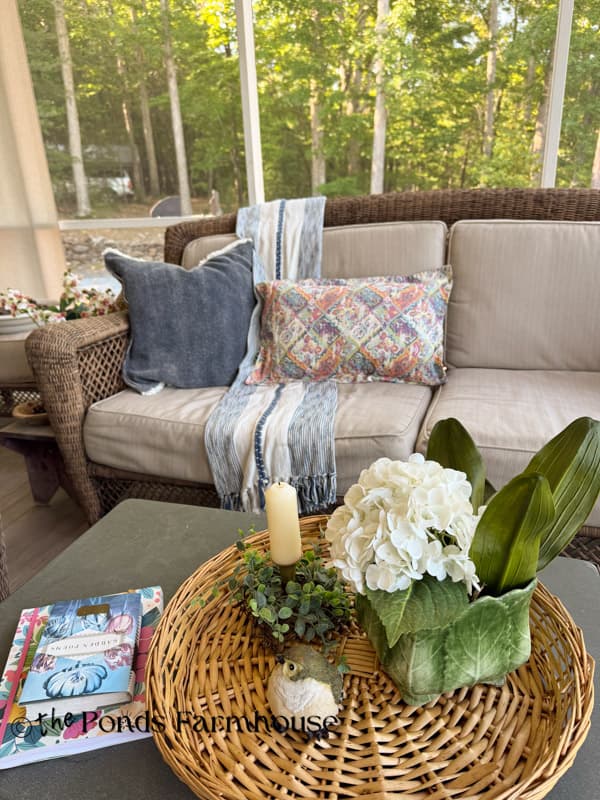
It adds just the right pop of color on the screen porch sofa, so it will stay here for a while. Now I wish I’d made two. LOL
Conclusion: Pros and Cons of DIY Pillow Cover
I’m thrilled with my pillow cover. There are some pros and cons to this project. So here’s what you should consider.
- Pro’s
- An inexpensive way to get the look.
- Easy to make.
- Con’s
- Not a fade-resistant or waterproof fabric.
- The fabric is lighter than the Ballard Designs Pillow.
- The designer pillow comes with filler.
Insider Tip – How To Get Cheap Pillow Fillers
If you don’t already have a supply of good pillow fillers, look for pillows at thrift stores with down fillers that you can remove. If the pillow isn’t pretty, you may get a great deal and just toss the cover. One caution: check out the pillow filler before buying to ensure there is no damage or mold.
Resources:
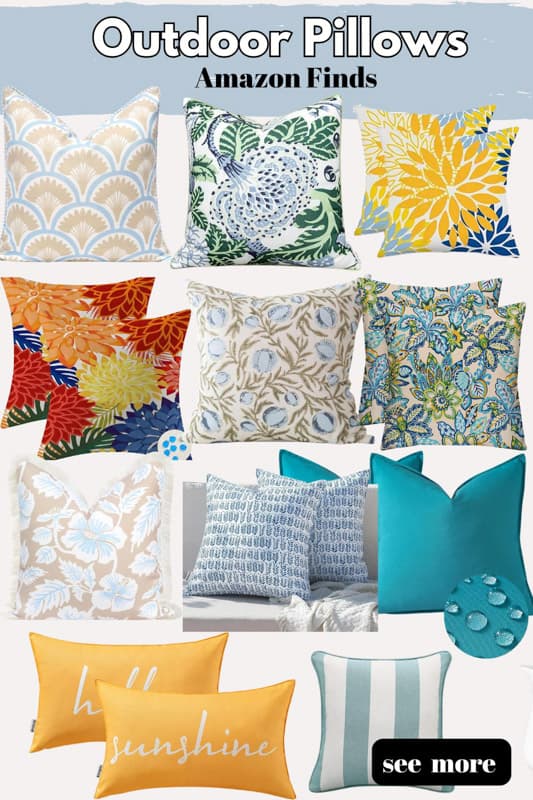
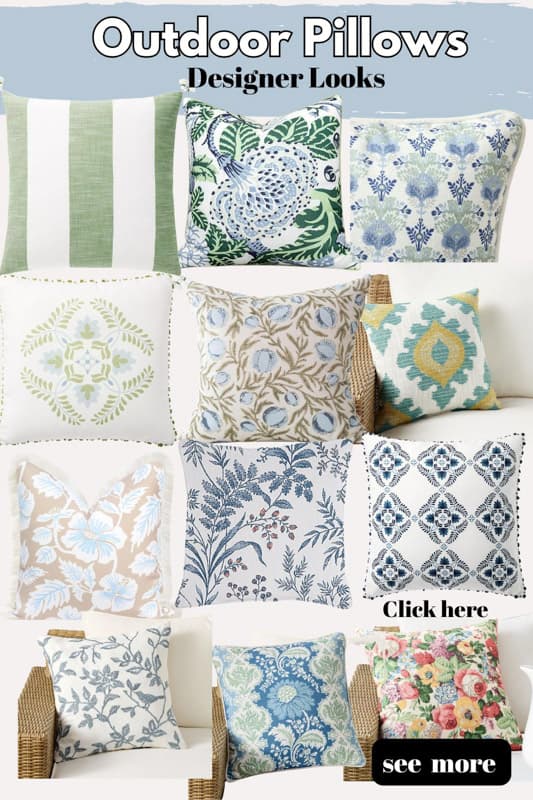
One final thought: if you don’t want to sew your own pillow, you can use Amazon or Google to find ready-made pillows with a similar design at a lower price. Sometimes you luck up with a great deal. Check out these pillow options by clicking the images below.
Thank you for stopping by, and I look forward to sharing my next adventure with you.