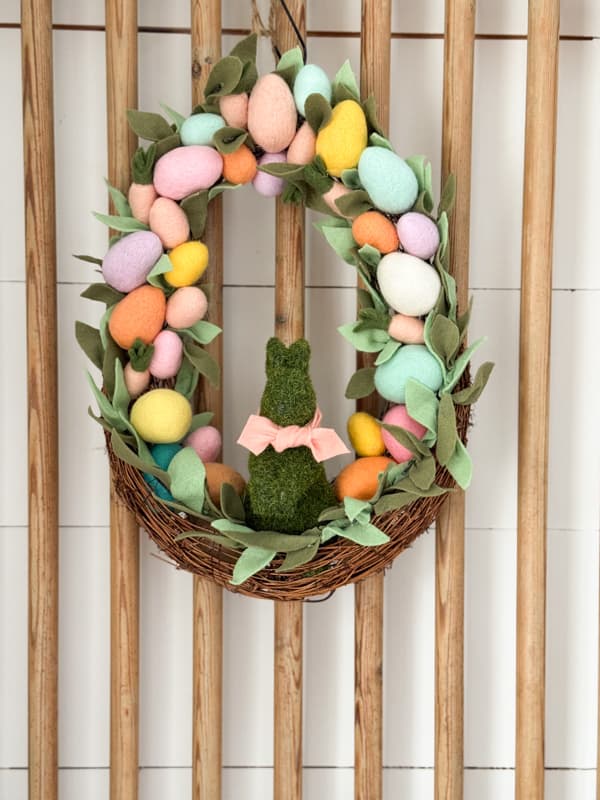
Adorable DIY Easter Wreath: Pastel Felt Eggs & Recycled Moss Bunny
We are into cute overload here at The Ponds Farmhouse. I’ve been creating Spring decor using pastel felt, like the Felt Flower Spring Garland I recently shared. If you’ve been following along for a while, you know I also love a good upcycle! So I decided to breathe new life into a weathered moss bunny by pairing it with some simple, felt Easter eggs. This DIY Easter wreath is not only budget-friendly and easy to assemble, but it adds a rustic touch that contrasts nicely with the soft pastel spring feel I’m adding to the farmhouse this year.

(Posts on The Ponds Farmhouse may contain affiliate links. As an Amazon Associate, I earn from qualifying purchases. See the full disclosure details here.)
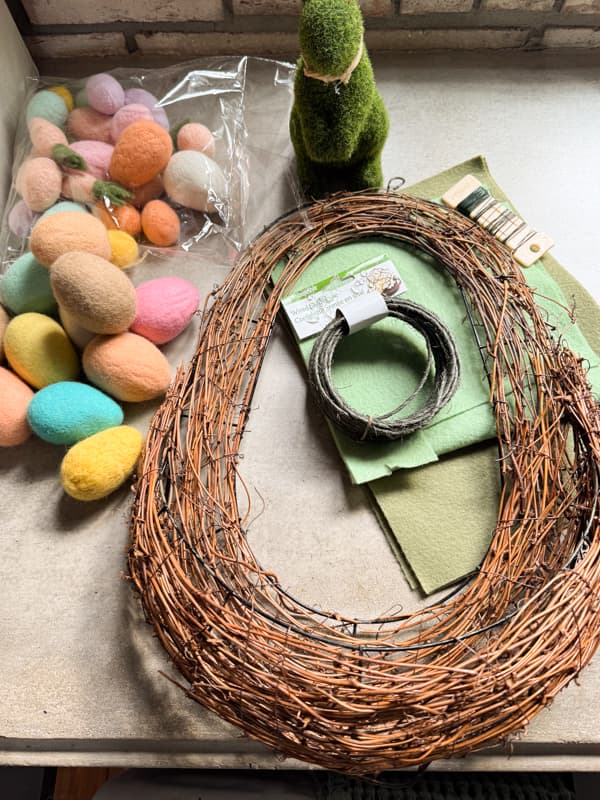
Supply List
- Small Felt Easter Eggs with mini-carrots
- 12 Pastel Felt Easter Eggs – if making a larger wreath.
- Oval or Egg Shaped Wreath Frame or Grapevine Wreath
- Felt Sheets
- Hot Glue Gun
- Floral Wire (optional)
- Wire Twine (optional)
How To Recycle Moss Bunny
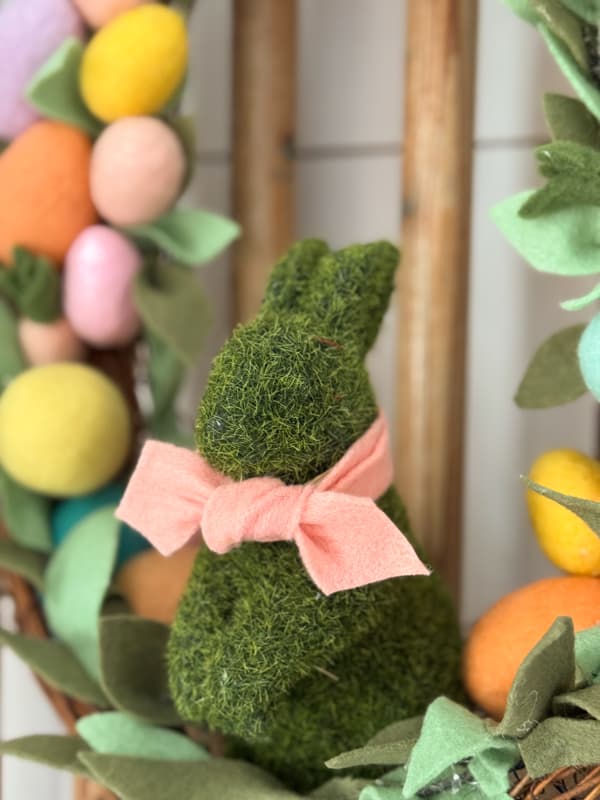
Since I had a few moss bunnies that I’ve had for years, I decided to upcycle one of them for this wreath. The bunny originally had a raffia bow attached but the bow was damaged and I removed it. Since I was using felt Easter eggs, I chose to create a bow using a pastel piece of felt. I tied the bow around the bunny’s neck covering the old raffia and cut the ends to a point.
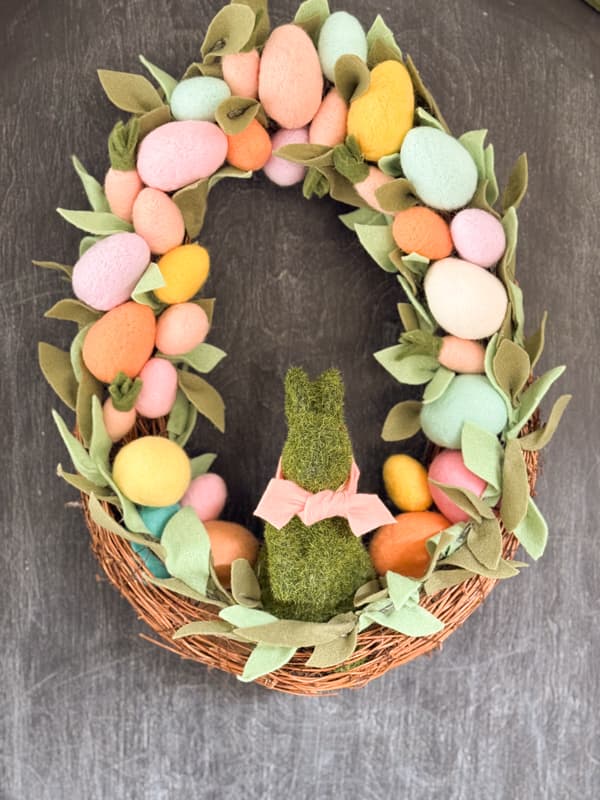
How To Assemble Felt Eggs Easter Wreath
To assemble the felt egg Easter wreath I added two rows of felt leaves to surround the eggs. Therefore, it was necessary to add a wire to attach the felt leaves to.
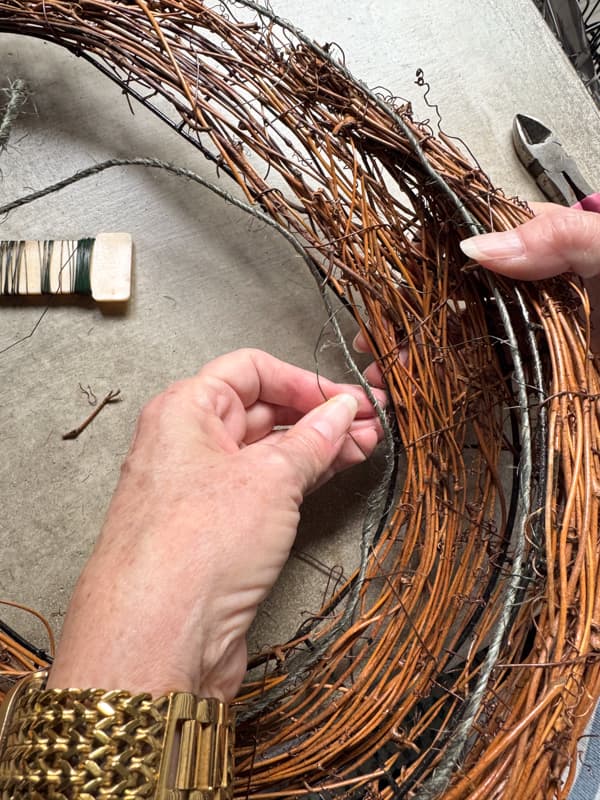
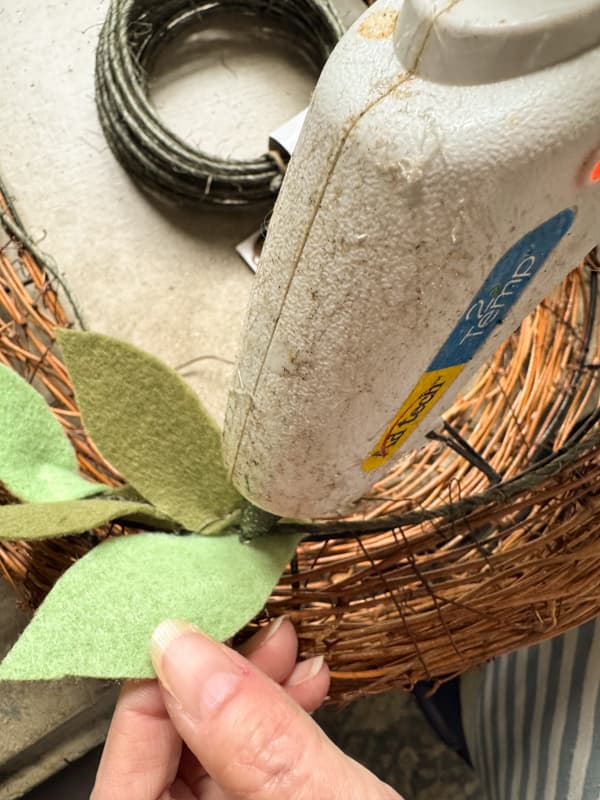
Step 1 – Prepare The Wreath For Leaves
In order to add the felt leaves, I added a length of the wire twine to the outside and inside edge of the wreath. I used lightweight floral wire to secure in place.
If you are using a wire wreath frame, you may not need the additional wire. Just attach the felt leaves to the wire frame directly.
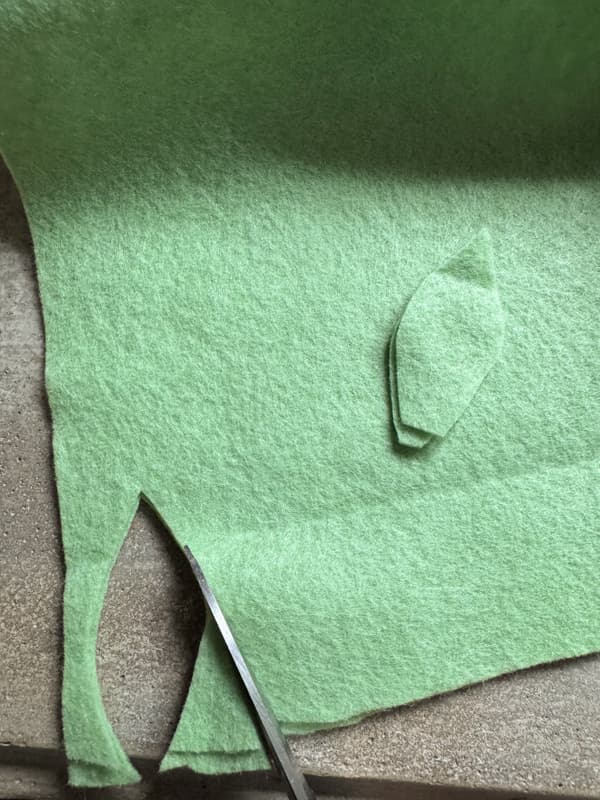
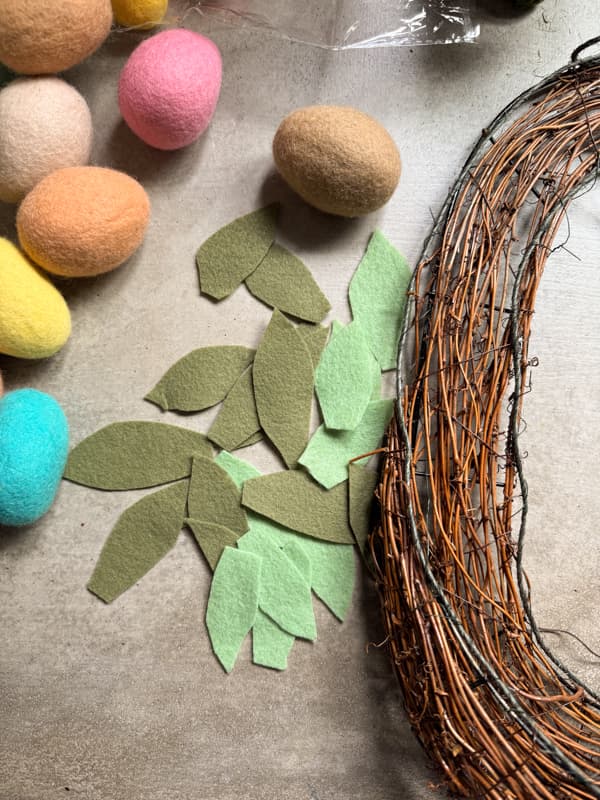
Step 2 – Cut Felt Leaves
Next, you will need to cut the felt leaves from the felt sheets. I used two colors of green felt for this step. I cut the leaves free hand and folded the fabric so that I was cutting two at a time. It is not necessary to have perfect leaves. You’ll notice that mine are roughly cut and different sizes.
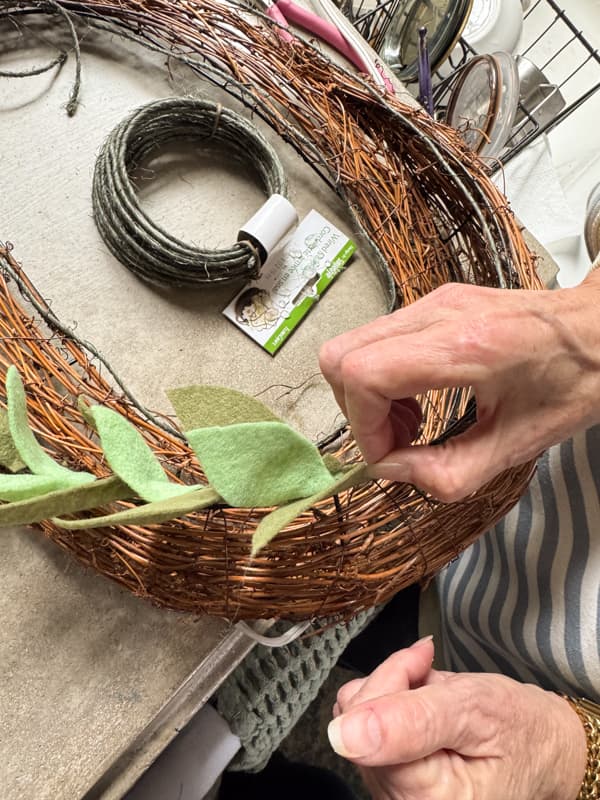
Step 3 – How To Attach The Leaves To Wreath
Once you have your leaves cut, begin adding the leaves to the attached wire or the wreath frame.
- Apply a drop of hot glue to the botton of the leaf.
- Wrap the area with the glue around the wire or frame.
- Hold in place until the glue has set.
- Continue around the edges until you are satisfied with the leaf placement.
Step 4 – Add Bunny To Wreath
Next, attach the bunny to inside of the wreath at center bottom. I used hot glue to secure the bunny.
Note: If you are using a wire weath frame, you may need to add a rod to help steady the bunny. If so, I recommending drilling a hole in the bottom and inserting the a dowl rod. Secure the rod with glue and then use the rod to attach the bunny to the wreath. You can also use the floral wire to wrap around the rod and the wreath frame.
Step 5 – Add Felt Eggs to the Easter Wreath
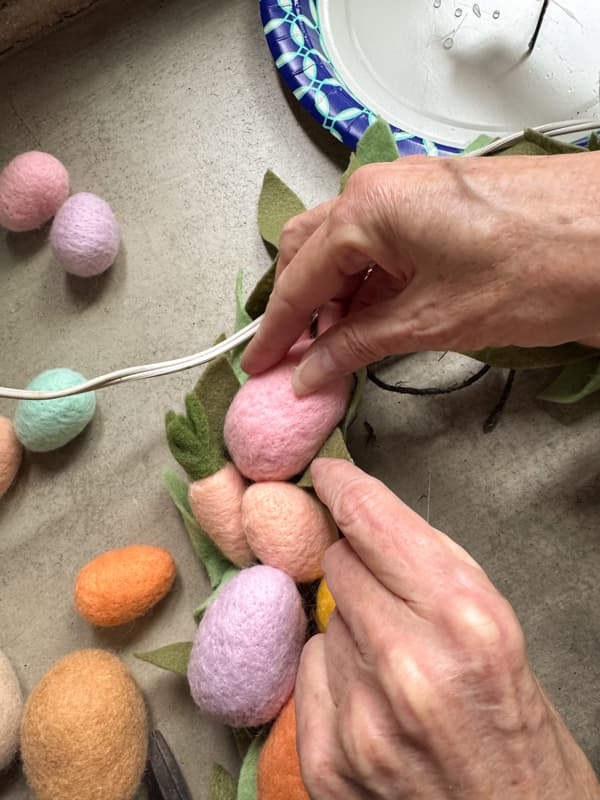
Once the bunny is secure, begin to add the pastel felt Easter eggs. Start with the larger eggs around the bunny. Use hot glue to secure the eggs to the frame.
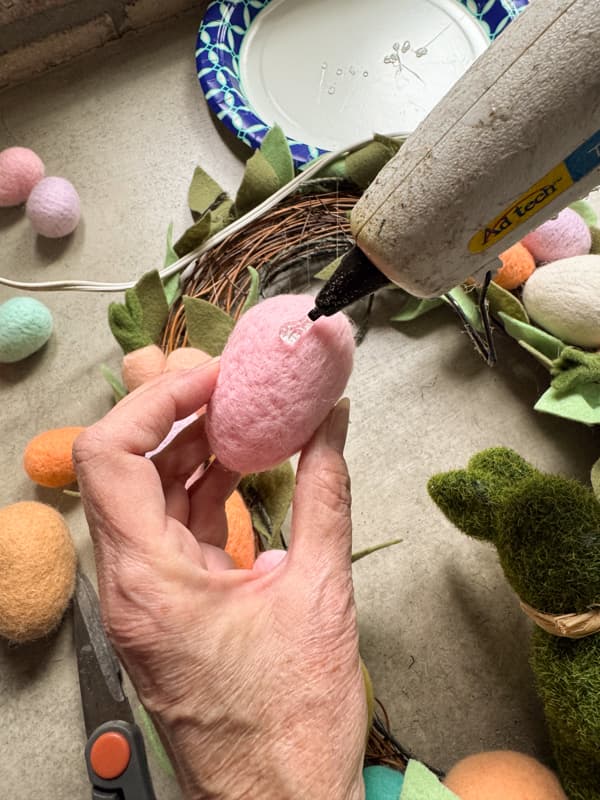
Work upward from the bunny on each side mixing the larger and smaller eggs along with the tiny felt carrots.
Step 5 – Add Felt Bow To Upcycled Moss Bunny
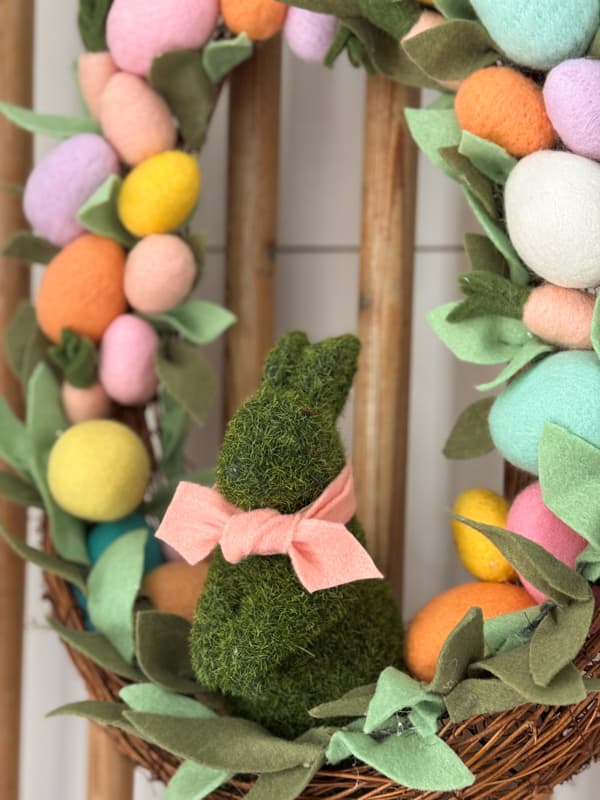
Finally, cut a piece of pastel felt and tie a bow around the moss bunny’s neck. Cut the ends and you are done.
Insider Tip
When you are finished adding the bunny and the felt eggs, look for any gaps. Use additional leaves to fill the open spaces. To do so, add a drop of hot glue to the center bottom of the leaf and press it together. When dry, add more glue to outside of the leaf bottom and insert it into the gaps. Press until the glue is dry.
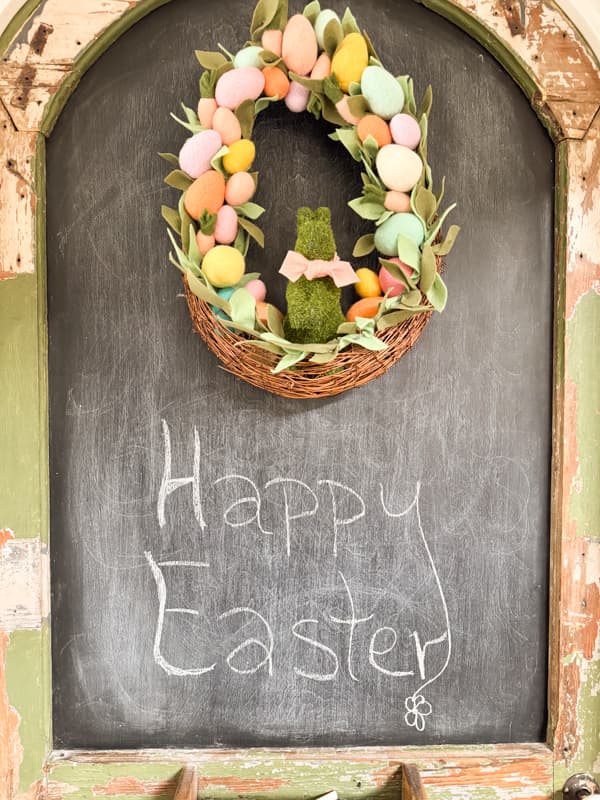
Decorating With thePastel Felt Egg and Moss Bunny Easter Wreath
This adorable wreath will be the perfect accessories for your home this Easter season. It’s amazing how a few scraps of felt and old decor can come together to create something so high-end! This Adorable DIY Easter Wreath is proof that you don’t have to be an experienced crafter to have a beautifully decorated home for the holidays. Adding a handmade touch to your house will give it a cozy, homey feeling. Happy crafting, and I hope your spring is off to a wonderful, colorful start
Where would you use this fun wreath in your home? I thought I’d use it to decorate my pantry door but I tried moving it around and love it in several locations.
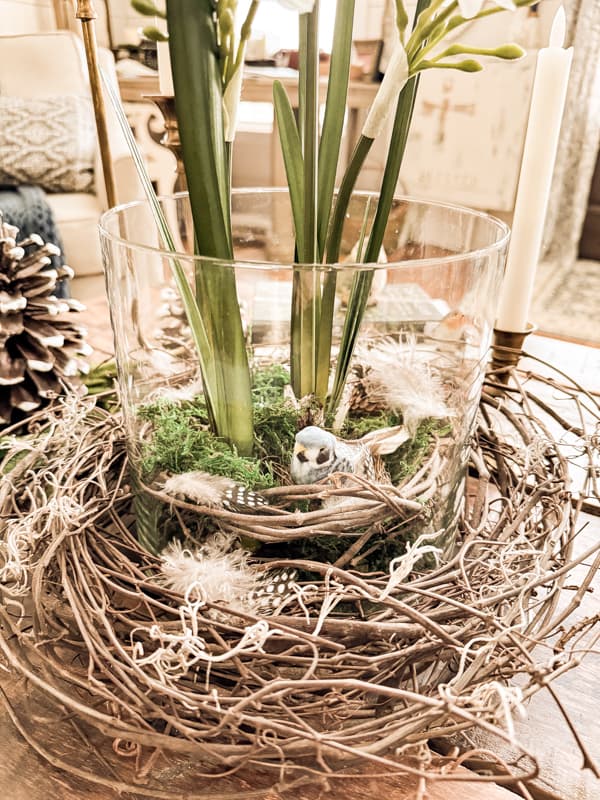
The soft pastel colors add such a warm and fresh feel to the living room also.
I’m loving this wreath on my barn door and since it works so well with mantel garland, it may stay here for now.
FAQ
Thank you for stopping by andI look forward to sharing my next adventure with you.


What a cute project, Rachel! A great way to upcycle one of your bunnies.
Kim,
Thank you! I’m so glad you liked this one.