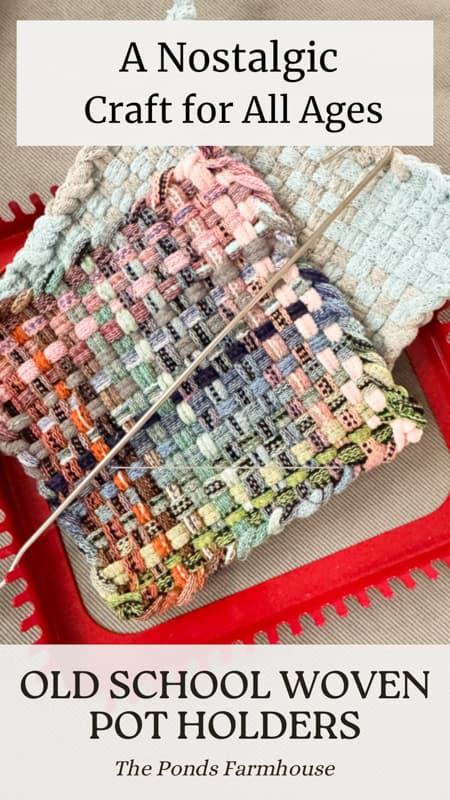
Old School Woven Pot Holders: A Nostalgic Craft for All Ages
Hey friends, I’m back with another old-school easy craft! This week, we are going to learn how to make a nostalgic potholder using a simple weaving loom. This low-stress craft is perfect for crafters of all ages and skill levels—it’s the ultimate way to unplug and relax. You will love the modern farmhouse feel of these colorful potholders made with soft fabric loops. Let’s dive into the supplies you’ll need, and I’ll walk you through the process step by step!
(Posts on The Ponds Farmhouse may contain affiliate links. As an Amazon Associate, I earn from qualifying purchases. See the full disclosure details here.)
What Do I Need To Make A DIY Woven Pot Holder?
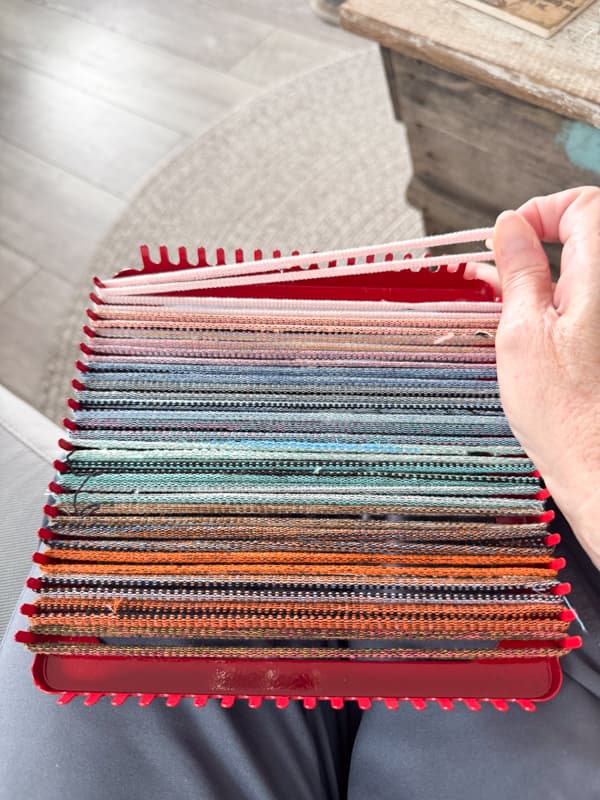
I remember making these fun pot holders as a kid. Somehow, I had a homemade wood frame with small nails to secure the loops. I have no idea where I got it, and unfortunately, no idea what became of it. I’d love to have it back. But since I didn’t, I ordered a new loom for under $10.00. Unless you have a pot holder weaving loom lying around, you will need to order one also. They are inexpensive and come with enough loops to make your first two pot holders. Below is what I ordered. The loops are multicolored, and you can use the ones you like best to make a fun, colorful pot holder.
Supply List
- 8″ Weaving Loom (includes enough loops to make two pot holders. All for under $10.00)
- Weaving Loom hook – Included in the above package.
- Optional Additional Loops – Blue, Grey, and Cream colors.
How To Make A Pot Holder With A Weaving Loom?
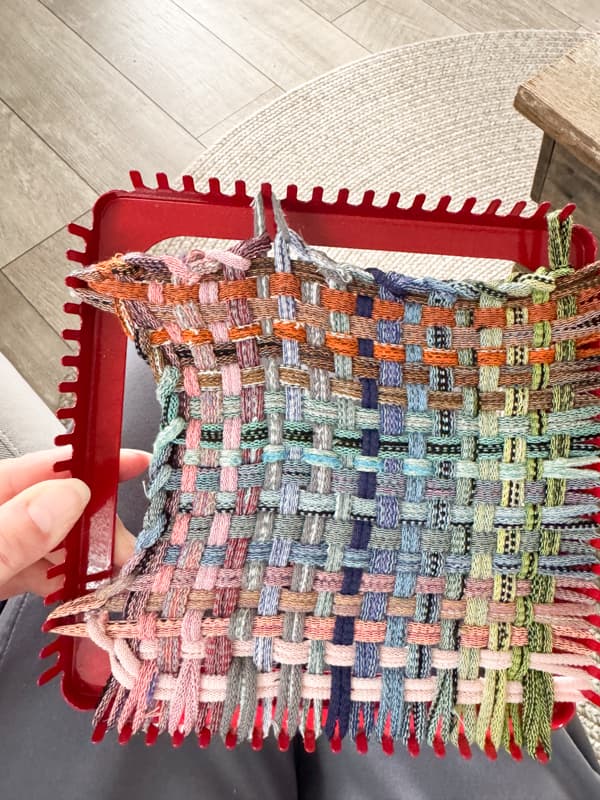
This is such an easy craft, and I know you’ll love the results when you finish your first pot holder. We are making a traditional-sized pot holder that is approximately 7″ when finished.
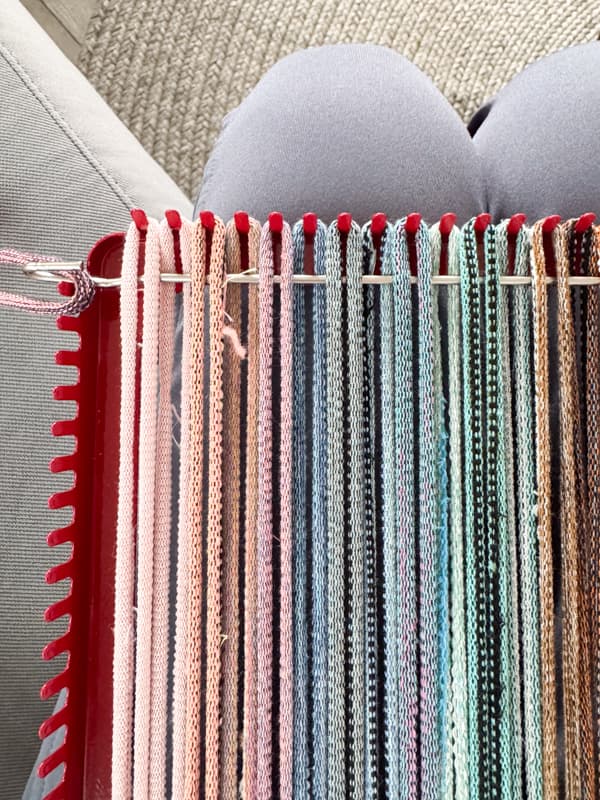
How To Add Fabric Loops To Weaving Loom
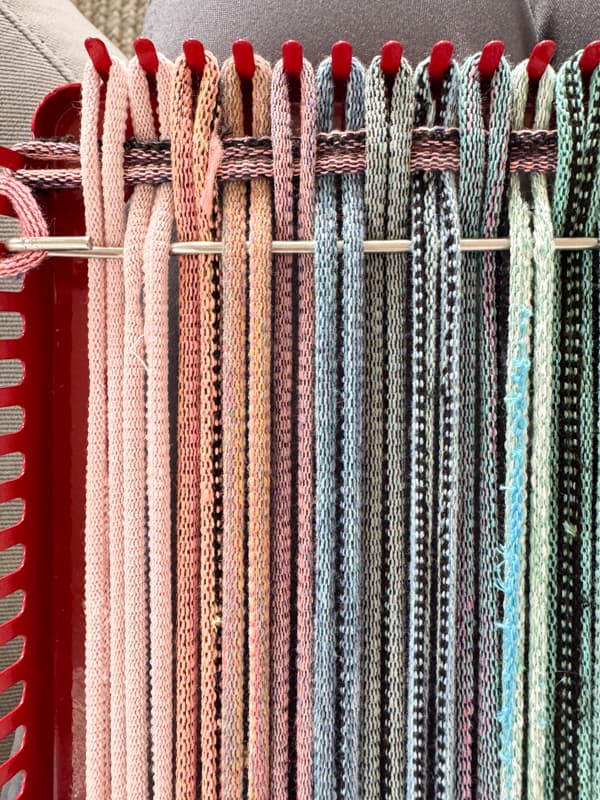
So gather your loops, weaving loom, and hook. Begin by hooking the loops onto the loom, keeping them in a straight line.
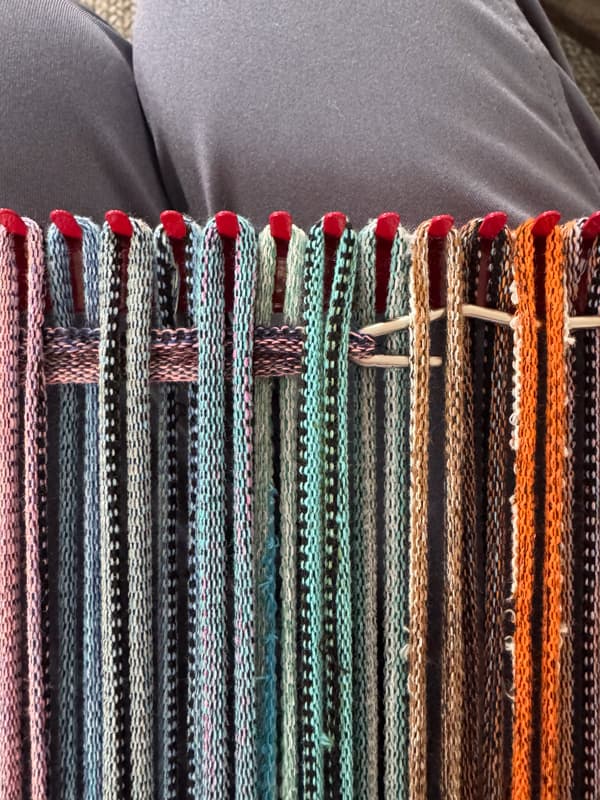
How To Weave The Loops
Once you have all the loops in place in one direction, you are ready to weave them in the other direction.
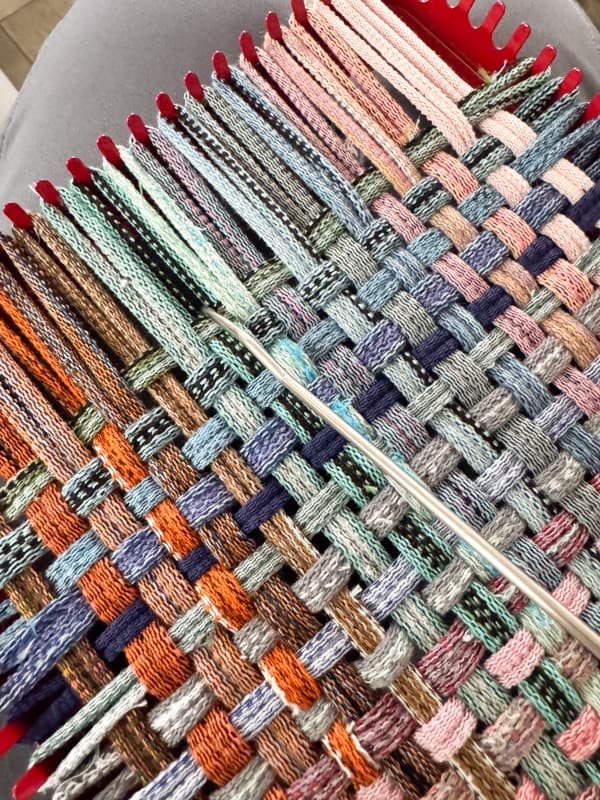
Begin by weaving the hook over and under each of the loops on the loom. Then hook another loop to the hook.
Pull the hooked loop through the loops on the loom. Be sure to secure the end of the loop on the loom as you go. When you reach the other end, secure the loop straight across from each other.
Start another row by weaving the hook over the top loop and under the bottom loop. The opposite of the previous row. Hook the next loop and pull through. You will repeat this process until you reach the end of the frame.
As you go along, you’ll notice that the rows may not be straight. Use the hook to pull the rows back in line. It’s important to keep them as straight as possible are you will not have room for the final loops when you get to the end.
Insider Tip
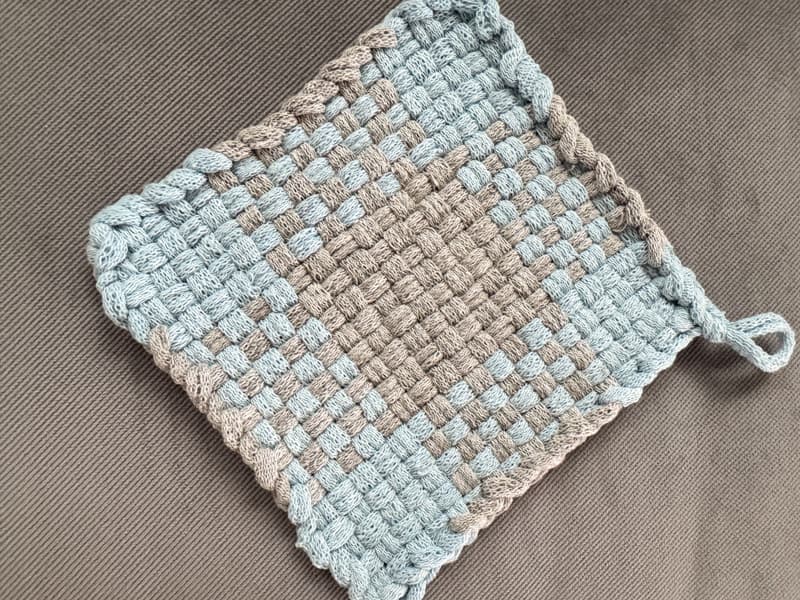
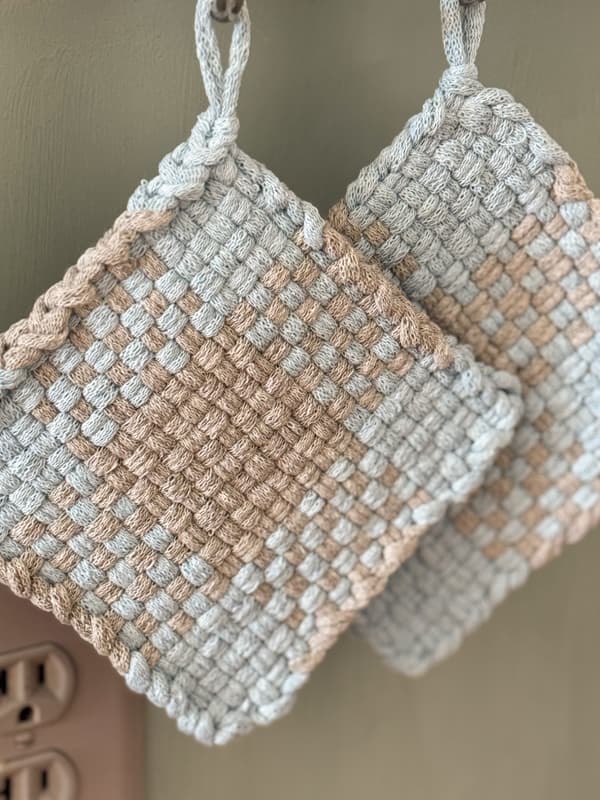
If you want to create a pattern of color, you can add the loops in an organized manner. The multicolored loops are harder to create a pattern with but if you are using two to three colors you can get creative. I made a blue and grey by adhereing to a pattern. I added 6 loops in blue to both ends and 6 gray in the middle. Then repeated that pattern in the other direction.
How To Finish The Edges of the Pot Holder?
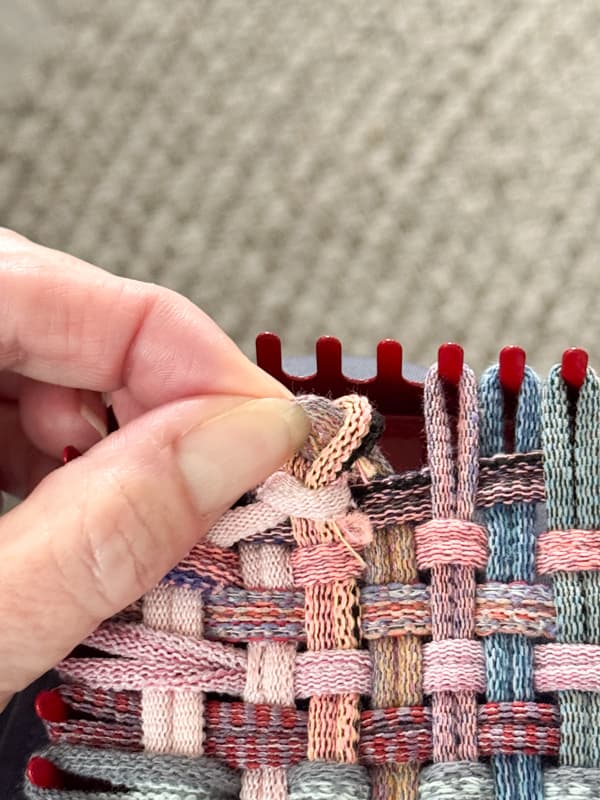
Once you have all the loops woven, you are ready to finish the edges. Begin at one corner of the weaving loom. Remove the first loop and open it with your finger. You may need to pull it to give you room. Then remove the loop next to it and run it under and up through the first loop.
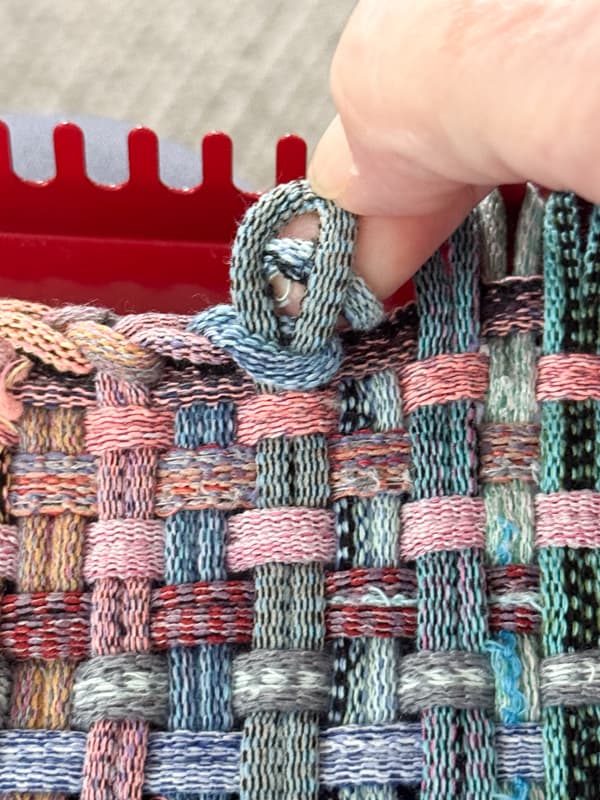
Grab the end of the second loop and pull it taut. Open the end of the loop and pull the next one under and through the opening. Repeat along the edge of the pot holder until you have two sides finished.
I found that once the two sides are loose from the loom, the other loops can easily slip off the frame. Therefore, I hooked the finished edges back to the frame. Use the hook to pull them tight, then loop them over a hook. You will find this is a stretch, and you’ll need to pull hard.
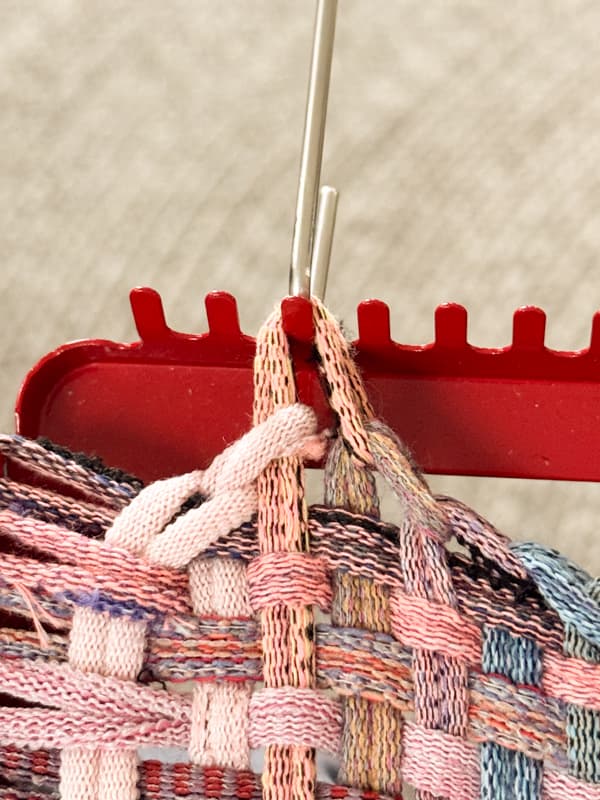
Continue securing as you go to prevent loops from slipping before you finish all the edges. You may feel that you are stretching them out of shape. But don’t worry, once you release them and pull them into shape, all will be perfect.
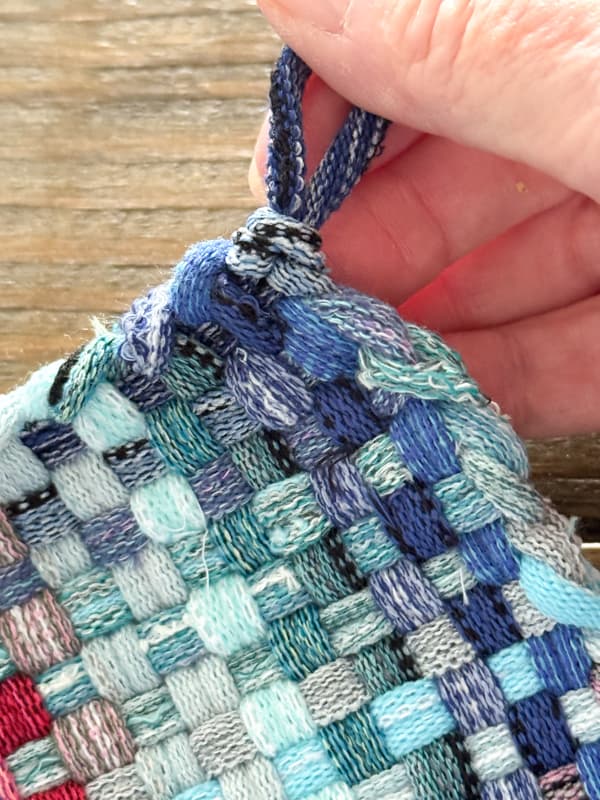
Continue until you are all the way around the pot holder. Once you have one loop remaining, it should be at a corner of the pot holder. You will want to pull the loop as tight as possible and tie it off so it will not unravel. This loop will allow you to hang your pot holder.
Then, trim any loose threads.

Lastly, stretch and shape your pot holder by pulling it in all directions until it looks square.

Health Benefits of Crafting
Crafting is often called “the new meditation” because it offers a unique combination of physical activity and mental focus that effectively shuts down the body’s stress response.
Whether you are crocheting, woodworking, or scrapbooking, the benefits are backed by both psychology and biology. When you are deeply engaged in a craft, you often enter a flow state – a state of total absorption where your sense of time disappears. Worries and negative thoughts go quiet.
Many crafts involve rhythmic, repetitive motions, such as the steady stroke of a paintbrush or weaving over and under.
Stress often comes from feeling like things are out of your control. Crafting provides a “contained” environment where you are the boss. In addition, you will feel a sense of accomplishment upon completing a project. The confidence you gain from problem-solving the details of a craft often carries over into other areas of your life.
What Can You Do With A Weaving Loom Pot Holder?
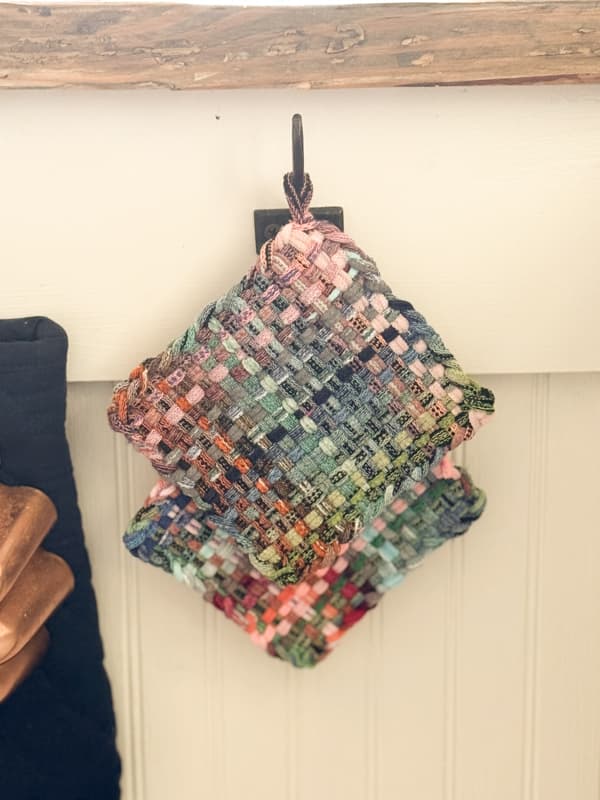
The most obvious use of your new weaving loom pot holder is for hot pots and pans. However, the decorative nature of this woven craft may make you want to display it. I like to hang mine from a hook beside the stove for practical use and decoration. They also make great gifts for teachers, hostess gifts, weddings, and engagement showers.
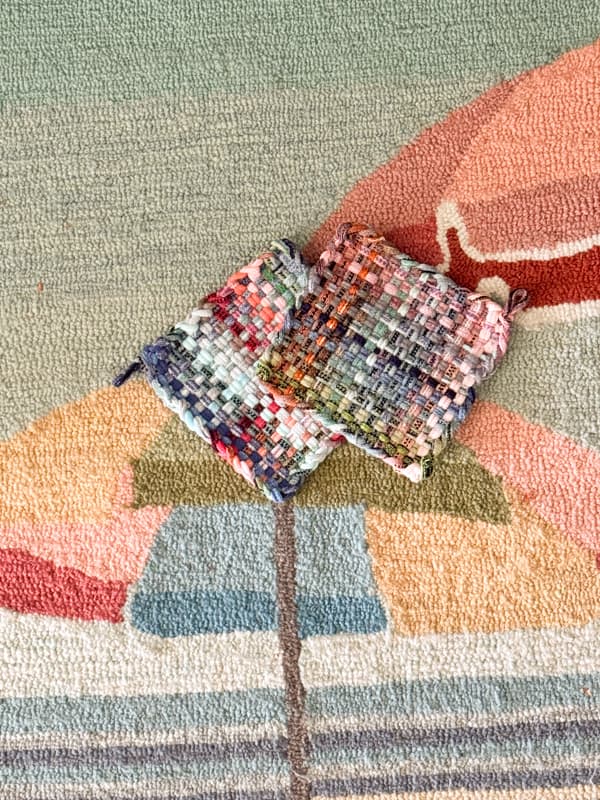
I made the colorful ones for our beach cottage because the colors match the kitchen rug.
For our farmhouse kitchen, I used the blue and gray loops that I purchased separately to make the pot holders.
See how easy that was! I’d love to see some of your creations. Please let me know if you have any questions.
Video Tutorial


Hi Rachel, I used to make them as a young girl, and sold them for .25 cents. Finishing the pot holder way back then must have been easy as I remember selling lots of them, but 60 years later, finishing it off seems a lot more complicated. LOL!!! Thank You for a trip down memory lane, back to my childhood. I’m going to watch the video. This is totally off subject, but if you like homemade bread and have an air fryer, I made the most delicious bread to go with some Ox Tail beef vegetable soup. Go to Empowered Cooks Cathy Yoder on You Tube and look for Peasant Bread. Have a Great Day!
Ellen,
I’m so glad you found this nostalgic craft a good memory. I made them as a child as well and wish I still had the loom that someone handmade. I hope you have a blessed day and thanks for the recipe tip.
I love these! I bought one of these looms before Christmas of 2024 for the girls to do. We had a lot of fun, but I couldn’t remember how to do them and had to pull it up on YouTube. I love the colors you chose. I will have to order some of those neutral colors instead of all of these bright ones that came with it. Great post!
Susan,
I’m so glad you found this inspiring. Let me know how they turn out. Have a blessed day.
Rachael my mon use to crochet but as a young girl that was not on my mind after many attempts to teach me she just said ghats it…I have since tried to take it up that’s to u an I will try this as well using easter colors maybe even try to attach rabbits or eggs as always thanks for using ur God given gift to help others
Thelma,
Yes, I understand! As kids we don’t realize what we are missing out on. I hope you make some lovely items and if you have any questions, please let me know.
Oh Rachel, did you bring back memories! We grew up in the 60s & everybody I knew had a loom and loops. I think they were probably sold at the dimestore (Woolworth’s, Grant’s). After reading your blog, I ordered a loom and extra loops from the Friendly Loom Co. My pkg arrived today it also includes a crochet hook along with the weaving hook. Made in America, the company has been in business for over 200 years! I am anxious to get reaquainted with potholder making. It’s been below 0 here so going out is not in my plans. Perfect timing for your potholder blog!
Aww I’ve had so many say this brought back happy memories. I’m glad you are making them again. Stay warm and have a blessed week.
I too made these as a child and sold them door to door. I still have my metal loom. I am going to find it today and order the blue and gray and cream loops. Fingers crossed not sold out when I return home from church. Have a blessed Sunday!
Teresa,
I’m so glad you have your loom. I wish I had my homemade one. Have no idea where it ended up. Let me know how they turn out. Have a blessed week.
Good morning! Do you have the link or the information for the loops that you used? I love the color variations. Thank you.
Yes they are listed on the supply list -https://www.thepondsfarmhouse.com/old-school-woven-pot-holders-a-nostalgic-craft-for-all-ages/