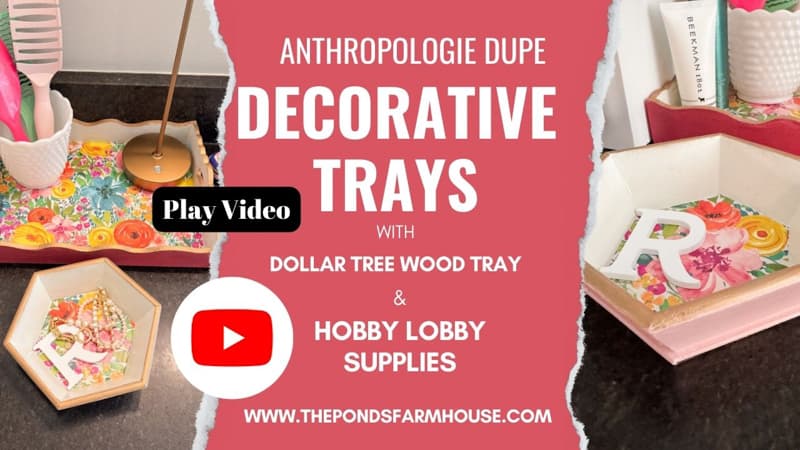
Craving the chic charm of designer decor but feeling priced out? If you love the eclectic look of Anthropologie but operate on a Dollar Tree budget, wait until you see how you can craft these two decorative trays for $10.00 or less. This Anthropologie dupe is inspired by two of this season’s adorable trays: one large tray and another smaller monogrammed trinket tray. The best part is that you can customize the Dollar Tree trays to work within your decor style.
You will see how to take a $5.00 Dollar Tree Tray, a $4.00 Hobby Lobby Tray, and colorful printed scrapbook paper to create designer-style modern trays. So let’s get started.
(Posts on The Ponds Farmhouse may contain affiliate links. As an Amazon Associate, I earn from qualifying purchases. See the full disclosure details here.)
Table of contents
What Are Decorative Trays Used For?
There are many reasons to use decorative trays. Initially, I think of trays for serving food, but when decorating your home, trays add a new dimension to your decor style. They are great for creating coffee, entry, and side table vignettes.
Here are some areas to consider adding a decorative tray.
- Create a centerpiece on a tray by gathering several items for coffee tables or dining tables.
- Add a tray to a bed for holding books, writing paper, coffee cups, etc.
- Place a tray on the kitchen or bathroom countertops to hold similar items within easy reach.
- Add a tray to your coffee station to hold cups, creamer, sugar, etc.
- Use a tray as a minibar. Add cocktail glasses, mixer, etc.
- Trays are great for poolside or on porches to hold beverages and snacks.
- And the list goes on.

Anthropologie Dupe Decorative Tray Inspiration
If you are like me, you probably look at all the high-end catalogs and websites to see what the latest and greatest decor ideas are. I don’t necessarily follow the trends, but I like to see if something catches my eye. Maybe I’ll find something similar at a thrift store for much cheaper. I also love running across something that I really like and realizing that I can make it for a fraction of the designer’s cost.
That’s what happened when I was browsing the Anthropologie website. I saw these cute eclectic trays in bright colors with a floral bottom. I made a note of the trays and then hit the Dollar Tree to shop.
I immediately found a great wooden tray in the $5.00 section and knew it would work. However, they didn’t have any smaller wooden boxes or trays, so I hopped over to Hobby Lobby. They had several items at 40% off, and I hit the jackpot.
I found the perfect little wooden bowl or tray, an initial to monogram my trinket tray, craft paint, and lovely decorative paper all at 40% off.
So, I spent less than $10.00 and made two Anthropologie Dupe Decorative Trays. I hope you like them.
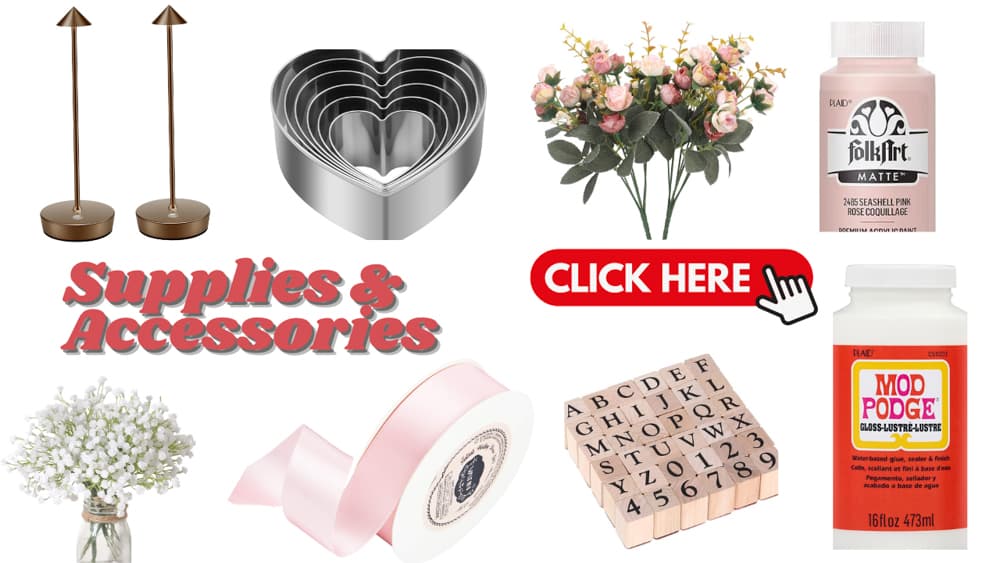
Dollar Tree Tray and Other Supplies
The Dollar Tree Tray was the most expensive item I purchased. Here is a list of exactly what I used to make the trays.
- Dollar Tree Rectangle Tray
- Hobby Lobby Hexagon Small Wooden Bowl
- A Wooden Initial R
- Acrylic Paint Seashell Pink (which I had from a previous project)
- Acrylic Paint Wild Rose
- White Chalk Paint
- Two sheets of decorative printed scrapbook paper – You can also see some selections here.
- Clear Wax
- Mod Podge
- Antique Gold Rub and Buff
- E6000 glue
I already had many of the supplies, including mod podge, clear wax, chalk paint, rub and buff, and the seashell pink paint.
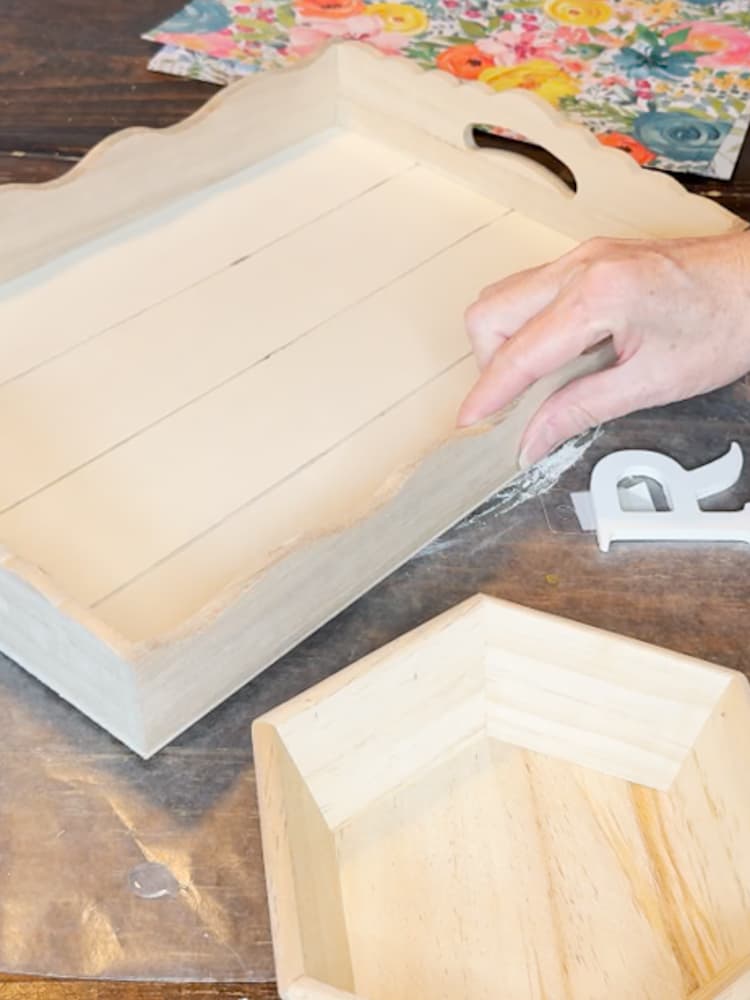
Note: If your tray has grooves in the bottom, you want to fill it with either wood filler or joint putty.
How To Make DIY Designer Decorative Trays
Now that you have your supplies, it’s time to create a designer-inspired decorative tray that works with your home’s aesthetic and colors.
Unlike the Anthropologie Trays, your choices are almost unlimited. You can choose your paint colors, and Hobby Lobby has a fantastic selection of decorative printed paper.
Here are a few that I picked up for future projects. I think the bunnies would be so cute for Easter.
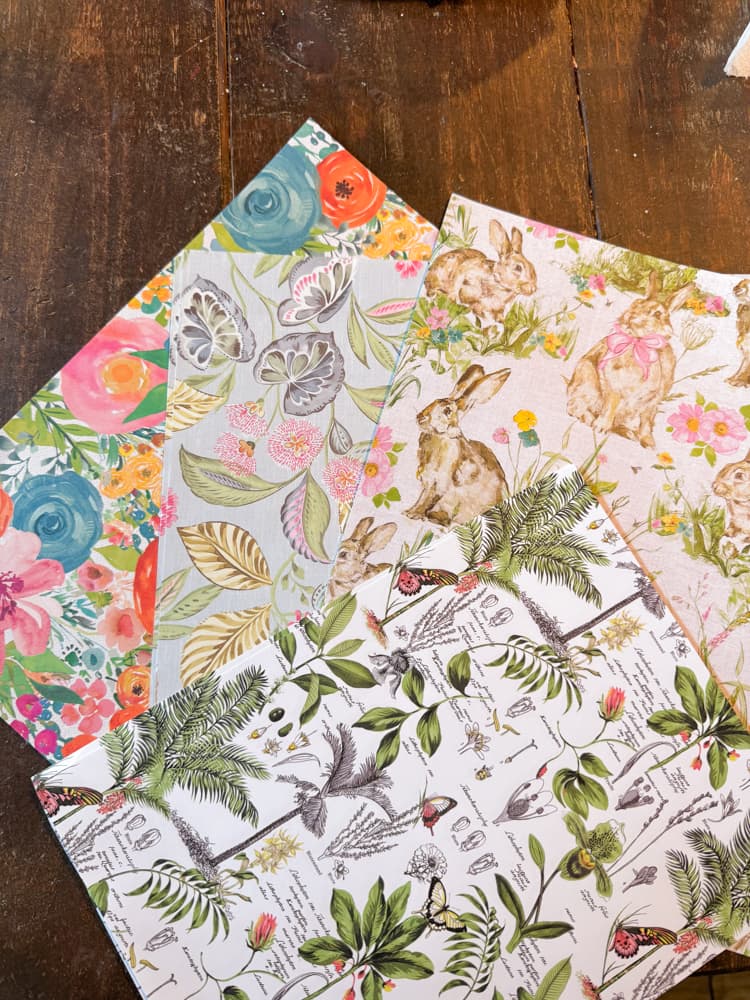
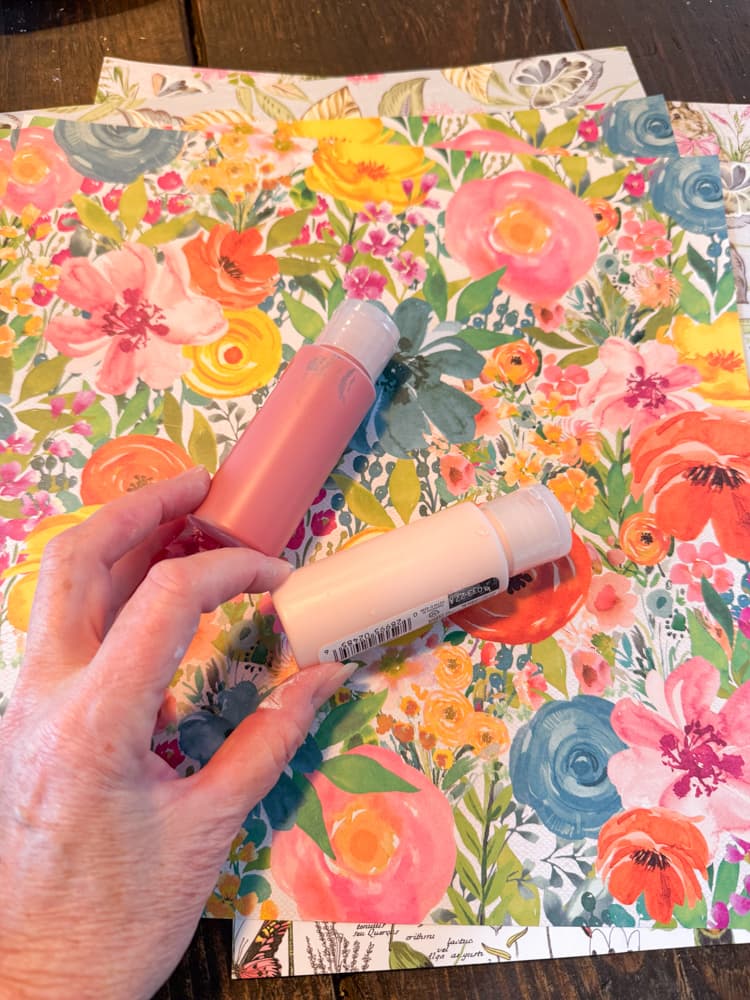
I decided to use bright, splashy colors to add a touch of kitschy to my bathroom for Spring. I matched a couple of craft paints to the pink shades on the paper I plan to use.
How To Paint Wood Trays
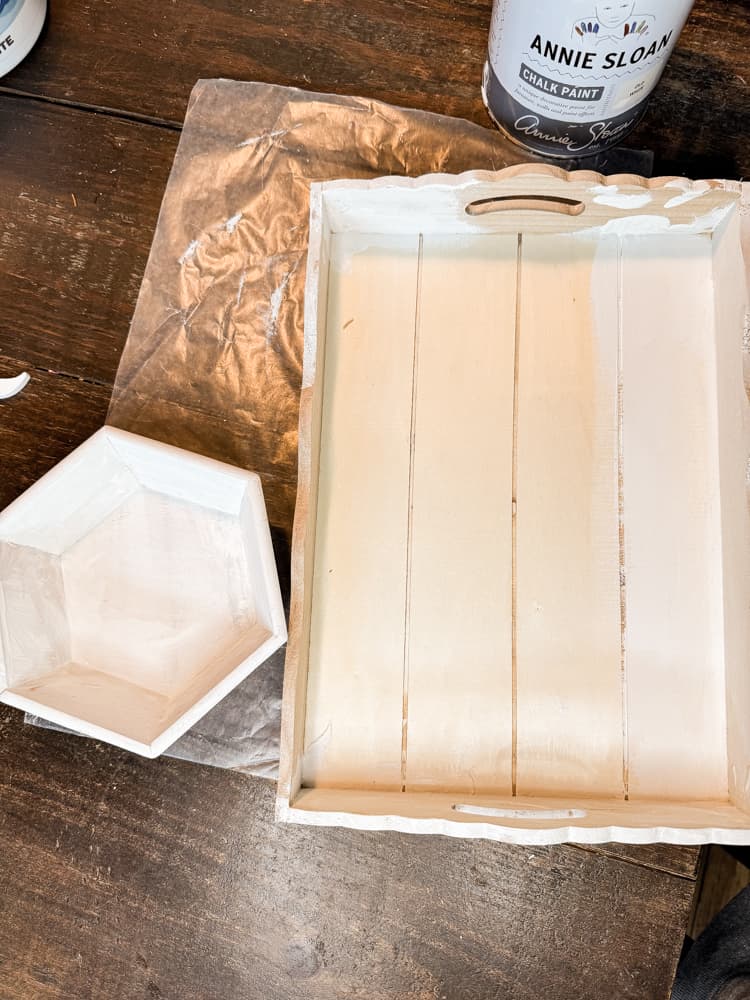
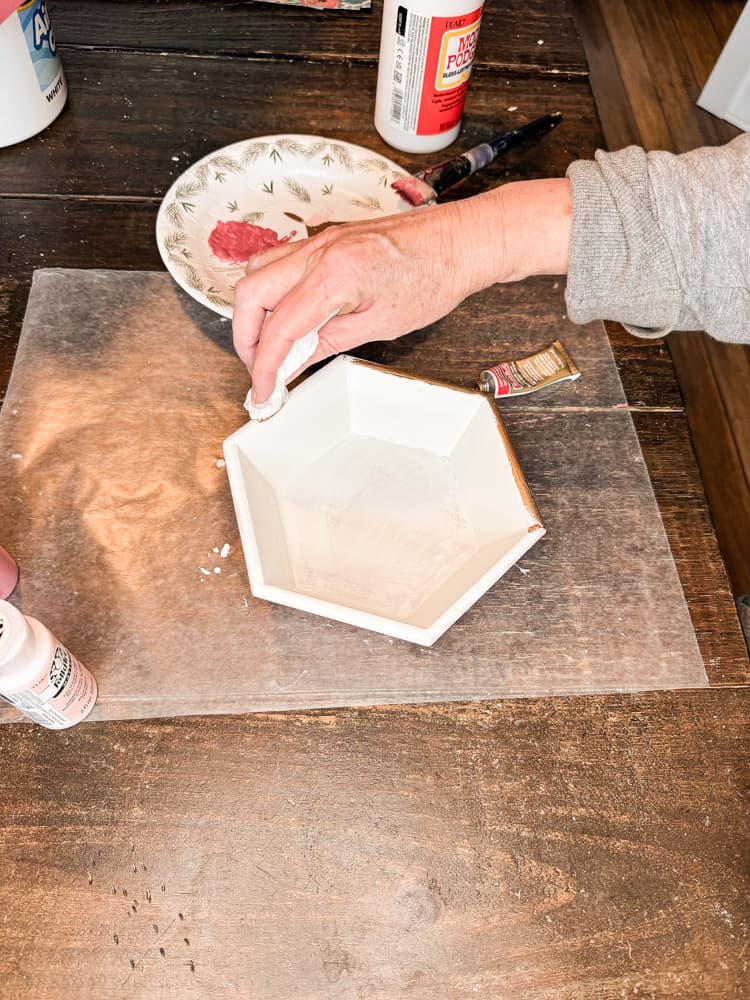
To begin, you will need to paint the wood trays. Use the white chalk paint first and cover the entire tray.
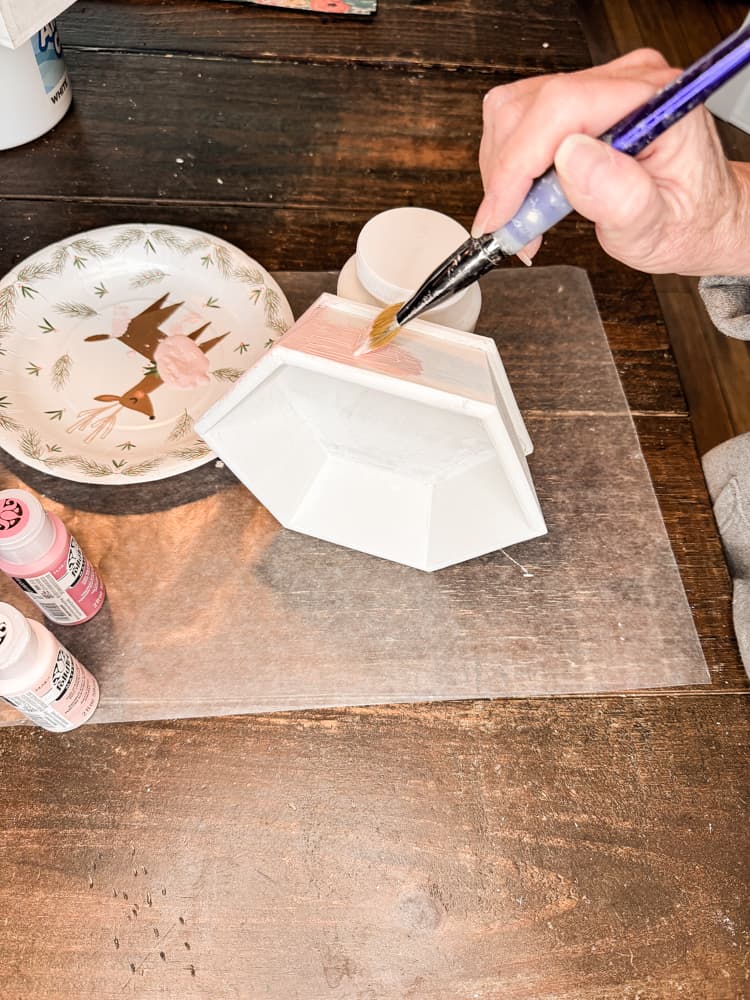
Next, add your decorative colors to the outside of each tray. I added the pink seashell to the smaller tray and the wild rose to the Dollar Tree tray.
Almost An Oopsy!
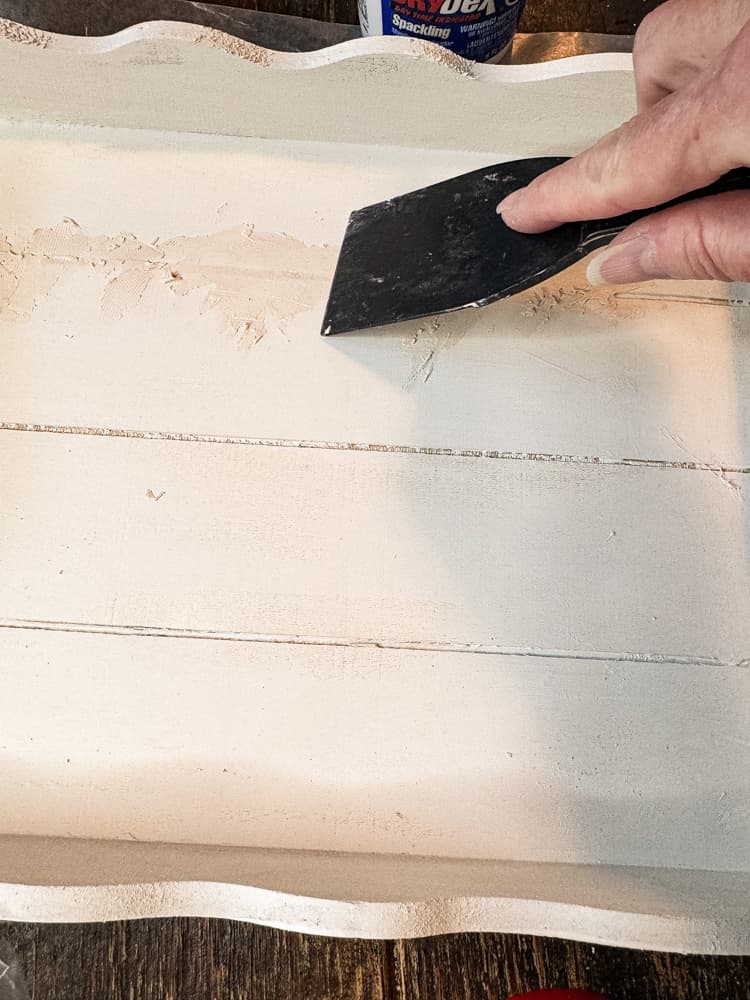
While painting, I realized that the Dollar Tree trays grooves could be a problem. Instead of taking a chance, I recommend filling the grooves with spackling. You can use wood filler also.
Apply enough to fill the grooves and smooth them with a plastic putty knife. Ensure the bottom of your tray is smooth and the putty is dry before proceeding.
Add Gold Trim
Next, to capture the essence of the Anthropologie Dupe, I added a gold rim around the top of each tray. You can use paint if you prefer. However, I like the ease of Antique Gold Rub and Buff.
You add a small amount to a paper towel and rub it over the areas you wish to cover. If you slip and apply the gold outside the intended area, you can easily touch it up with your paint.
Add Protective Sealer on Wood Trays
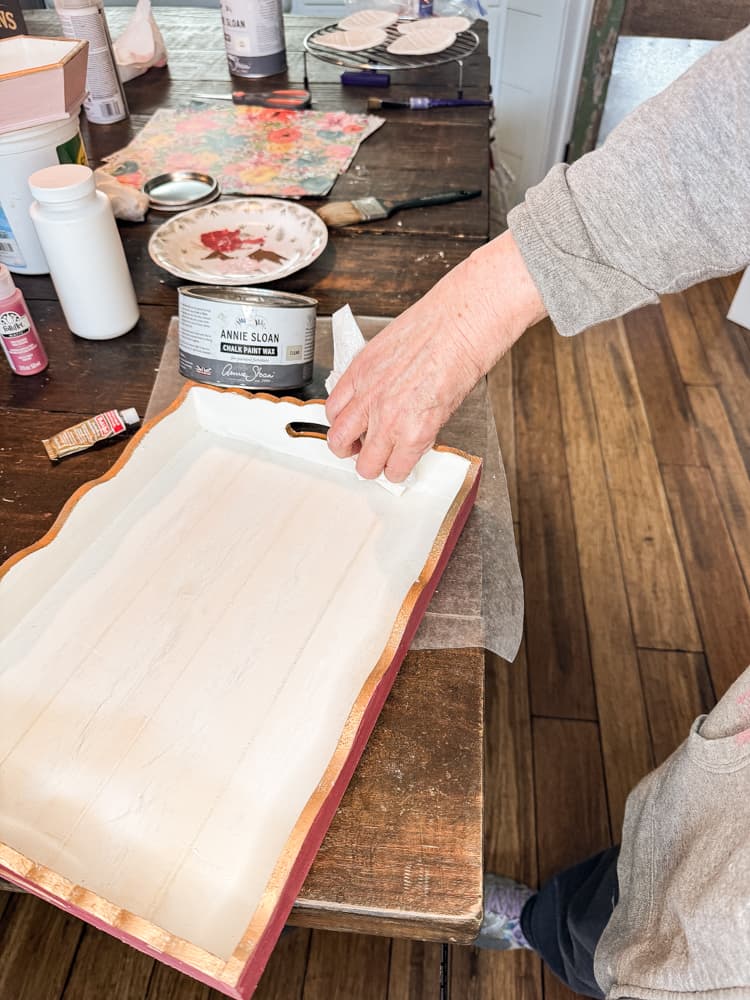
Now, you are ready to seal the paint on your decorative wood trays.
I used clear wax to seal everything but the bottom of each tray. Just apply a liberal amount of clear wax and buff until it shines.
If you prefer a glossy finish, use a spray sealer.
Insider Tip
If you spray to seal your decorative tray, you will need to cover the bottom of the tray. You don’t want the wood sealed before you add the decoupage technique.
Just cut a piece of paper and tape it to the bottom of the tray before spraying the sealer. This will ensure that the decoupaged paper will adhere properly to the bottom of the tray.
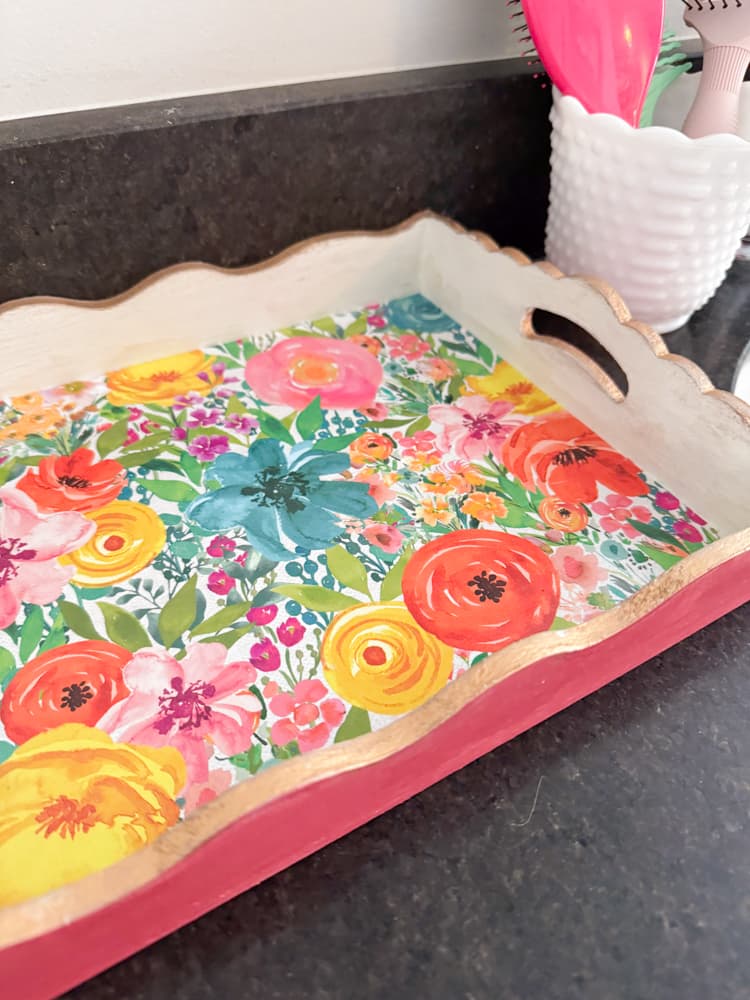
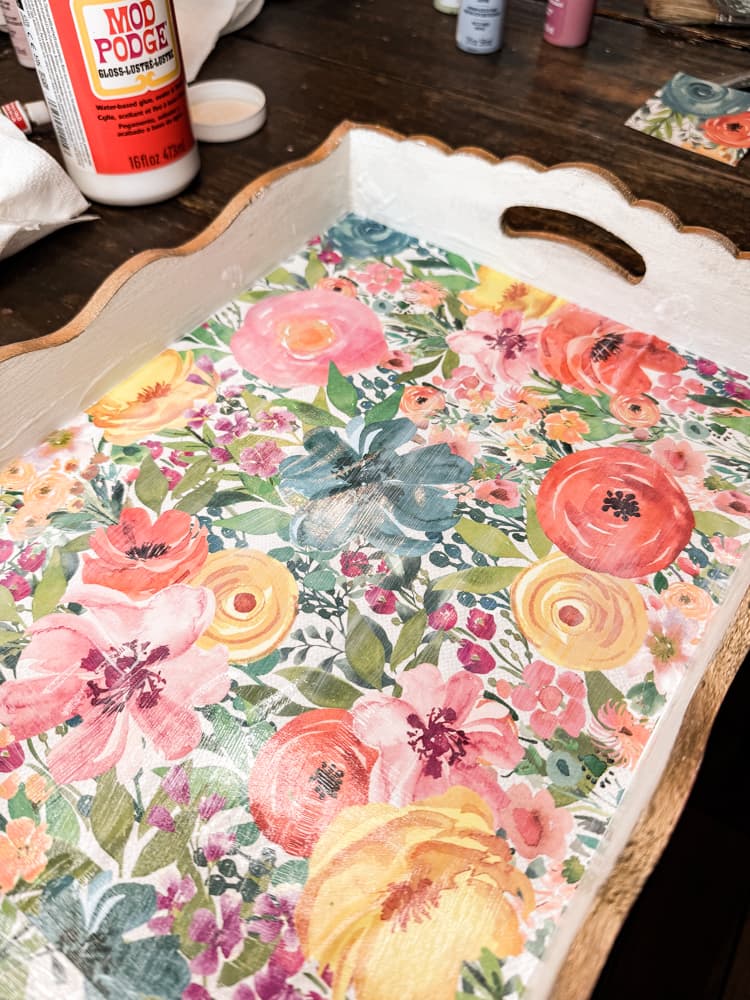
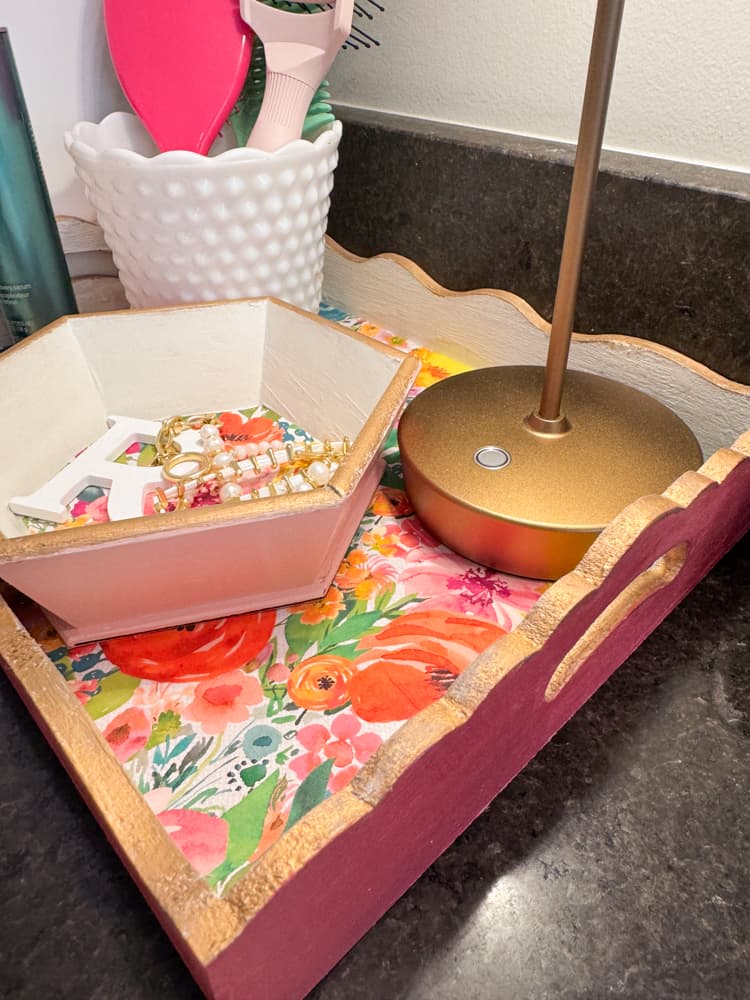
Decoupage the Bottom of the Decorative Tray
Now, you are ready for the final touch. Begin by tracing the bottom of your tray onto the decorative paper. Trim the paper until it’s an exact fit.
Add mod podge to the bottom inside of the tray and adhere the paper to the tray.
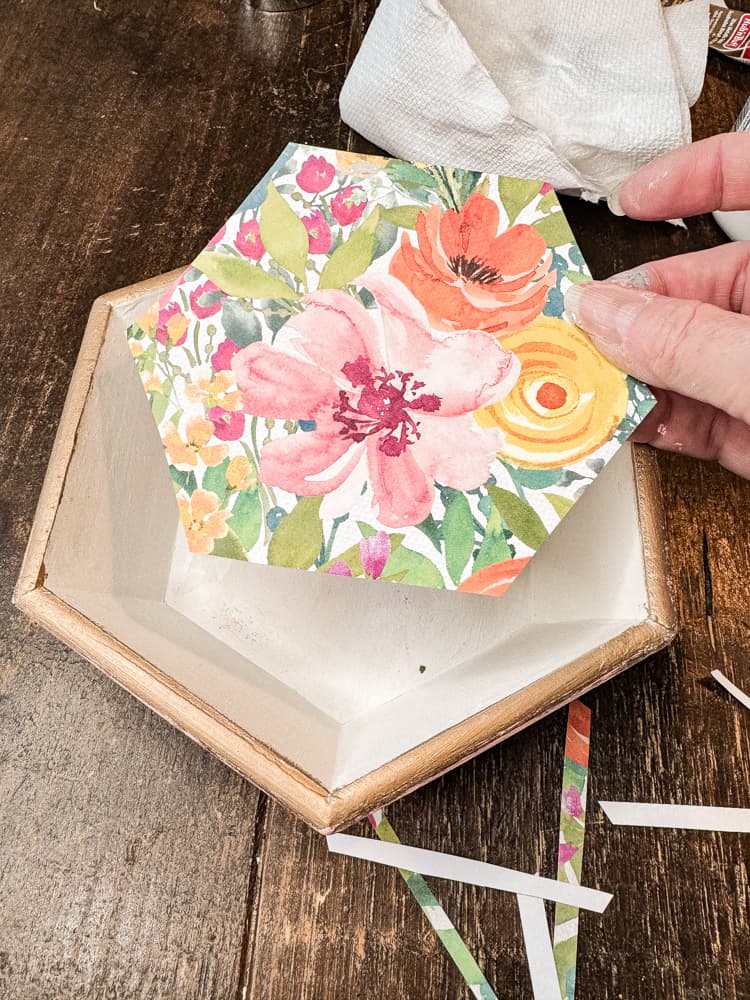
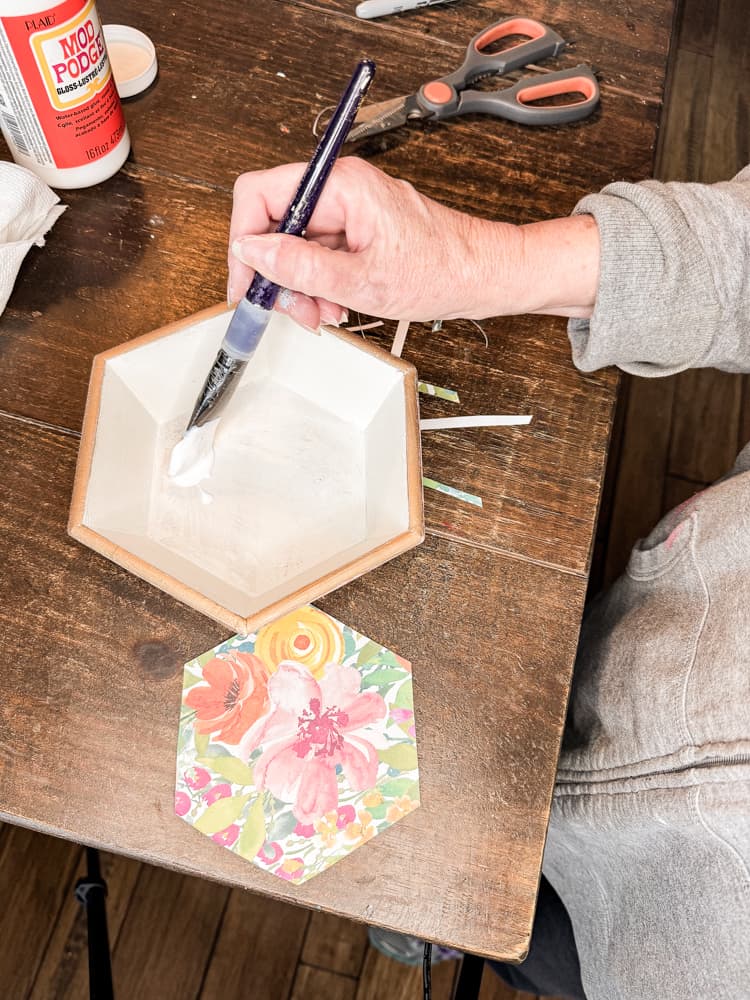
Smooth the paper over the mod podge and then brush another coat over the top. Allow to dry.
You may desire another coat of mod podge depending on your intended use of the tray.
If you plan to serve beverages, you should consider having a piece of plexiglass cut to cover the paper.
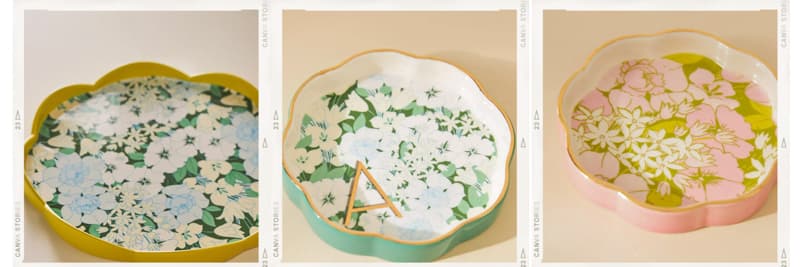
Inspiration Trays From Anthropologie
These are the trays that inspired this DIY project. Let’s compare them to the less expensive versions. If you’d like to know more about these trays, click on the highlighted description underneath the image.
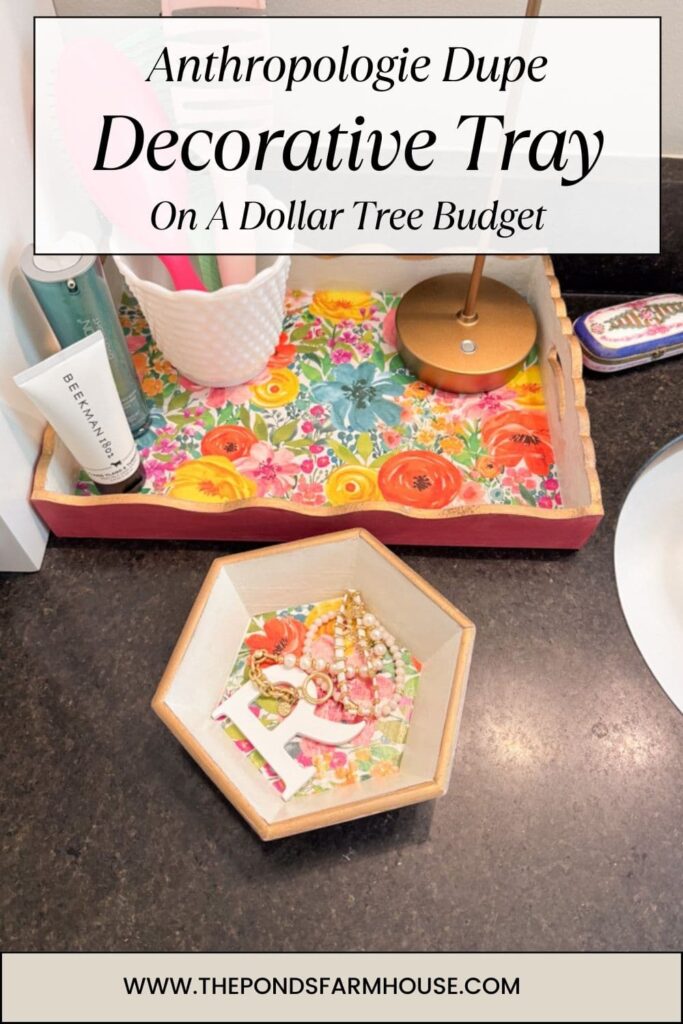
Dollar Tree Tray Anthropologie Dupe
That’s it, and it only took about two hours, including drying time, to make two Anthropologie Dupe Trays.
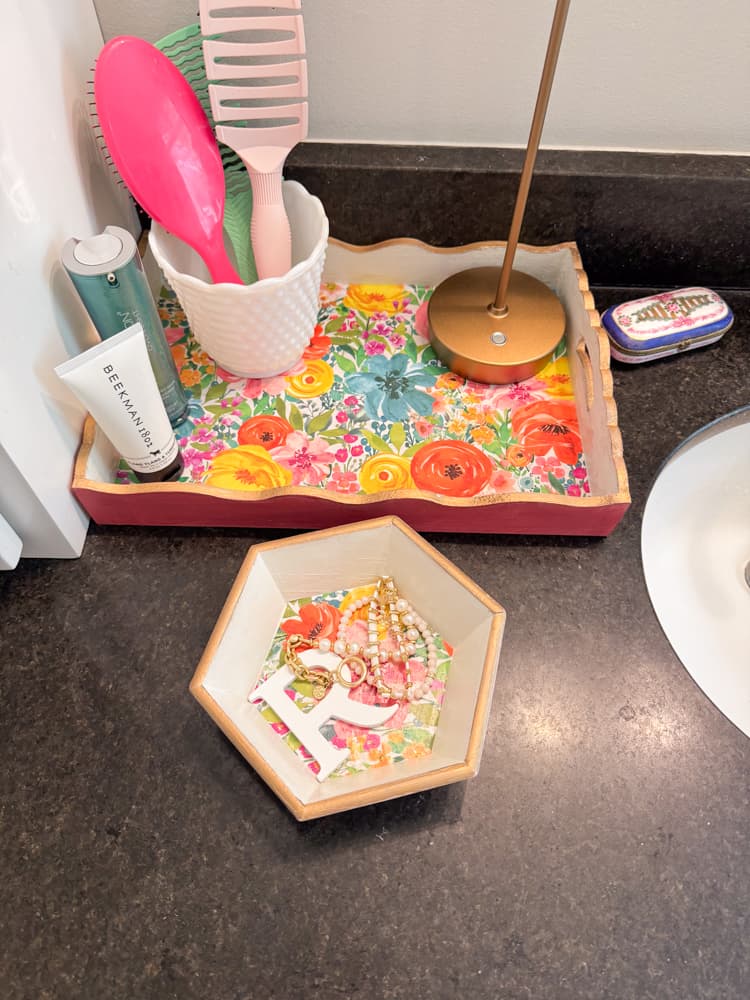
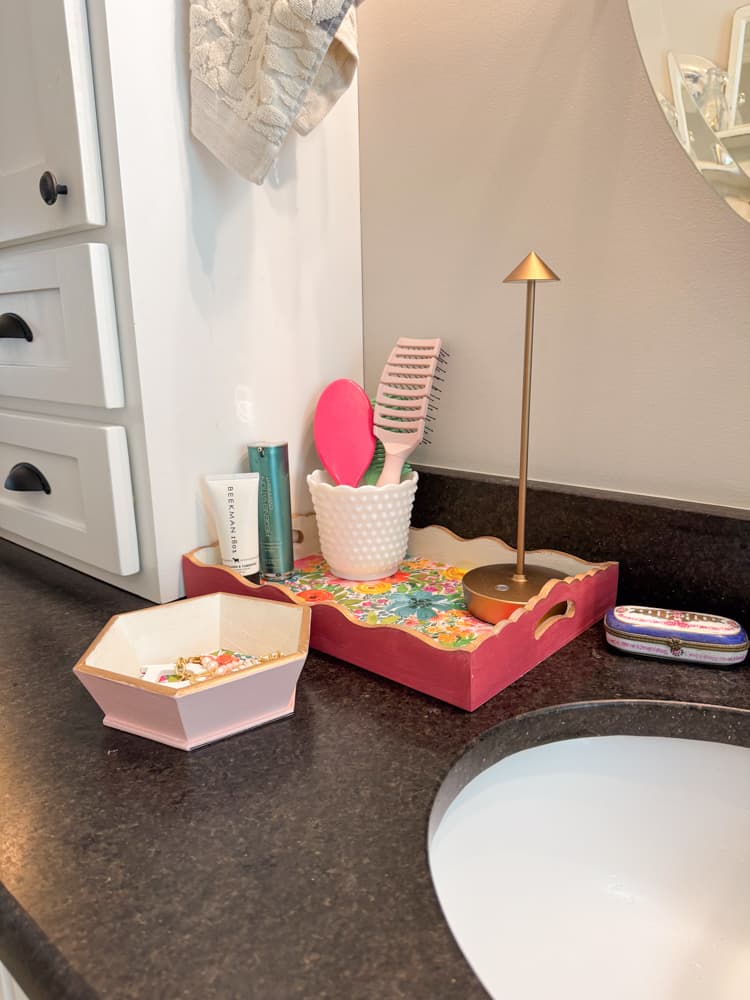
The Dollar Tree tray isn’t oval like the original inspiration piece, but I love the fun colors and the money I saved.
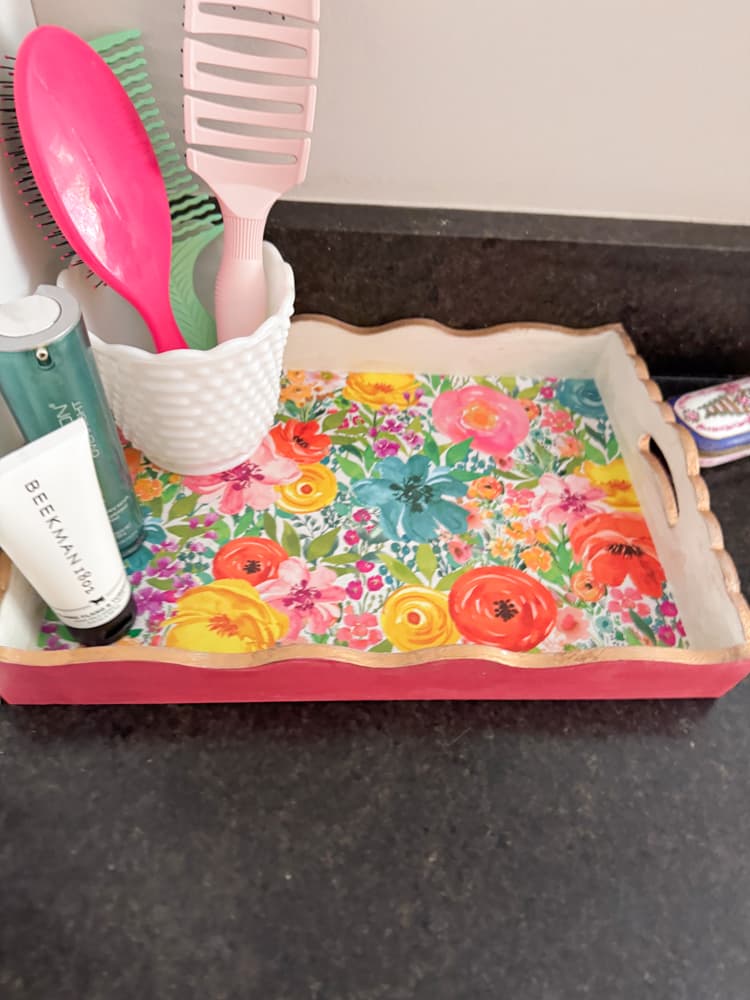
It really brightens up my bathroom countertops and makes getting ready so much more fun. I added a fun rechargeable cordless lamp to the tray along with some of my skincare and hair products.

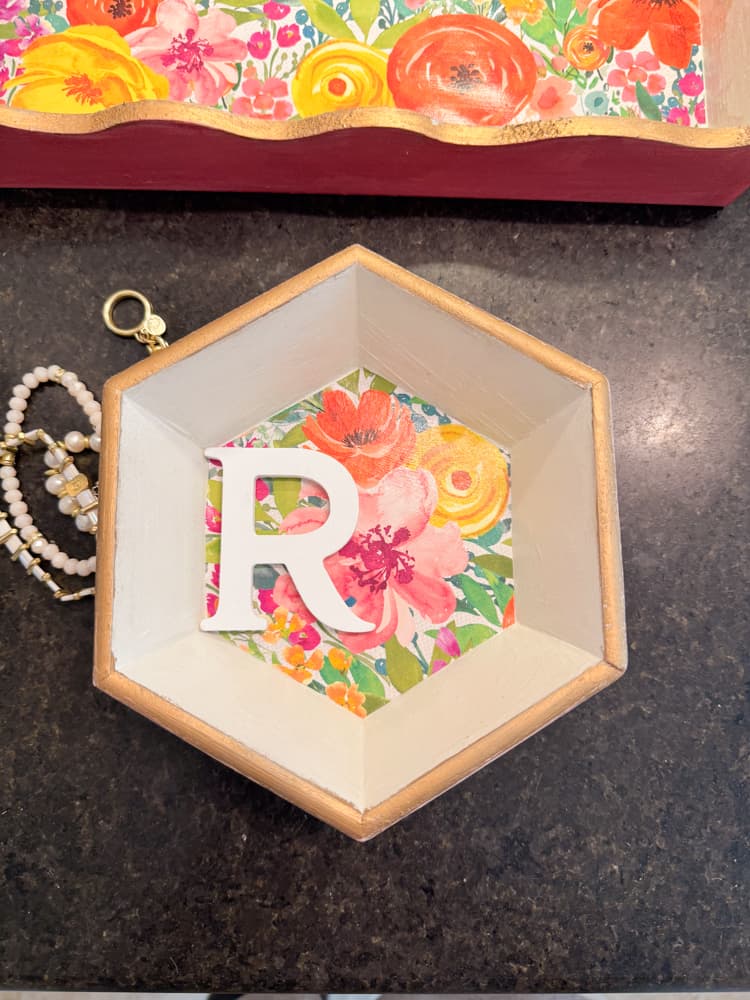
Hobby Lobby Personalized Monogram Trinket Tray
Isn’t the Hobby Lobby Monogrammed Trinket Tray the cutest?
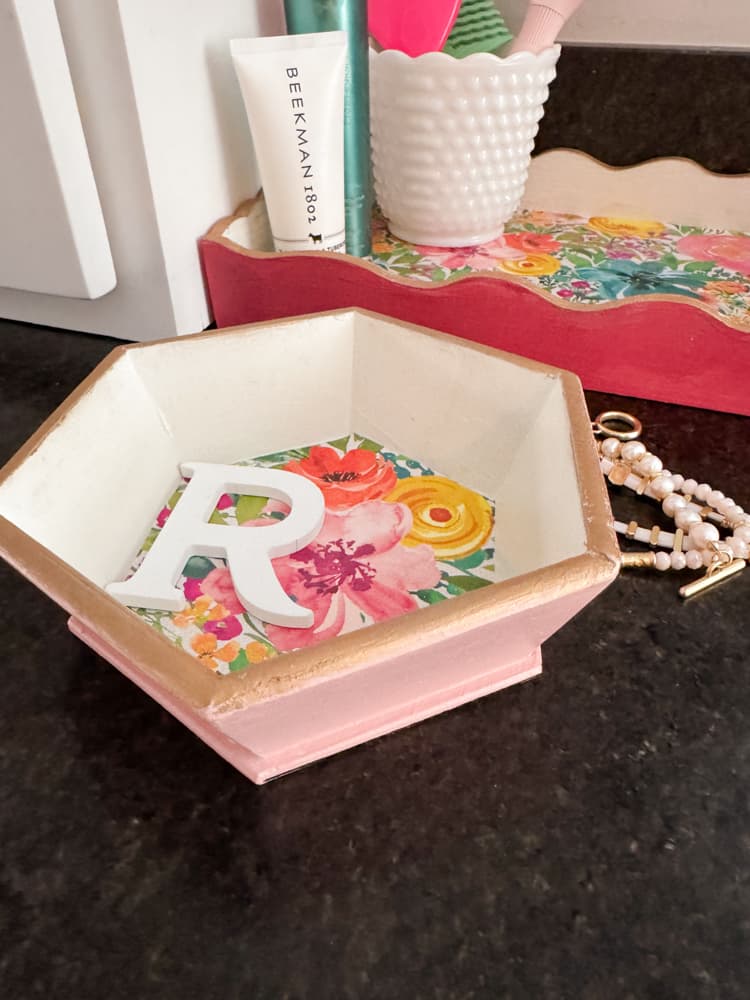
It looks cute without anything inside, but it’s spacious enough to hold several pieces of jewelry. Wouldn’t this tray make a great gift? Think Valentine’s Day, Mother’s Day, Graduation, and the list goes on.

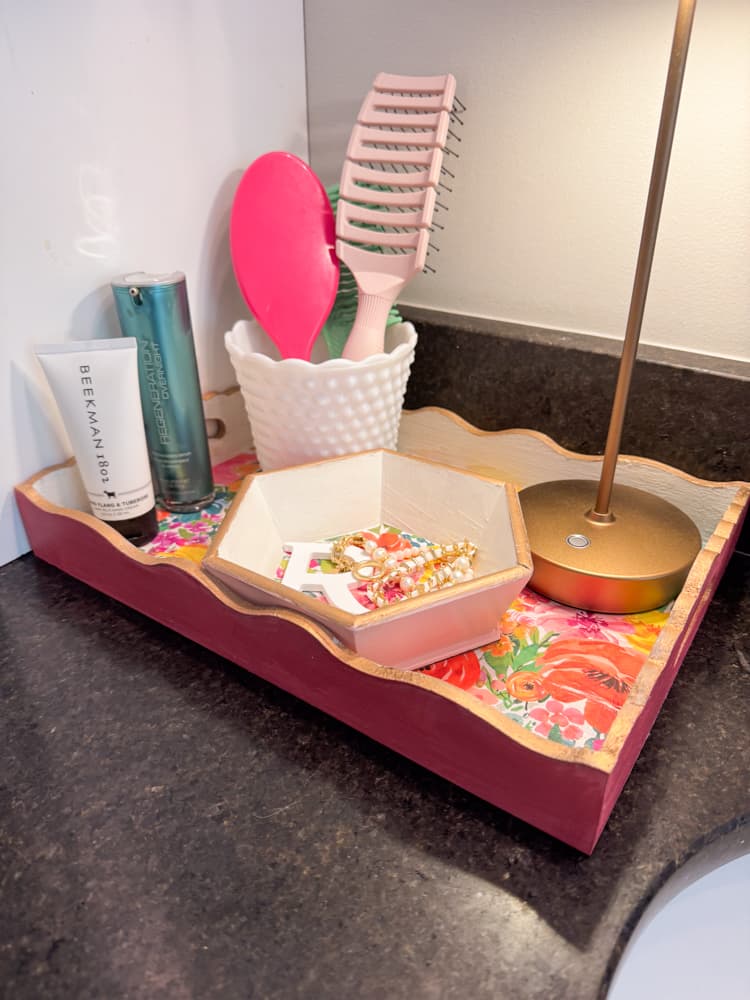
Two Coordinating Trays
I chose to use the same paper for both trays but used two coordinating colors for the outside. They can be displayed together or separately.
I really like them stacked together as well. They are so fun.
I’m itching to get back to Dollar Tree and pick up some more trays because there are so many possibilities, and this was super easy to make.
Video Tutorial:
Other Easy DIY Ideas You Will Like
If you like this idea, here are a few other similar projects that you will enjoy.
- DIY Decorative Wooden Box With Napkin Decoupage
- Repurposed Old Silverware Box
- DIY Pottery Barn Inspired Tiered Basket Tray
- Transform Thrifted Flips Into Pottery Barn Look-Alikes
- Easy Pottery Barn Hack For Coaster Decor
- DIY Leaf Napkin Rings Pottery Barn Style
- DIY Earthenware Vessel: Pottery Barn Dupe
- Napkin Decoupage Lamp Makeover
Resources
Click Images To Shop
I hope you enjoyed this tutorial, and let me know if you make one. I’d love to see your creation.

Pin It To Remember It
Did you find some great ideas you’d like to save for future reference? Hover over the images you’d like to save and pin to your favorite Pinterest Boards when you see the PIN button.
Angie
Friday 2nd of February 2024
Rachel, your trays are so colorful and fun looking. Your tutorial is clear and makes it look easy to make trays like these. Thank youfor sharing your terrific projects.
Rachel
Friday 2nd of February 2024
Angie, I'm so glad you found this helpful. Thank you for stopping by.
Gail Cunningham
Friday 2nd of February 2024
Rachel, these are beautiful! What a great idea, thank you for the tutorial and the inspiration. Now it's off to Hobby Lobby I go!
Rachel
Friday 2nd of February 2024
Gail, Thanks so much. Good luck.