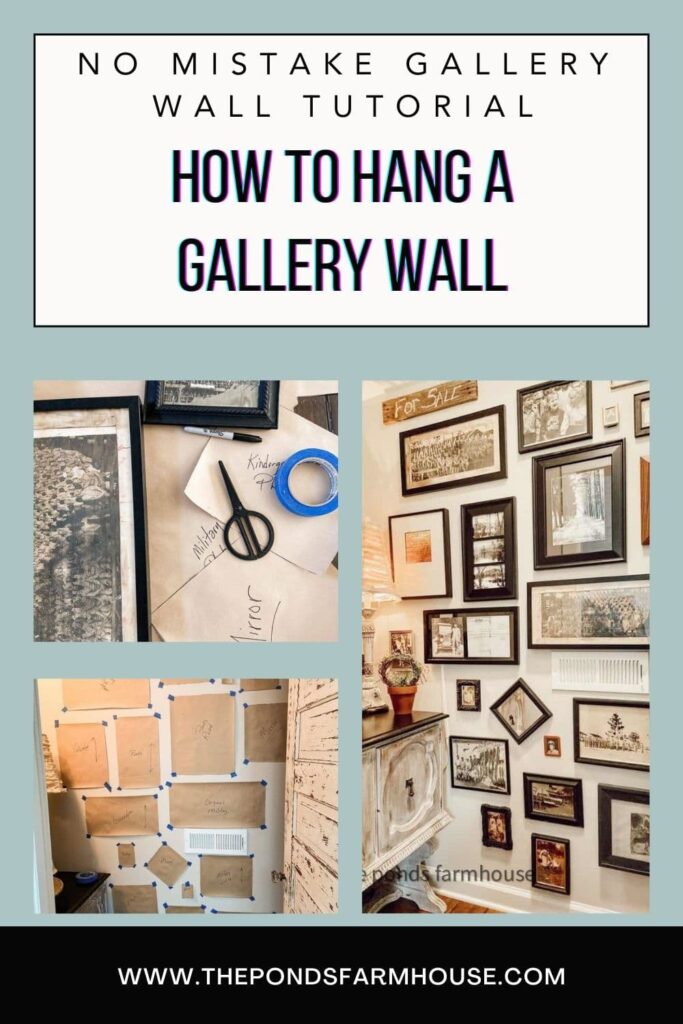
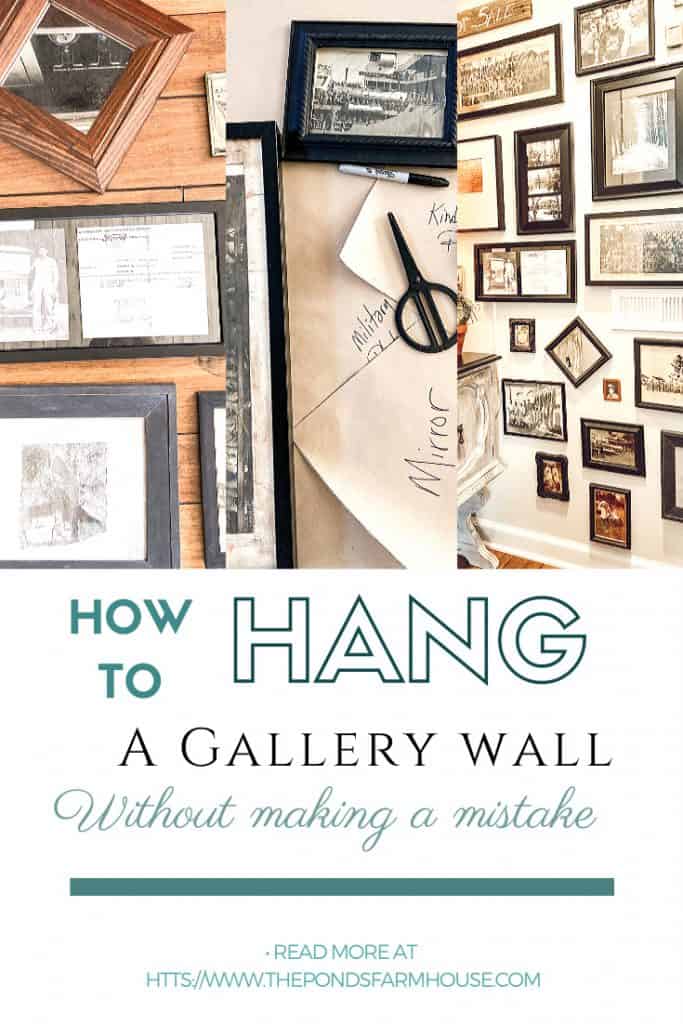
Want to learn how to hang a gallery wall without any mistakes? The biggest fear when hanging a wall of pictures is the damage to the wall. I have had that same fear, but here is what I learned about how to hang a picture wall without a mistake.
By following these techniques, you can do the same.
(Posts on The Ponds Farmhouse may contain affiliate links. As an Amazon Associate, I earn from qualifying purchases. See the full disclosure details here.)
Table of contents
Step 1 – Decide on a Theme
In my opinion, a gallery wall should have a theme. So, you could use children’s photos, vacation photos or memorabilia, botanical prints, or vintage family photos. Since I recently inherited a lot of old family photos, that’s what I used to create my gallery wall.
Step 2 – Gather The Proper Supplies
Always remember that any time you are hanging a gallery wall, you need some basic tools to do the job properly. But if you missed the 5 Tips to Hanging Art Perfectly Every Time, you may want to refer to it first.

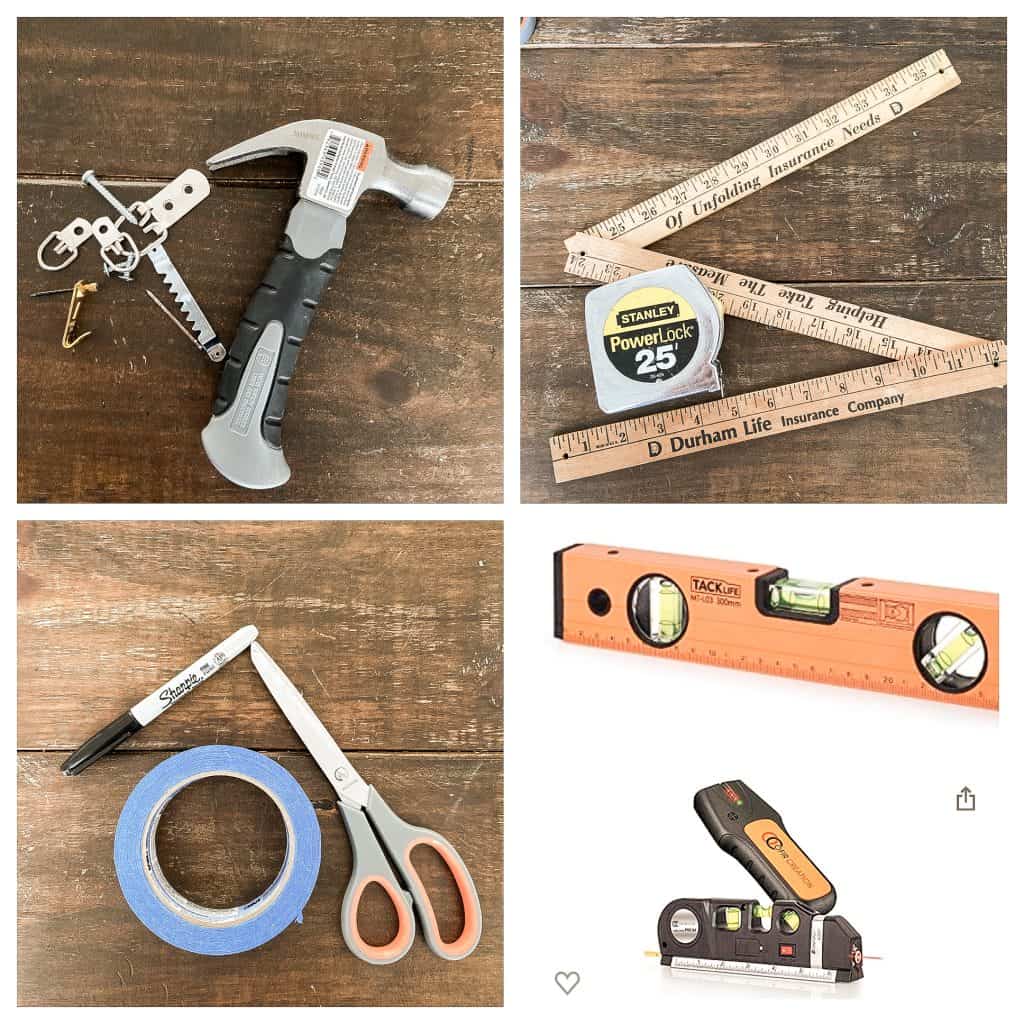
Supplies
- Craft Paper
- Hammer & Art Hanging Kit
- Tape Measure and/or yardstick
- Sharpie, Painter’s Tape & Scissors
- Level or Laser Level
- Painter’s tape
You can substitute craft paper for old wrapping paper or newspaper if you prefer.
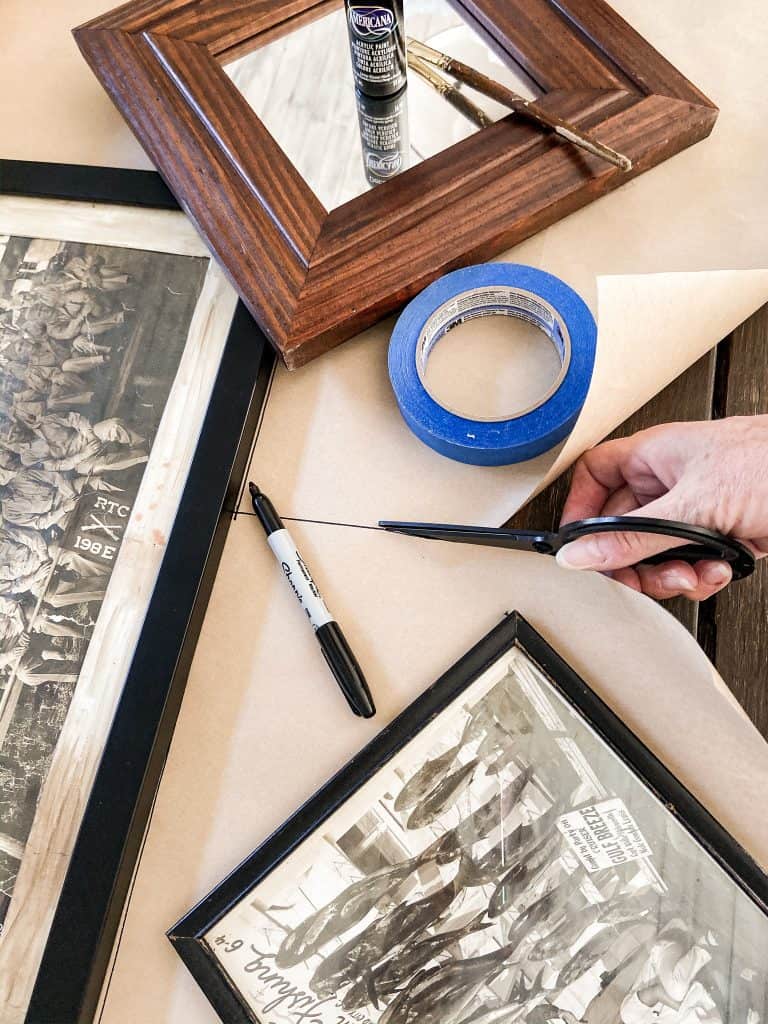
Step 3 – Trace Each Frame onto the Craft Paper
Trace each of your frames onto the craft paper to create a template. Cut out the traced paper.
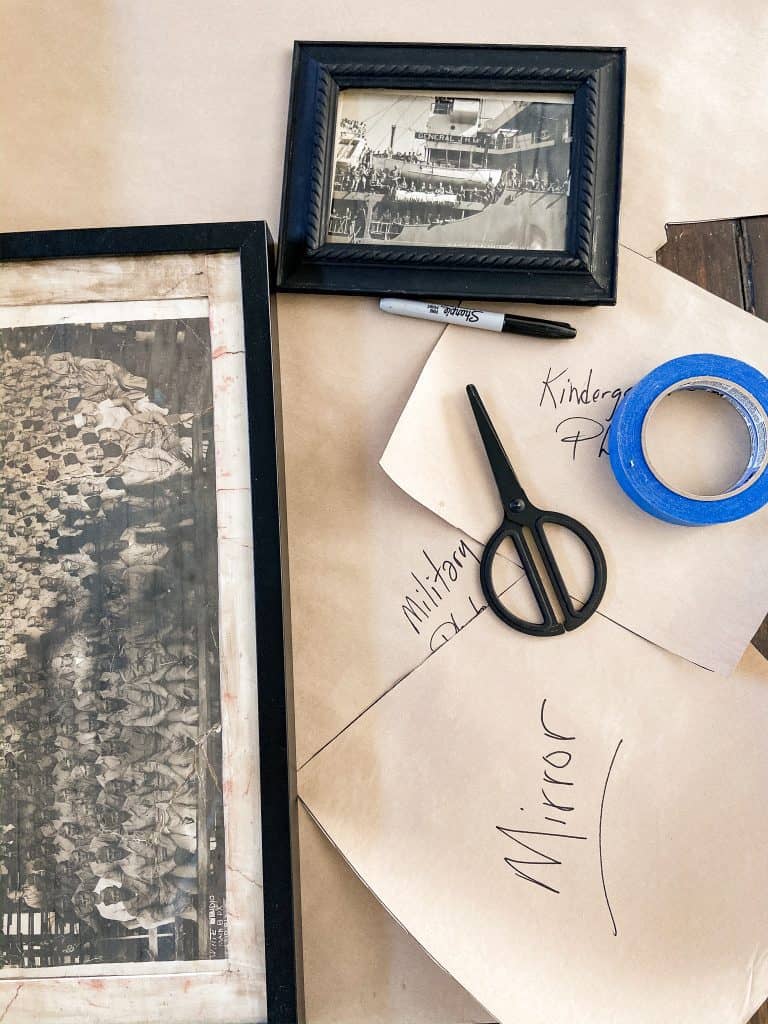
Insider Tip
Be sure to document each frame as you trace them. I promise you will not be able to distinguish them once they are all cut out. Include a description of the print and arrows to determine vertical placement.
Step 4 – Decide On An Arrangement
Next, decide how to arrange a hanging wall of pictures best.
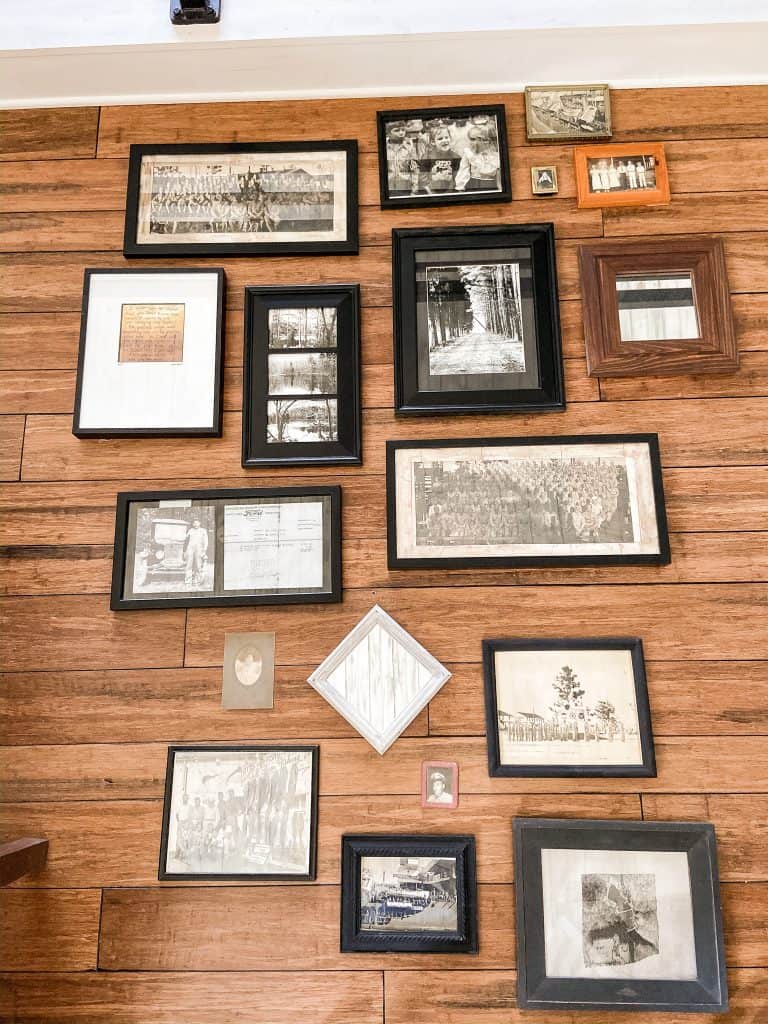
If you are using identical frames of a consistent size, hanging a wall of pictures isn’t as difficult. Because I was using multiple-size frames and shapes, deciding on an arrangement beforehand is crucial. Keep in mind that you want approximately 2 inches between each frame.
I laid the frames out on the floor to find the arrangement, but it didn’t work. So, I began adding the template photos to the wall using painter’s tape to hold them in place instead.

Using painter’s tape to hold the templates in place allowed me to easily shift their placement without damaging the wall. Since I didn’t want my photos to hang on an angle, I used a level to ensure that each template was level in both directions.
Step 5 – Double Check Your Placement
Once the templates were placed in a pleasing arrangement, I decided to lay the photos out on the floor in an approximate arrangement to the wall.
This step ensured that the arrangement was eye-appealing and nothing looked out of place. By switching a couple of the smaller pieces, the arrangement was acceptable at this point.
Step 6 – How To Hang A Picture Wall
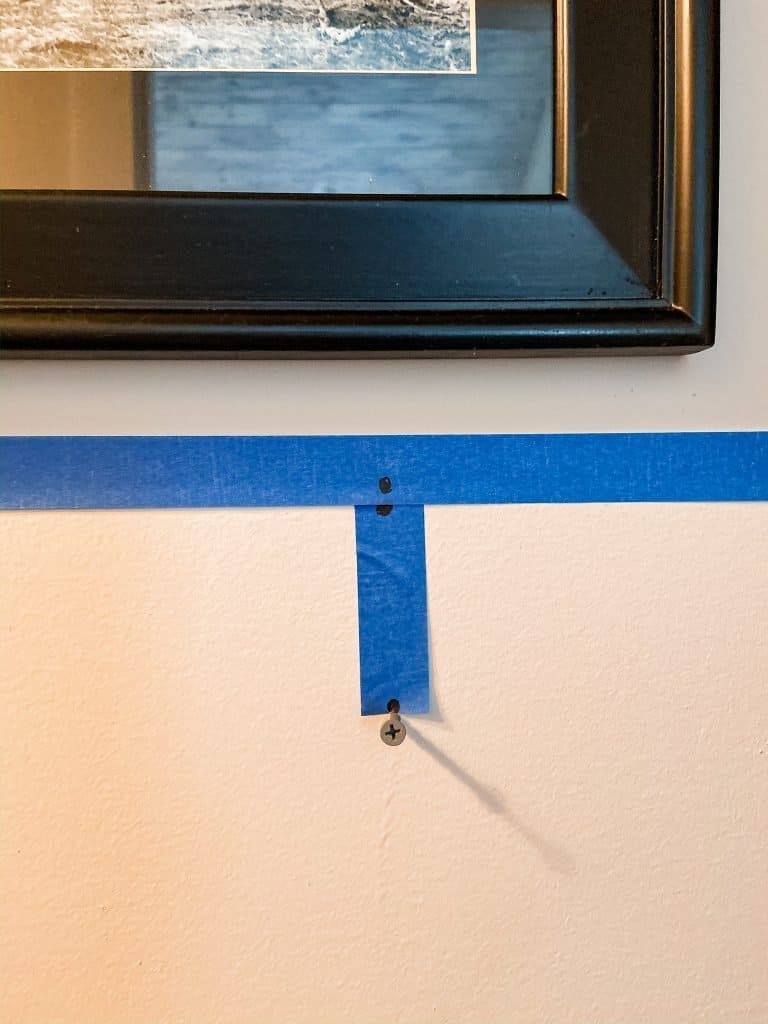
Don’t remove the paper templates on the wall. This will ensure that all the frames remain level and is a cruical tips for hanging a wall of picture.
Next, you want to place your nails! This is the scariest part of hanging in art. First, I’ll refer back to a previous post. Here is a tutorial with step by step instructions for hanging art. If you use your painter’s tape to mark the hanger placement and then use your wall template, you will place the nail perfectly every time.
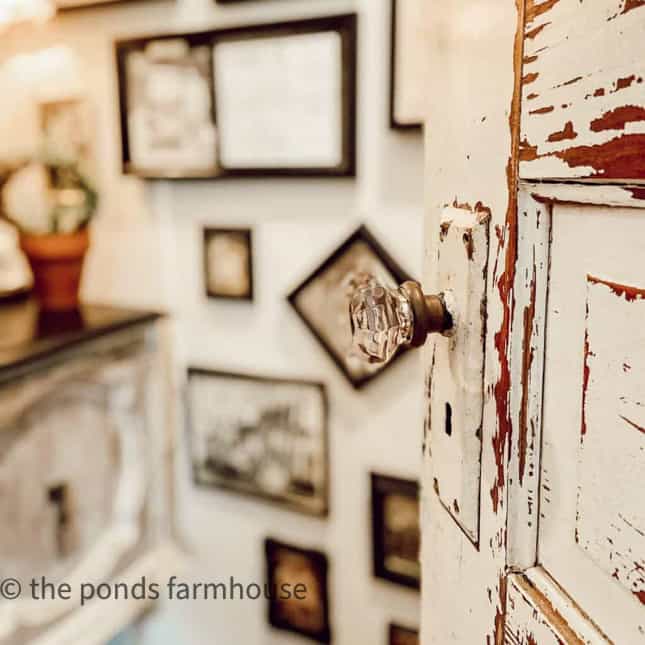
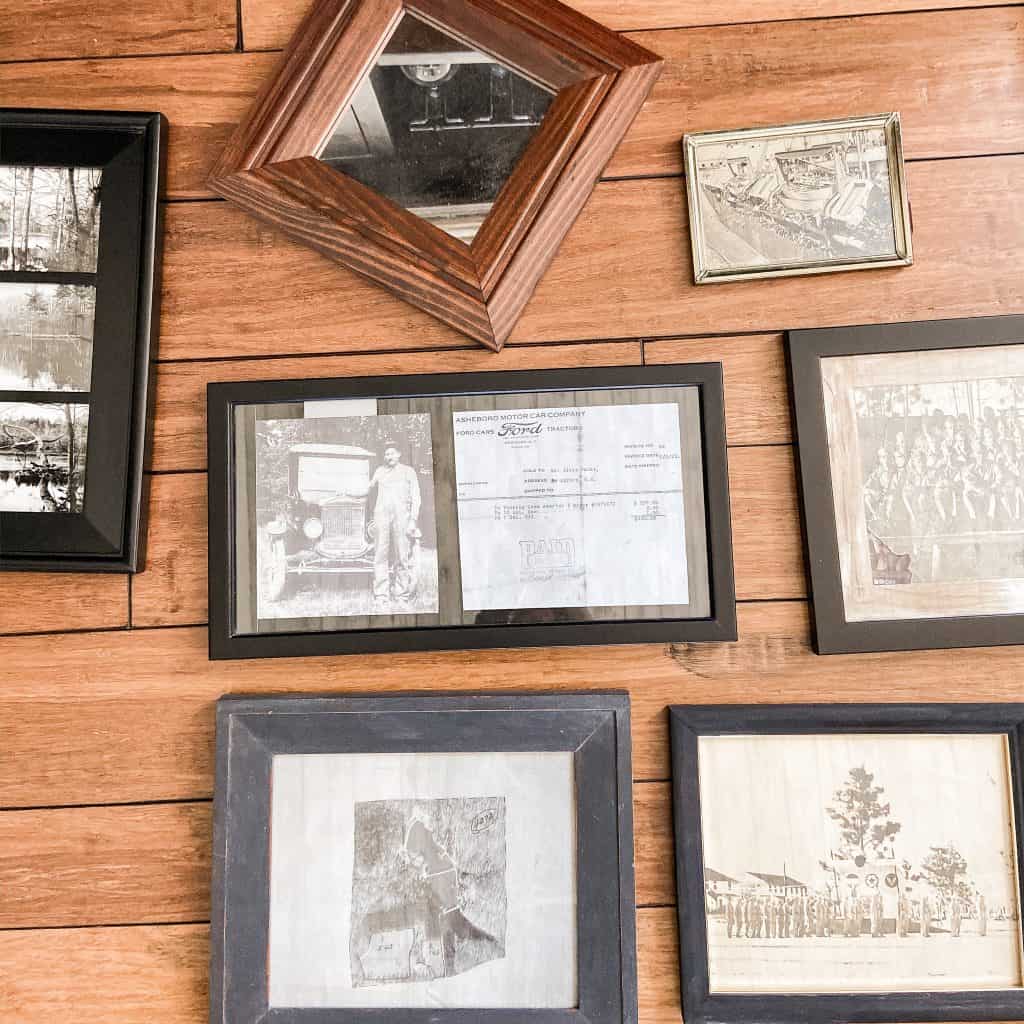
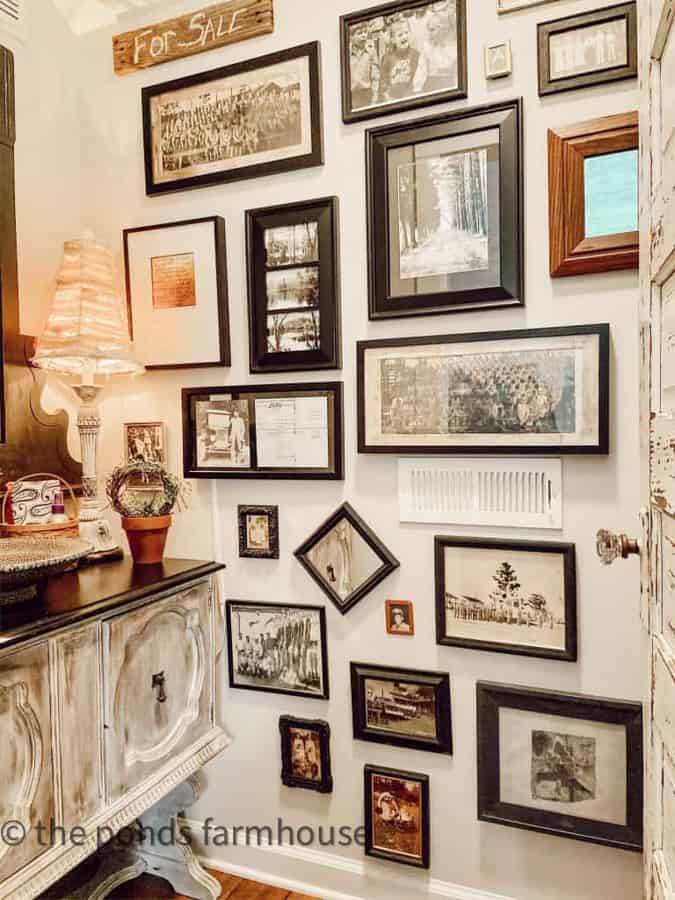
Step 7 – Step Back and Enjoy Your Gallery Wall
How to hang a picture wall has never been easier. I hope you picked up tips to give you the confidence for hanging a gallery wall of your own.
Resources
Related Articles
- How To Hang Art
- What To Do With Inherited Family Photos
- How To Create A Custom Photo Mat for Vintage Images
Thank you so much for stopping by. I hope you’ll be inspired to hang a gallery wall of your own. I love mine. Please feel free to ask any questions, and as always, your comments are greatly appreciated.

Pin It To Remember It
Did you find some great ideas you’d like to save for future reference? Hover over the images you’d like to save and pin to your favorite Pinterest Boards when you see the PIN button.