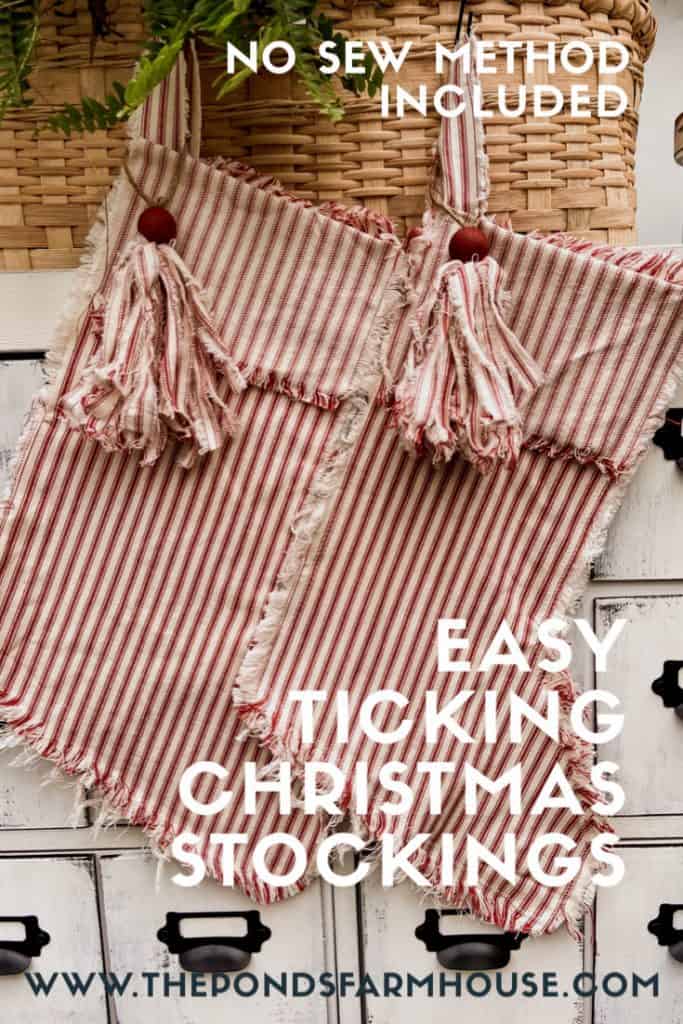
Want a rustic Christmas stocking idea? Today, I’m sharing how to make Easy DIY Christmas Stockings with a vintage, distressed look. I’m sharing a no-sew method and, if you prefer, an easy-to-sew method.
My favorite go-to fabric for Christmas is Red Ticking Stripe. I’ve made pillows, tassels, napkins, and more. However, this distressed Christmas Stockings tutorial will work with any 100% cotton fabric with a woven design instead of screen-printed.
(Posts on The Ponds Farmhouse may contain affiliate links. As an Amazon Associate, I earn from qualifying purchases. See the full disclosure details here.)
What Is Ticking Fabric?
Ticking Fabric is 100% cotton with a tightly woven stripe in the fabric. The stripe is visible on both the outside and inside of the fabric. The heavy-duty material was initially used for mattress covers and bed pillows.
With the popularity of farmhouse-style decorating, ticking fabric has become a popular decorating choice for pillows, bed quilts, comforters, craft projects, and more.
How To Make Ticking Christmas Stockings?
Begin by purchasing 3/4 yards of red and white ticking fabric to make two stockings. Actual ticking fabric has a woven design visible on both sides of the material. This allows the backside of the fabric to be exposed for this project.
Trace DIY Christmas Stocking
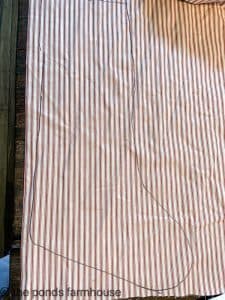
The easiest way to create these stockings is to trace an existing Christmas Stocking that is the size you prefer. If you don’t have a stocking, you can free-hand the design or search for a free template online.
I used a Christmas stocking that I already had on hand, and traced it slightly larger because the fabric will shrink when dried.
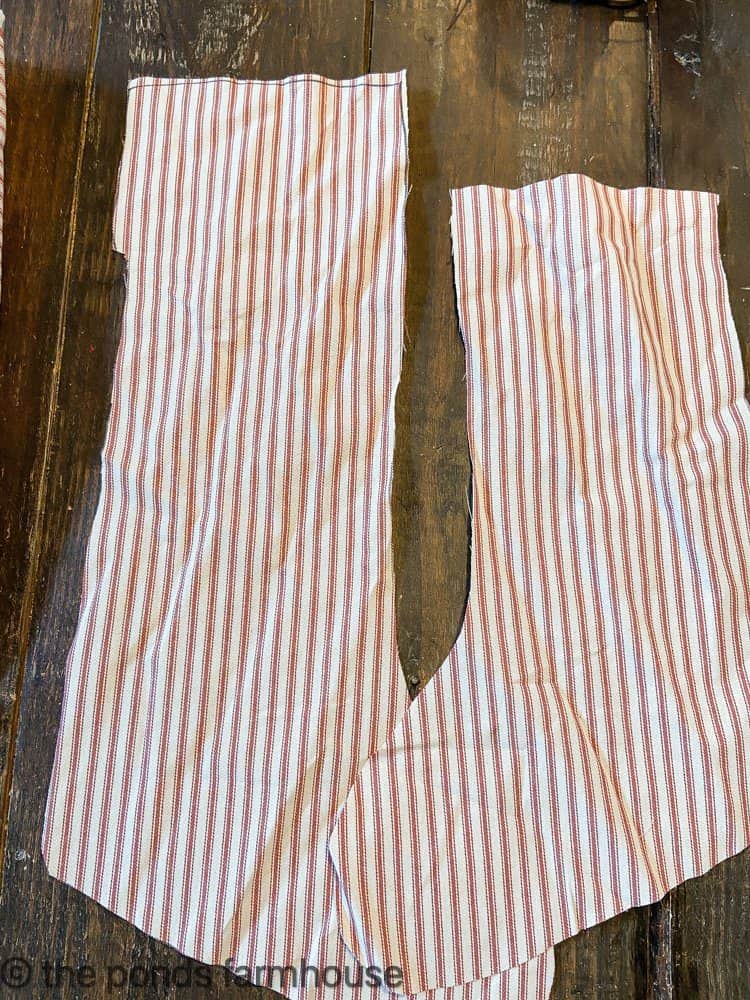
Then you can easily cut the stockings along the drawn lines. Use regular scissors; you don’t have to be neat with this step.
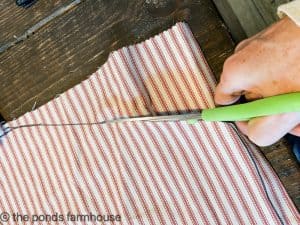
You will want to cut the front side of the stocking at approx. 4 – 5 inches longer than the backside. This will allow for a fold-down on the front side.
In addition, cut a strip of ticking fabric approx. one inch wide and seven inches long for the hanger.
Optional Lining for the Stockings
If you want the stockings to be more sturdy, you may want to add additional fabric to the inside as a liner. I only added one piece to the back side and used plain cotton fabric. You can use heavier-weight cloth if you want your stockings to be substantial.
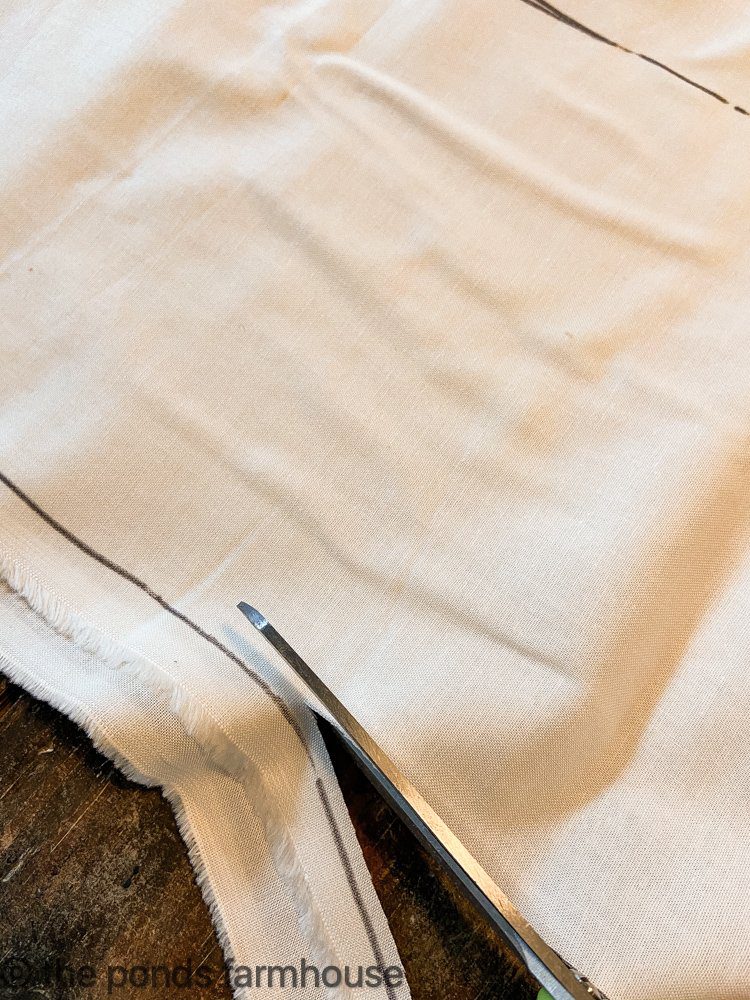
You will want to cut the lining fabric slightly smaller than the ticking stocking. 3/4 of a yard will allow for two stockings to be lined both front and back.
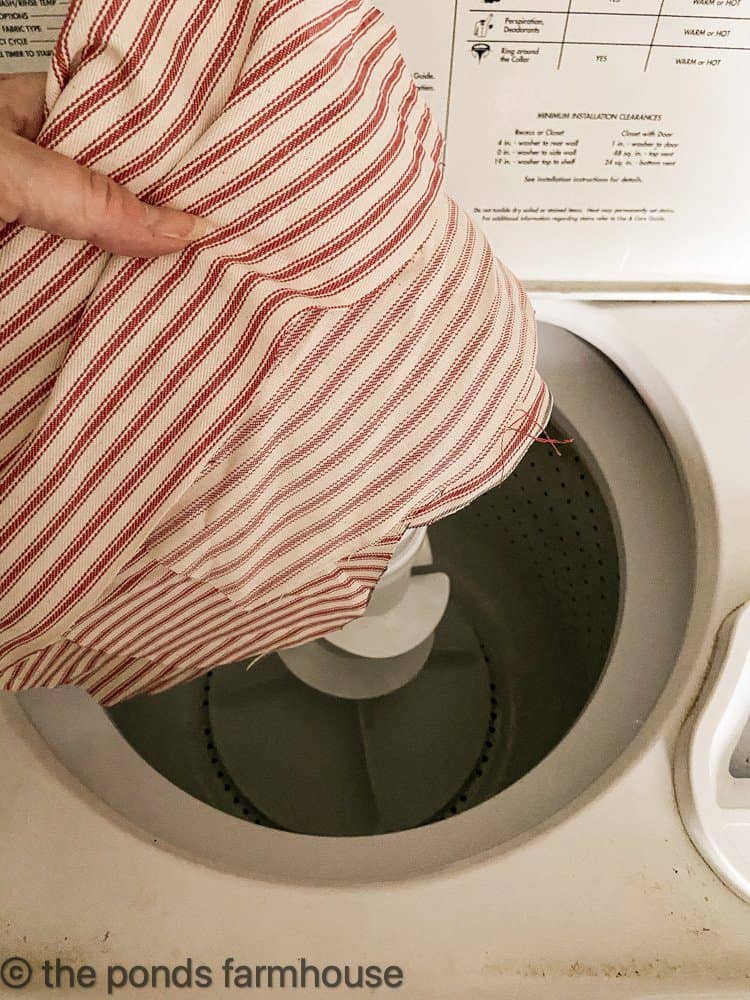
Wash Ticking Stockings and Hanger Fabric
Just toss all the cut-out pieces into your washing machine, however, it’s not necessary to wash the liner fabric.
Then toss into the dryer to dry.
When you remove the ticking stockings, you will need to cut off excess strings. All the edges will be frayed.
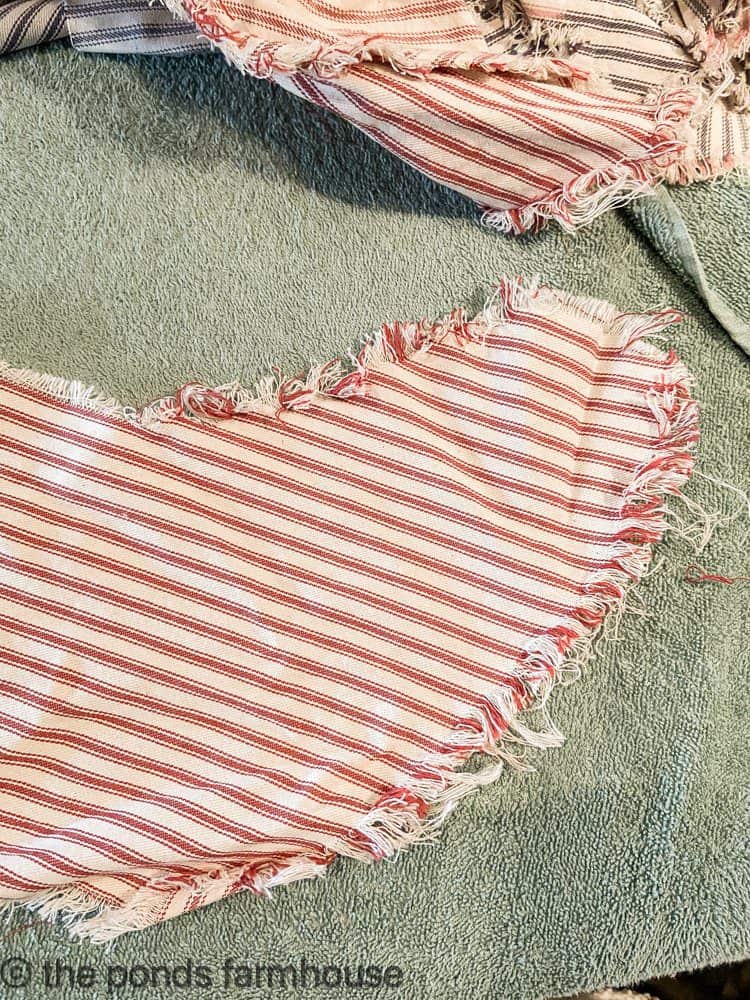

You will need to press all the ticking pieces before assembling them.
I like to use the Cricut press because it’s fast and easy.

How To Assemble the DIY Christmas Stockings
After everything is pressed, you can assemble your stockings using a sewing machine or fabric glue. Both methods are super easy.
Sewing Method
First, if you are using a lining, you will want to sew the lining fabric to the back side of the stocking. Be sure to sew the lining inside the frayed edges of the stocking on the wrong side of the fabric.
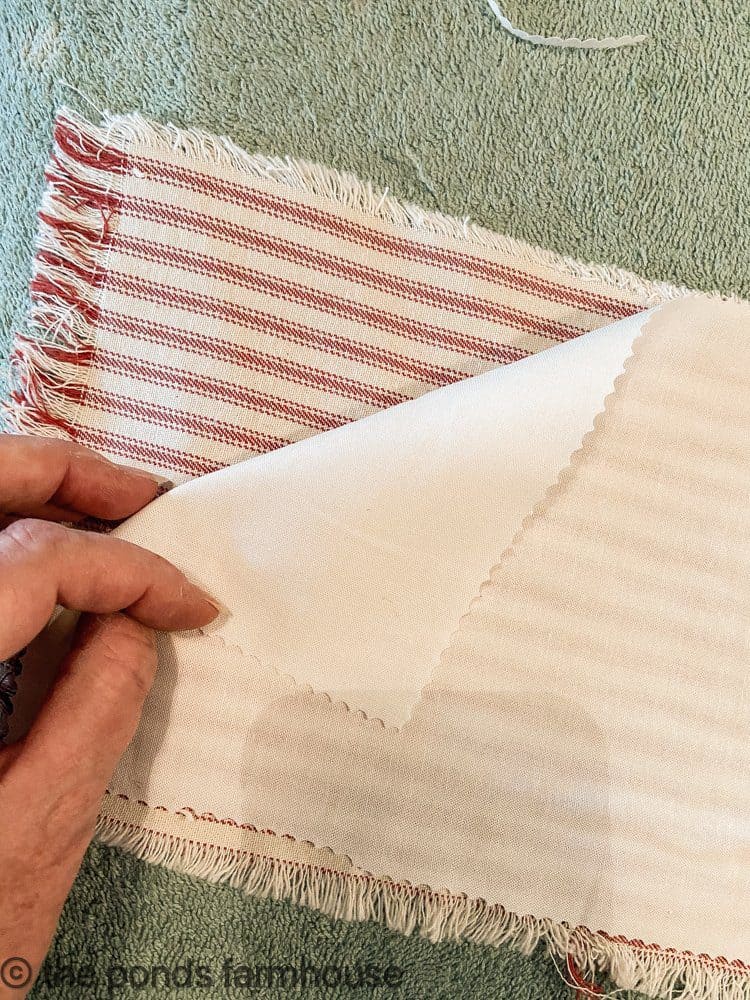
Note: I used pinking shears to cut the liner fabric to size. Once the ticking fabric has been washed and dried, it will have shrunk. Therefore, it may be necessary to trim the liner fabric in areas to fit inside the frayed edges.
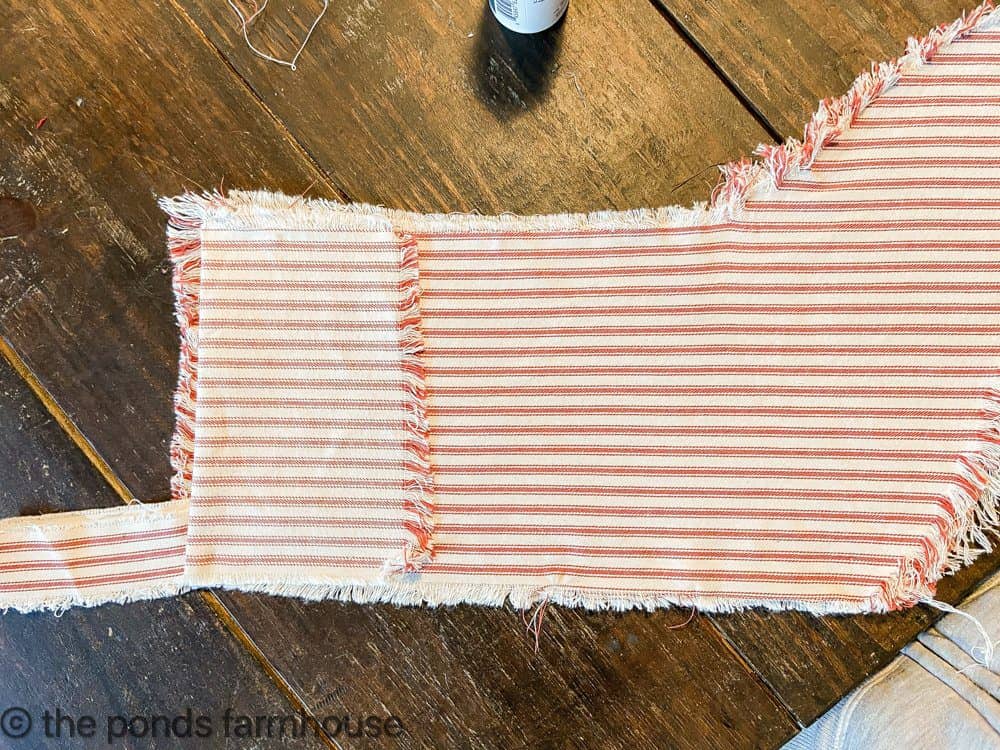
Next, align the longer front side of the ticking fabric on the lined back side of the stocking. Be sure that the back sides of the ticking fabric are together, with the right sides of the fabric facing out.
Then, fold down the longer piece on the front until the crease is even with the backside of the stocking. Pin into place.
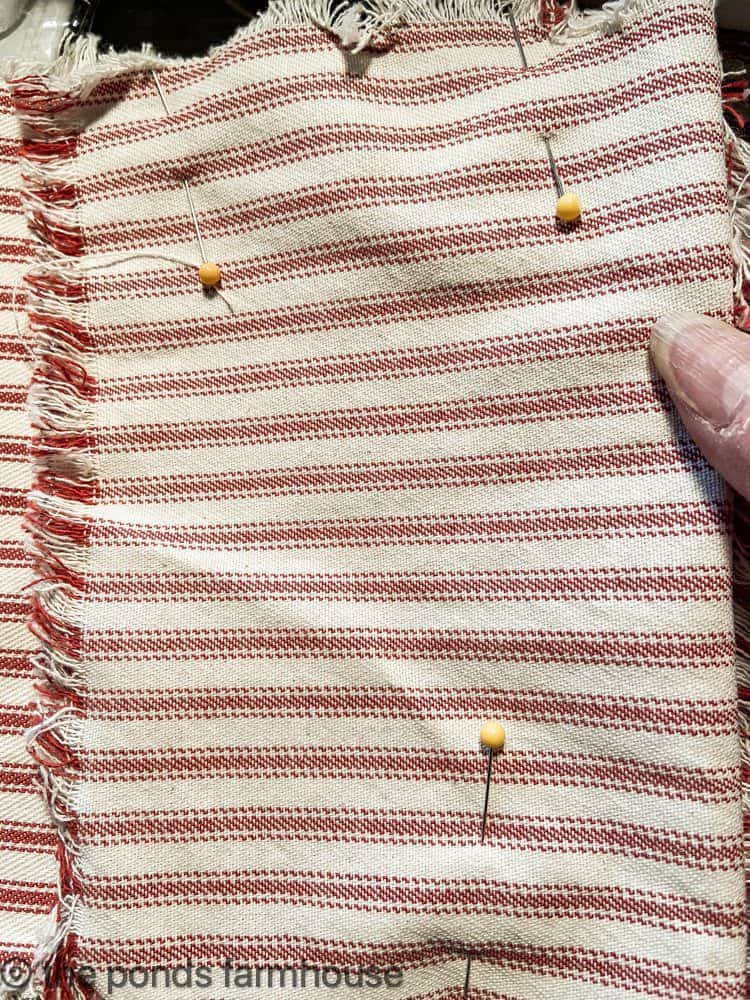
Note: the folded down fabric will expose the inside of the ticking fabric.
In addition, place the hanger inside the stocking at the upper left-hand corner and pin it into place.
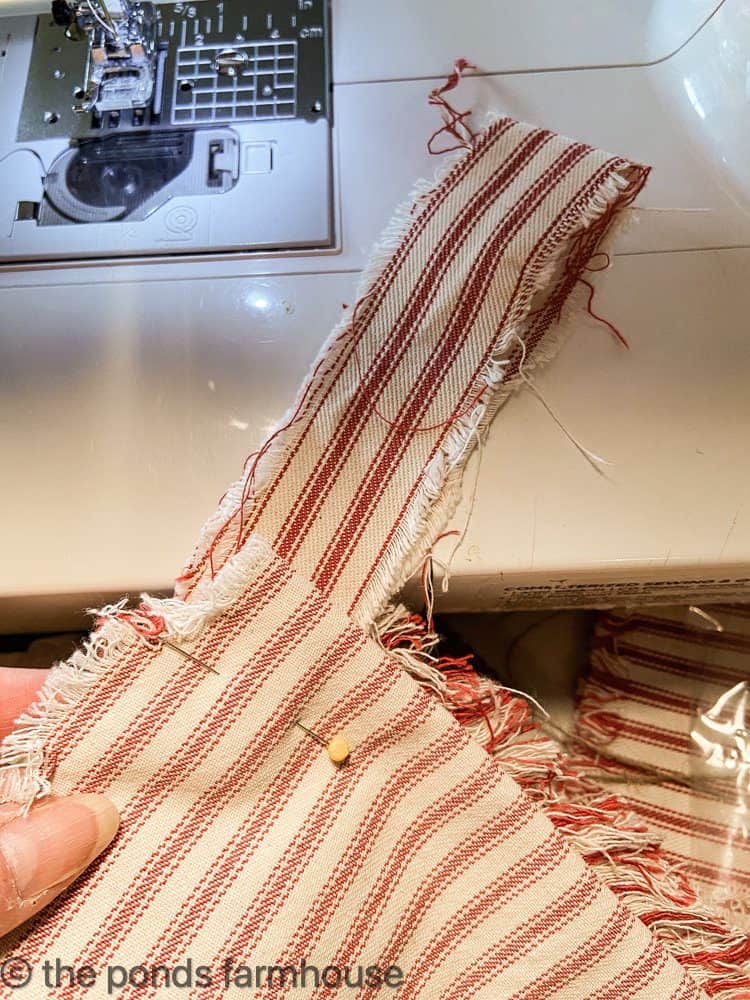
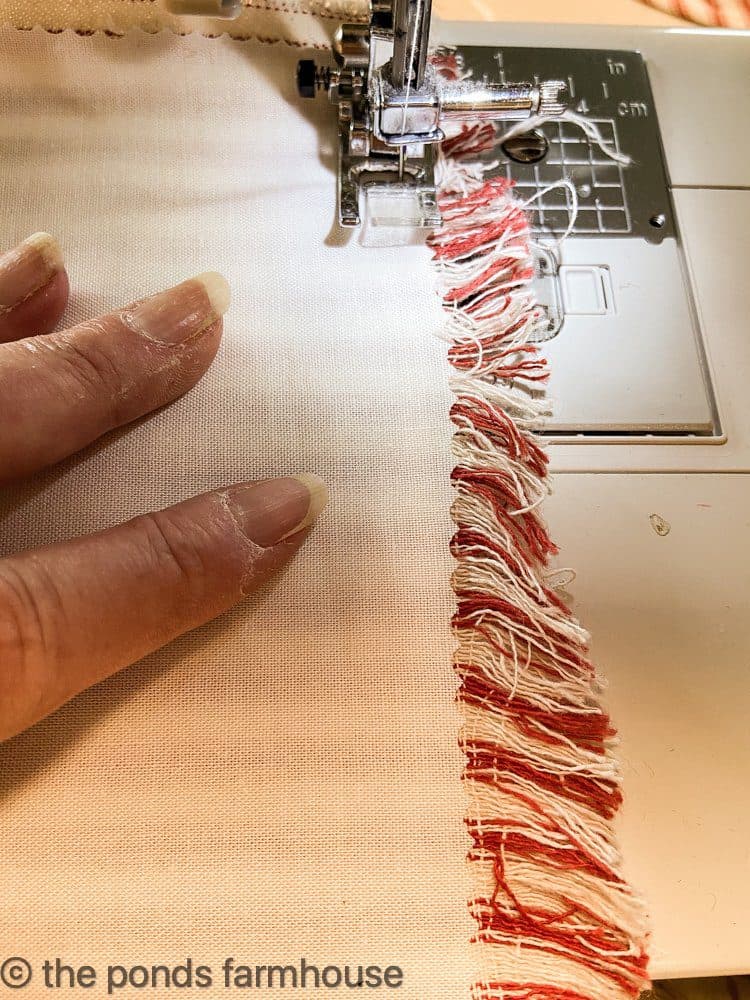
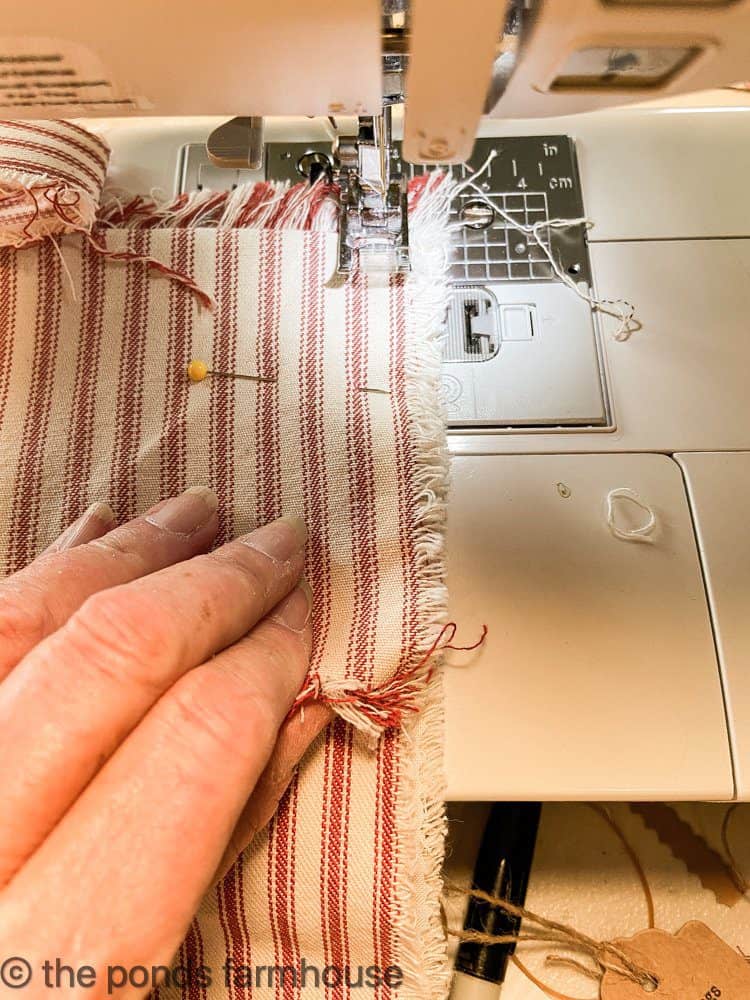
Stitch the front and back of the stocking together using a zigzag stitch on your sewing machine. Stay inside the frayed edge of the fabric and leave the top of the stocking open. You will be stitching through all layers of the stocking at one time.
Did you see the napkins with cutlery pockets I shared for the holidays?
No Sew Method
You will need washable fabric glue for this method.
Just begin by attaching the liner to the backside of the stocking by applying a small bead of glue around the entire edge of the stocking on the inside of the frayed edges.

Next, the hanger was attached by placing a small glue dot in the upper right-hand corner of the stocking. Press one end of the hanger here until attached. Then another dot to hold the two ends together.
Then attach the front of the stocking by applying another bead of fabric glue on top of the liner. Press along the edges until everything is smooth.
The final step is to apply glue along the upper sides of the stocking, just where the fold-down will be attached. Fold over the top of the stocking and press with your fingers to be sure everything is attached.
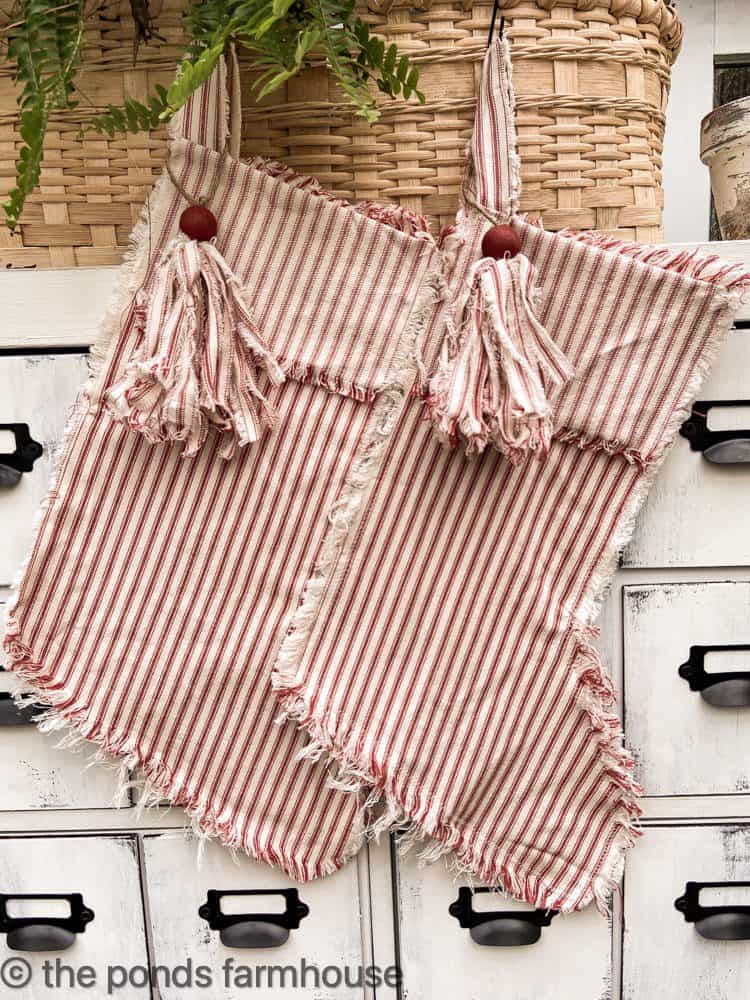
The Finished Ticking Christmas Stockings Side By Side
In addition, a ticking tassel adds an extra festive feel to the stockings.
Did you know that the apothecary cabinet behind the stockings is actually an IKEA hack? Check out the full details on DIY Faux Apothecary Cabinet.
Thanks so much for stopping by.

Pin it to remember it
Renae
Saturday 22nd of October 2022
Super cute stockings! I love them. Hugs to you.
Rachel
Monday 24th of October 2022
Renae, I really appreciate this.
Sarah @ The DIY Mommy
Saturday 19th of December 2020
So adorable! Love the fringe!
[email protected]
Sunday 20th of December 2020
Sarah, I'm so glad you like them. I love for items to look vintage even when they are not.
Cindy@CountyRoad407
Thursday 17th of December 2020
Oops, I forgot to mention, we are featuring these adorable stockings at the FFLP tomorrow! Have a great weekend!
[email protected]
Friday 18th of December 2020
Oh what an honor Cindy. Thank you!
Cindy@CountyRoad407
Tuesday 8th of December 2020
Such a cute idea! I need to find more ticking so I can get to your fabulous ideas! Pinned :) Merry Christmas!
[email protected]
Tuesday 8th of December 2020
Cindy, Thanks so much.
KariAnne
Monday 7th of December 2020
These stockings are THE CUTEST!!!!
Thank you so much for all the Christmas inspiration! May your day be merry and bright!
karianne
[email protected]
Tuesday 8th of December 2020
KariAnne, Thanks so much.