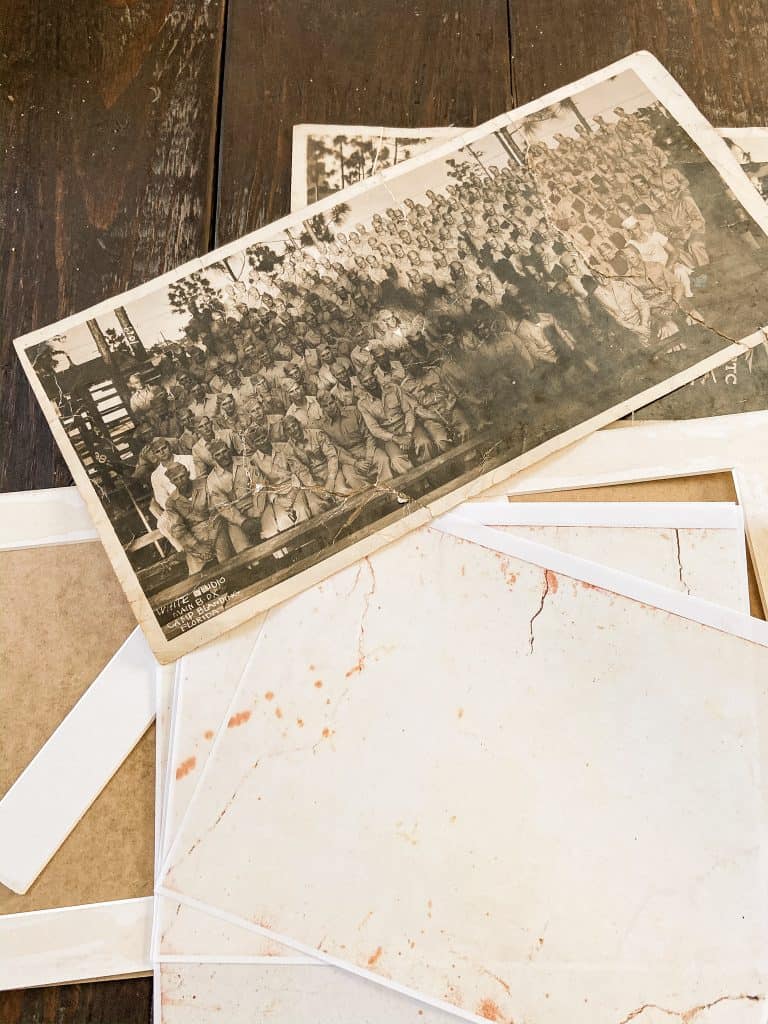
Do you need custom photo mats for framing vintage images? Wait until you see how to create a vintage photo mat with this unique DIY technique. After not being able to find photo mats that looked good with my vintage images, the backside of the old photos gave me inspiration for a vintage photo mat.
As I was looking at the photos, I noticed how the back was lined and aged. That’s when a budget-friendly idea was born.
(Posts on The Ponds Farmhouse may contain affiliate links. As an Amazon Associate, I earn from qualifying purchases. See the full disclosure details here.)

Table of contents
How To Make A Vintage Photo Mat
Custom photo mats are much more expensive than your standard white mat. In addition, when working on old vintage images, it’s difficult to find a paper that maintains the vintage authenticity of the old photos.
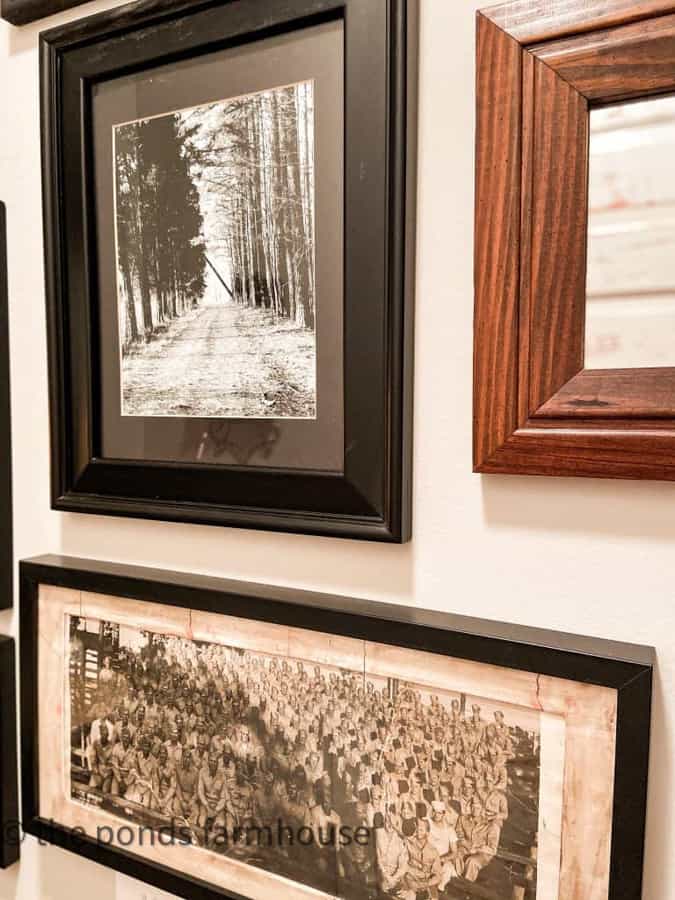
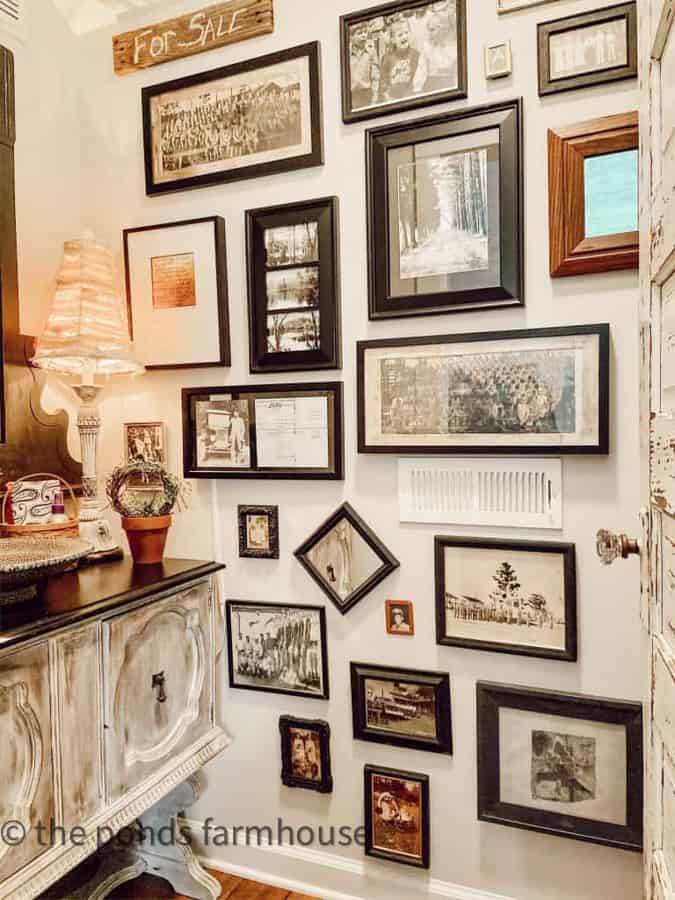
I inherited a stack of old family photos and decided to make a gallery wall with the images. I didn’t want to spend a fortune on the frames and mats, so I collected most of the frames from thrift stores. With a little paint, I was able to create a cohesive gallery wall.
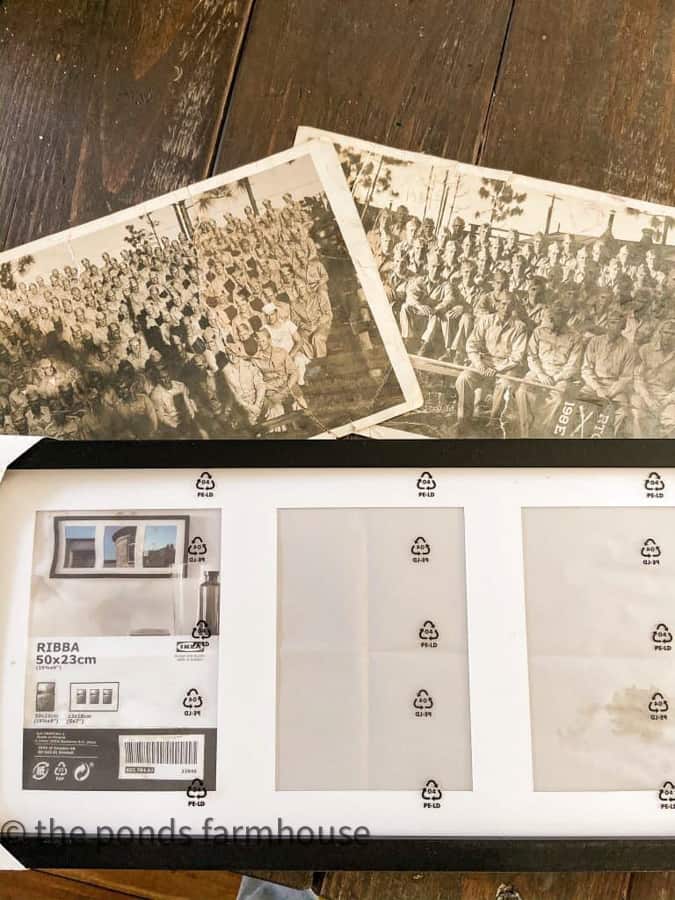
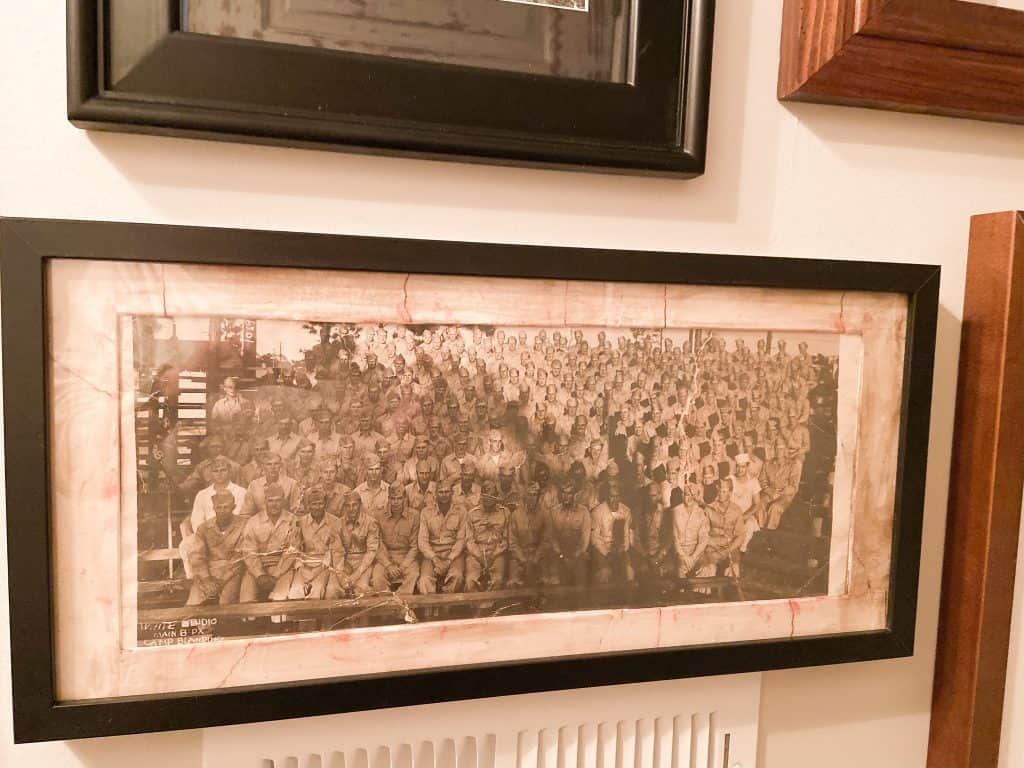
However, I had a couple of panoramic photos of my dad from WWII. I found a frame on Amazon that was the correct size, but some adjustments would need to be made. So here’s what I did.
Get The Correct Size Frame
I ordered a frame from Amazon that would be appropriate for the panoramic photo. For the photo to work, I would need to use the mat that came with the frame. However, the mat was designed to hold three photos instead of one. So here are the supplies I gathered to make this project work.
Supplies Needed
- Copy Paper and a Copy Machine
- Exacto Knife
- Ruler
- Mod Podge
- Brown Paint
- Small Paint Brush
- Scissors
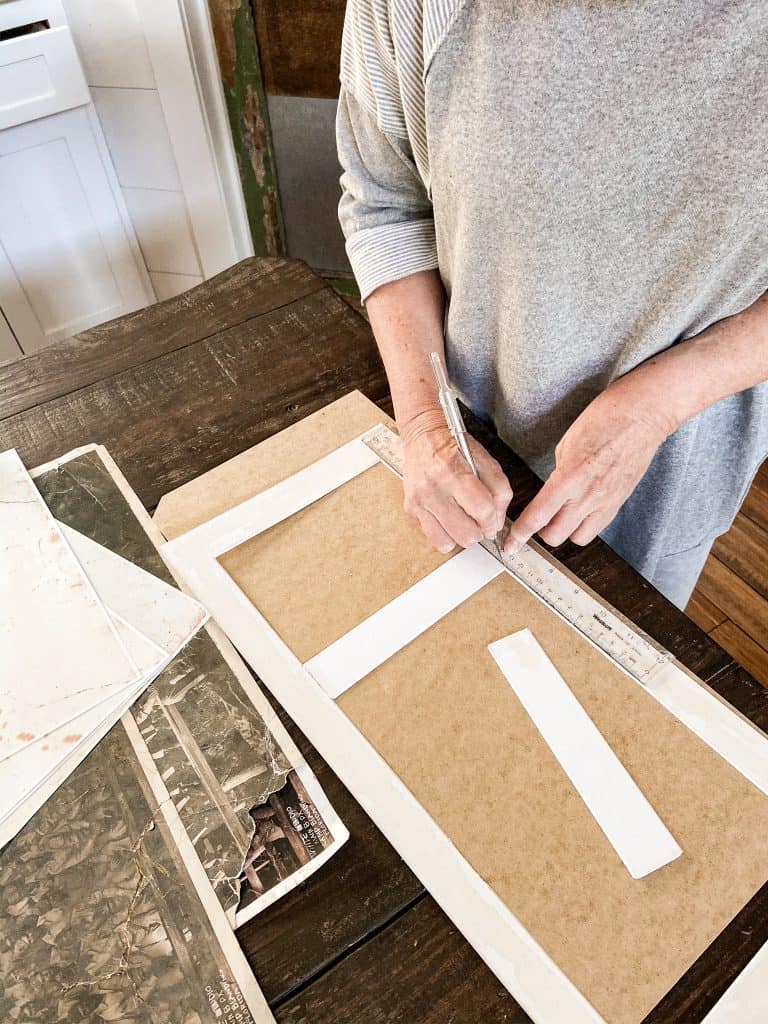
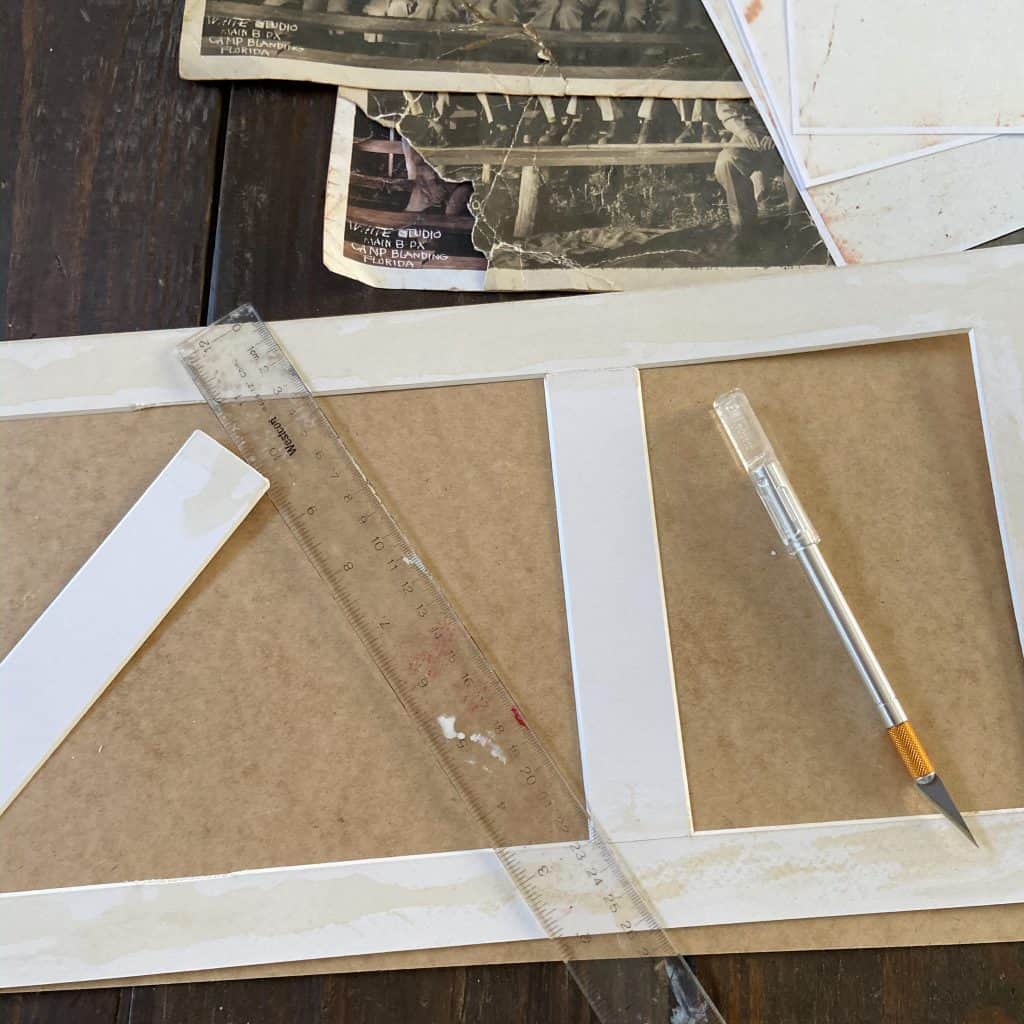
How To Repurpose The Photo Mat
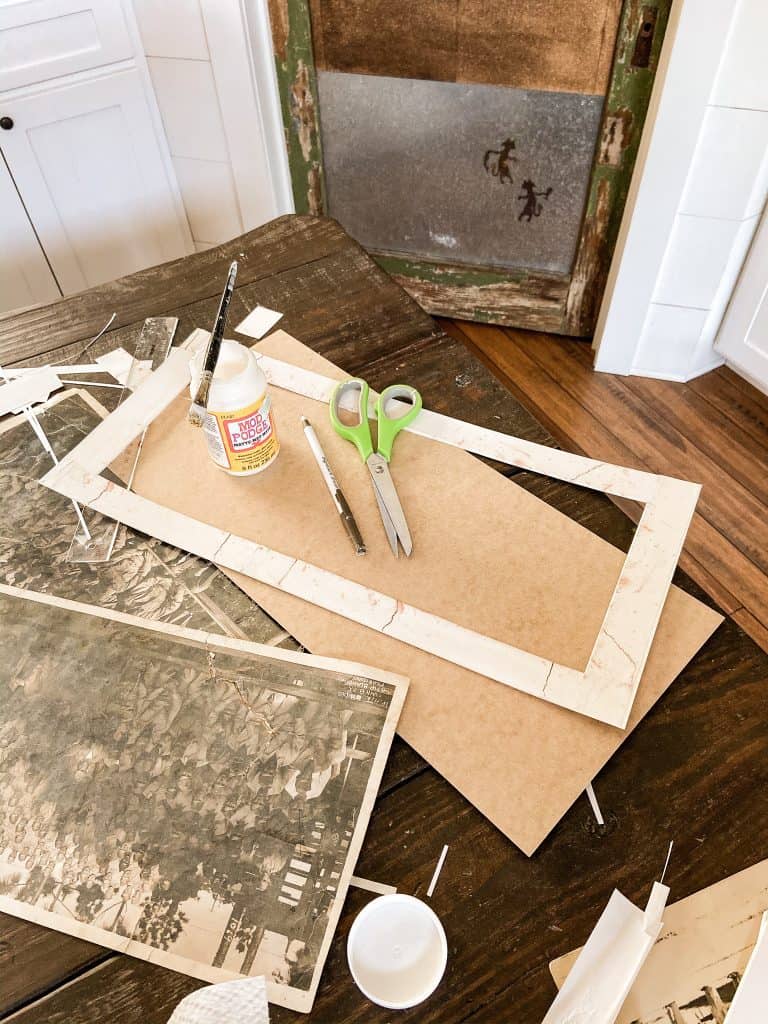
To make the included photo mat work, use an exacto knife and ruler to remove the center vertical dividers.
Hold the ruler straight on the inside edge of the mat and use the ruler edge to cut a straight line with the knife.
Once this was done, the mat was a perfect fit. However, the white mat didn’t look good with the old yellowed vintage photos. I tried staining the mat with coffee, but it still didn’t look good with the old images.
Photocopy The Back of the Photograph
As I was examining the backside of the photo, I thought: The back would make a great custom mat for the images. However, I didn’t have an old photo that I could destroy for this purpose, so I made a photocopy of the backside instead. And guess what? It worked like a charm.
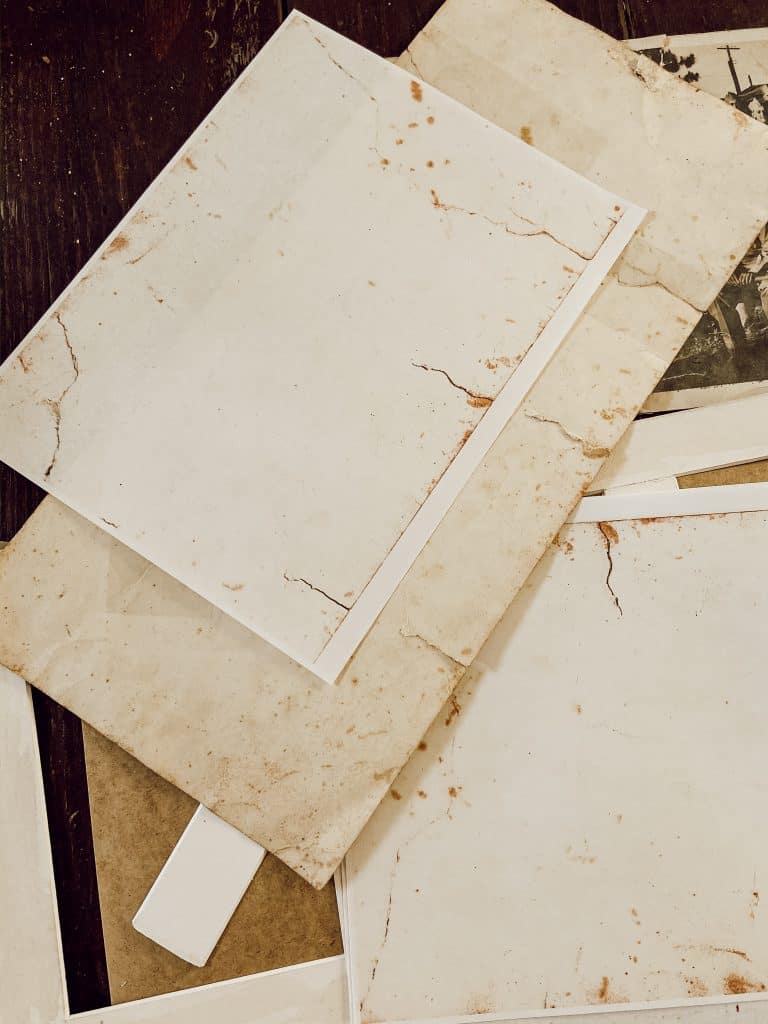
What could be more appropriate to frame an old photo? I just copied the back of the photographs from different angles and then used the copies to create my custom mat.
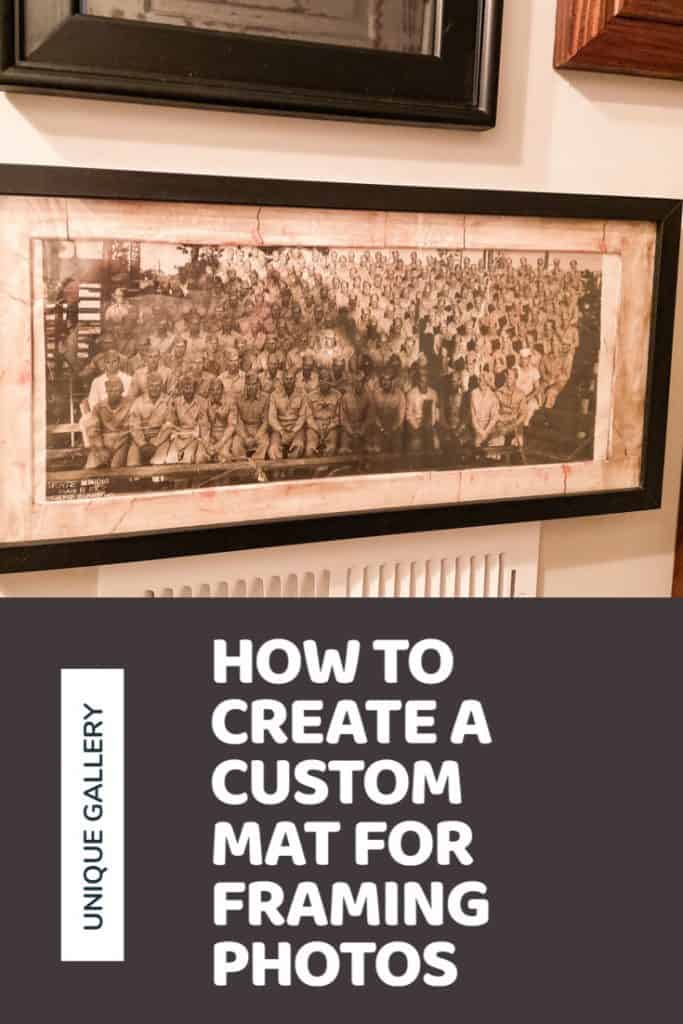
How To Create a Custom Mat for Framing Vintage Photos
Here are the steps to create a custom mat for framing vintage photos.
- Photocopy the back side of the old photographs.
- Cut the photocopies into stripes the exact size of the mat.
- Using Mod Podge, apply the photocopy strips to the existing mat.
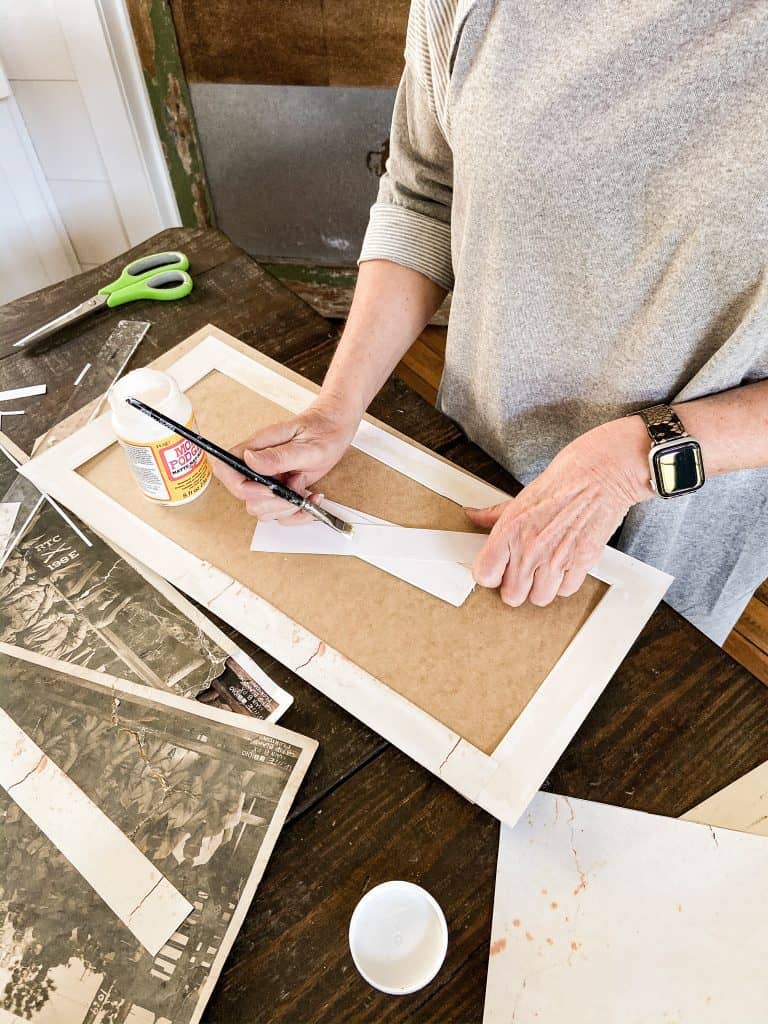
The copy paper will need to dry completely.
Once the mat is dry, apply a second coat of Mod Podge with a touch of brown craft paint added. Be cautious not to get it too dark.
Once dry, you are ready to add your custom photo mat to the frame.
Insider Tip
Warning: you only want a tiny drop of the brown. In the above photo, you can see I almost had too much when I started.
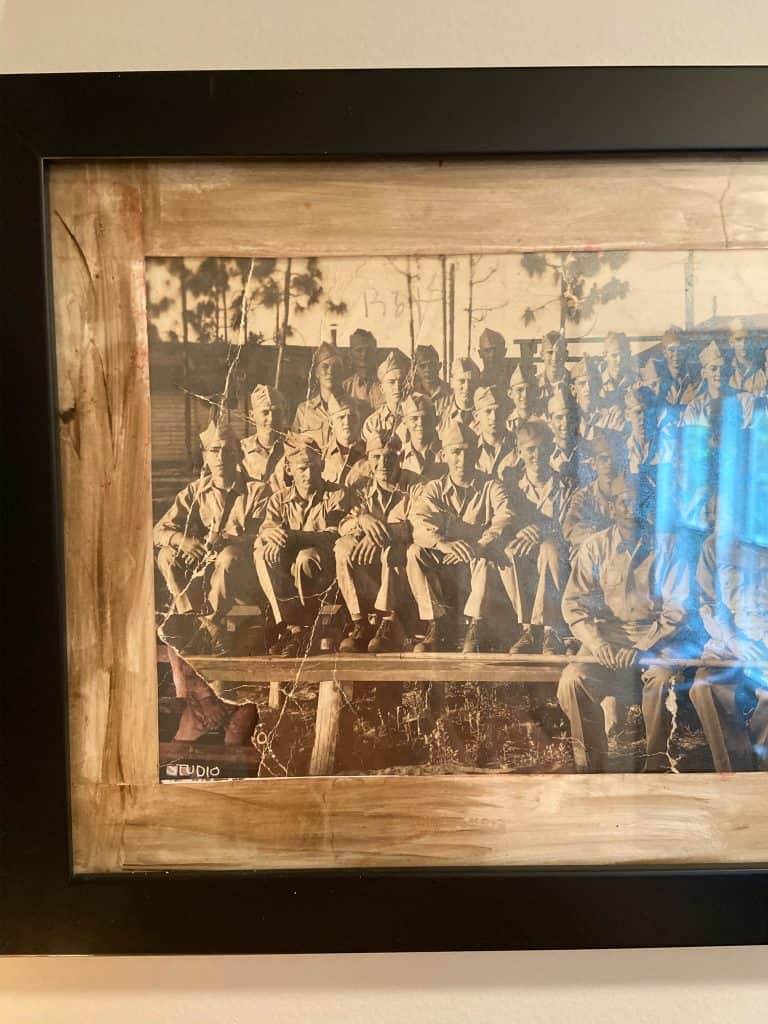
Hang Your Vintage Photos
The photo is now framed with the aged vintage photo mat and hangs on the gallery wall.
Do you struggle with what to do with old family photographs? See #1 Best Way to Use Old Inherited Family Photos.
Additional Art and Photography Tips
- 5 Simple Tips To Hang Art Perfectly Every Time
- How To Hang A Gallery Wall Without Mistakes
- 19 Ways To Up-cycle Vintage Picture Frames
I hope you enjoyed this simple tutorial. As I was finishing this project, I thought of several applications for this technique. You can use any decorative paper, photocopy, or napkin to create custom mats. Standard mats can be purchased inexpensively, making this a cost-effective project. I’d love to see what you come up with.
Thank you so much for stopping by. If you have any questions, please feel free to ask. Your comments are always appreciated.

Pin It To Remember It
Did you find some great ideas you’d like to save for future reference? Hover over the images you’d like to save and pin to your favorite Pinterest Boards when you see the PIN button.
Elle
Saturday 3rd of July 2021
This is fantastic. I love the idea and will definitely be borrowing it!
[email protected]
Tuesday 6th of July 2021
Elle, I'm so glad you like this. thanks for stopping by.
Edie
Friday 3rd of July 2020
I enjoyed your project. Very nice. Only one correction in your article. Perhaps we differ on the costs of materials, but I do not feel that “standard mats are inexpensive”. I usually try to find a inexpensive frames with a nice mat at Goodwill. A really good way to buy your craft materials (regular items you can turn into crafts) is to go to thrift stores.
[email protected]
Friday 3rd of July 2020
Thanks so much! That’s a great idea and I’ve done that before as well. I only purchase new when they are 50% off at Hobby Lobby. Usually pay 2-3 dollars at the most.
I appreciate your input and look forward to sharing more projects with you!